


In Windows systems, disk quotas can help users limit the use of disk space and prevent storage space from being abused. If you need to change disk quotas, you can do so in simple steps. First, open "This PC", right-click the disk whose quota needs to be changed, and select "Properties". Then, in the "General" tab, click the "Clear Disk Quotas" button. Next, in the Quotas tab, uncheck "Enable disk quota control." Finally, click "OK" to save the changes. With these simple steps, you can easily change disk quotas in your Windows system.
How to change Windows disk quota
1. After the user starts the computer, click Computer, then right-click the hard disk that needs to be set, and then select Properties.
2. Click the Disk Cleanup tab and click to enter Disk Cleanup.

#3. After entering the disk cleanup interface, pull down the hardware menu and find the hard disk to which quotas need to be allocated.
4. Then go to the Properties window and select the Quota tab, then enable the Disk Quota checkbox and click Enable.
5. Create a new quota entry, then select the user to whom quotas need to be allocated, set the quota, and set the meaning of the quota being lower than the warning level under the Warning tab.
6. Click OK to reallocate the quota for the hard disk. If you want more, repeat the above operation.
The above is the detailed content of how to change windows disk quota. For more information, please follow other related articles on the PHP Chinese website!

 Alienware's New 240Hz 34-Inch QD-OLED Monitor Is Finally OutMay 02, 2025 am 03:05 AM
This monitor boasts extensive connectivity, featuring a DisplayPort 1.4 port (supporting up to 3440 x 1440 at 240Hz, DSC, and HDR) and two HDMI 2.1 FRL ports (also supporting 3440 x 1440 at 240Hz, FRL, HDR, and VRR). These high-speed HDMI 2.1 ports
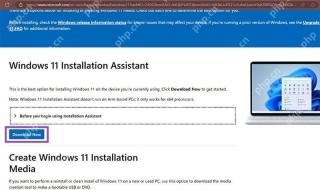 How to Install Windows 11 With No TPM 2.0May 01, 2025 pm 08:01 PM
Windows 10 support is ending in late 2025, prompting many users to upgrade to Windows 11. However, the TPM 2.0 requirement can be a significant hurdle. This guide outlines methods to install Windows 11 even without TPM 2.0, but proceed with caution.
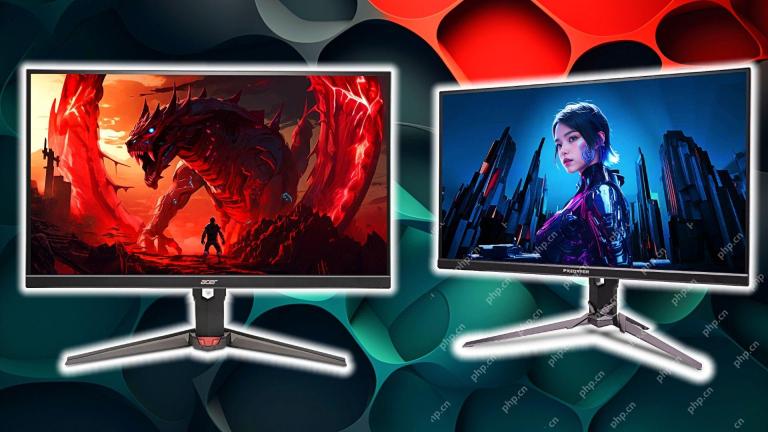 Acer Has Two New Monitors for GamingMay 01, 2025 am 06:06 AM
The Acer Predator XB323QK V4 and Nitro XV240 F6: A Tale of Two Monitors Acer offers two distinct gaming monitors catering to different needs: the color-focused XB323QK V4 and the speed-demon XV240 F6. Let's break down their key features. The XB323QK
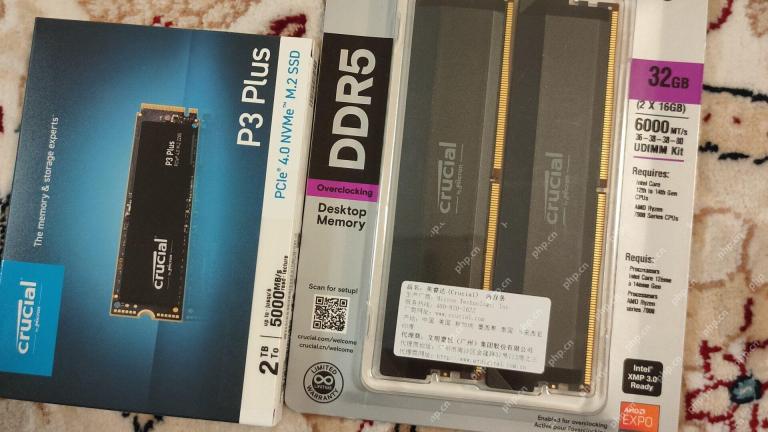 I Bought RAM and an NVMe on eBay, Here's How It WentMay 01, 2025 am 06:01 AM
eBay: A Surprisingly Good Source for New Computer Hardware? While eBay is renowned for its diverse selection of used goods, it's not always the first place that springs to mind when purchasing new computer components. However, my recent experience s
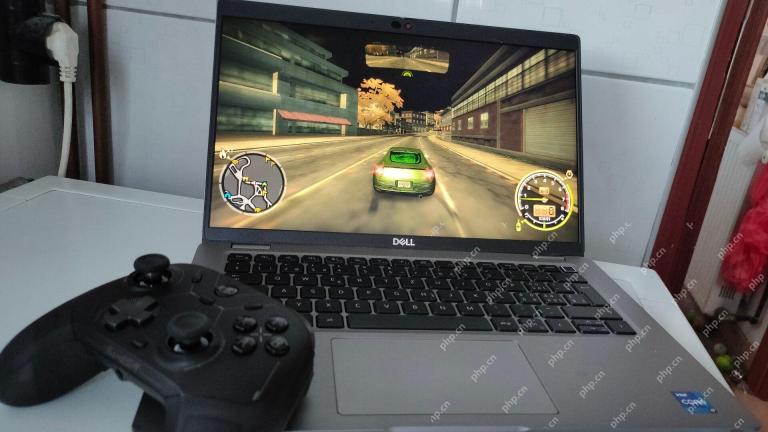 I Upgraded My Laptop's RAM, the Performance Boost Wasn't What You'd ExpectMay 01, 2025 am 03:08 AM
Upgrading your aging laptop? Adding RAM is the easiest and often the only practical upgrade besides storage. My recent experience upgrading a Dell Latitude 5420 proved surprisingly impactful. More RAM Wasn't the Initial Goal My used Dell 5420, while
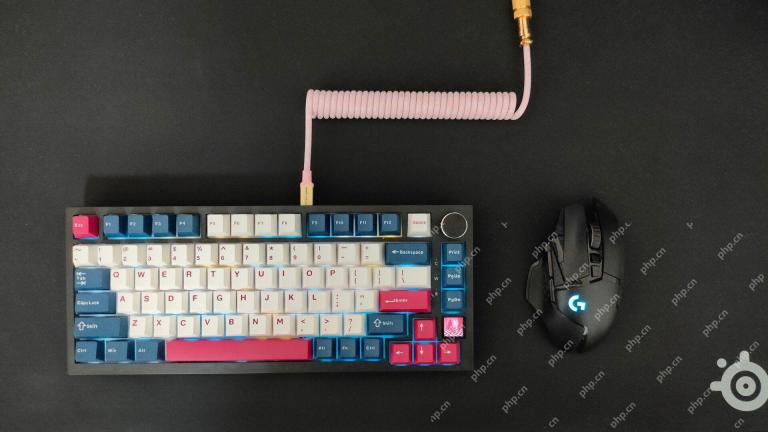 5 Reasons Why I Love Coiled Keyboard CablesMay 01, 2025 am 03:07 AM
Let's be honest: unless you're a keyboard enthusiast, you've probably overlooked the cable bundled with your keyboard. But for those who appreciate the finer details, even a simple USB cable can be a source of aesthetic pleasure. 5 Reasons Why Coiled
 Today's NYT Connections Hints and Answer for April 30th (#689)May 01, 2025 am 03:05 AM
Today's NYT Connections Game Hints and Answers Need a hand with today's Connections game? Here are some clues to get you started: Yellow: Think about what's under your feet. Green: Where you rest your head (or bottom!). Blue: How others see you. Pu
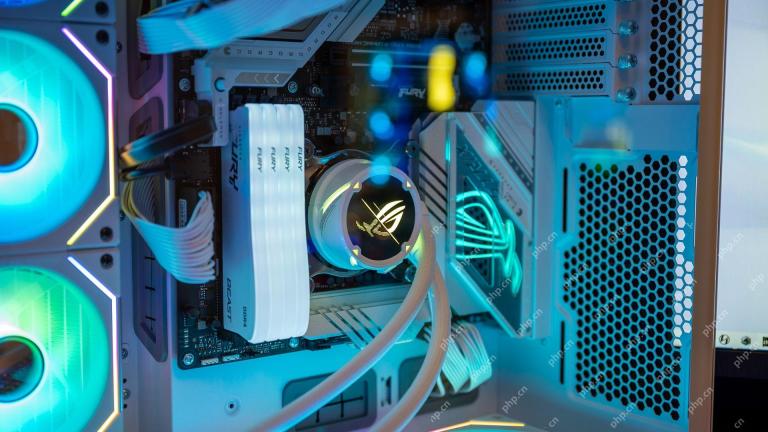 Don't Waste Your Money on RGB, Buy a Better MotherboardMay 01, 2025 am 03:04 AM
Building a new PC? Don't get sidetracked by flashy RGB lighting! While those vibrant fans and memory sticks are tempting, overlooking the motherboard is a critical mistake. This often-underappreciated component is crucial for your PC's performance


Hot AI Tools

Undresser.AI Undress
AI-powered app for creating realistic nude photos

AI Clothes Remover
Online AI tool for removing clothes from photos.

Undress AI Tool
Undress images for free

Clothoff.io
AI clothes remover

Video Face Swap
Swap faces in any video effortlessly with our completely free AI face swap tool!

Hot Article
Hot Tools

SublimeText3 Linux new version
SublimeText3 Linux latest version

SublimeText3 Chinese version
Chinese version, very easy to use

Dreamweaver CS6
Visual web development tools

EditPlus Chinese cracked version
Small size, syntax highlighting, does not support code prompt function

WebStorm Mac version
Useful JavaScript development tools

