Home >Computer Tutorials >Computer Knowledge >How to create a new account in win11? Details of how to create a new account in win11
How to create a new account in win11? Details of how to create a new account in win11
- 王林forward
- 2024-02-28 08:52:261342browse
php editor Strawberry will introduce you to the detailed method on how to create a new account in Win11 system. The creation of a new account is important for multiple people to share a computer or for privacy protection. In Win11 system, creating a new account is simple and quick, just follow the steps below to complete.
Introduction to how to create a new account in win11:
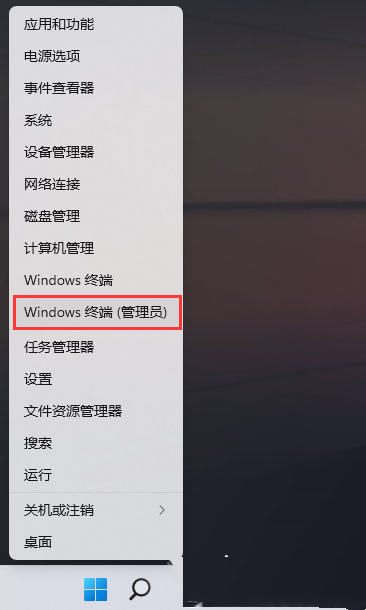
1. Right-click Start in the taskbar in the lower left corner and select Windows Terminal (Administrator) in the option list.
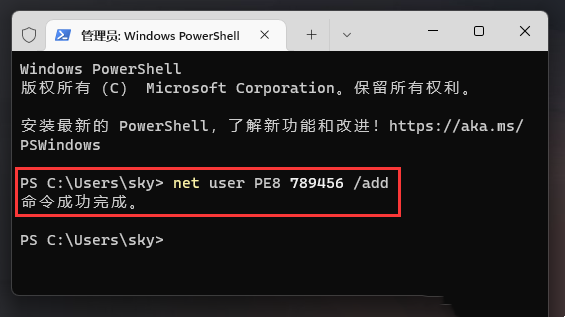
2. After entering the window, enter net user PE8 789456 /add to create a user named PE8 with a login password of 789456.
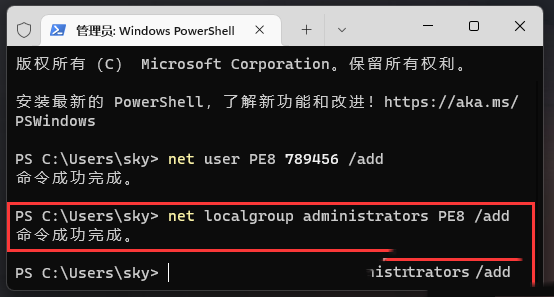
#3. Then enter net localgroup administrators PE8 /add again to give the PE8 user administrator rights.
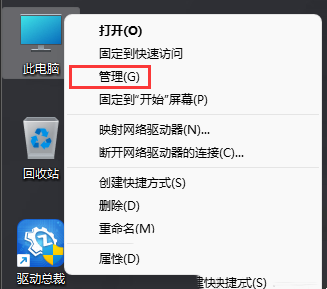
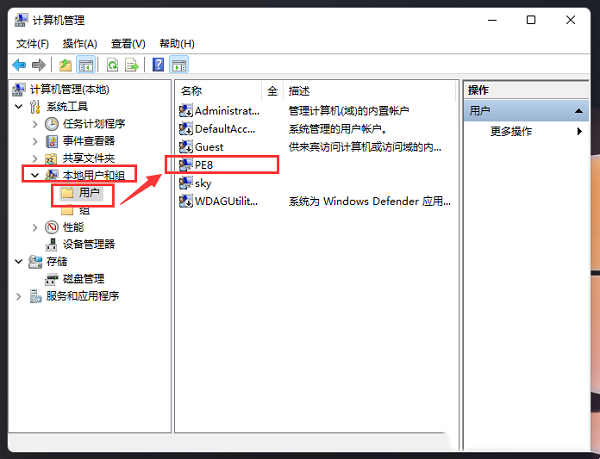
#4. Right-click this computer on the desktop and select Manage from the option list.
5. After entering the new window, click on local users and group users in the left column, and then click on PE8 on the right.
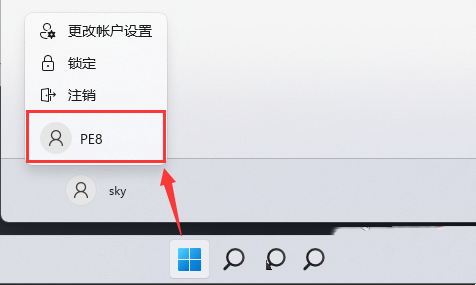
#6. Finally, click the start icon in the lower left corner, then click the user avatar, select the new user to switch to log in.
The above is the detailed content of How to create a new account in win11? Details of how to create a new account in win11. For more information, please follow other related articles on the PHP Chinese website!

