Home >Software Tutorial >Mobile Application >How to copy entity boundary lines in CAD
How to copy entity boundary lines in CAD
- WBOYWBOYWBOYWBOYWBOYWBOYWBOYWBOYWBOYWBOYWBOYWBOYWBforward
- 2024-02-27 16:50:06833browse
php Xiaobian Yuzai will give you a detailed answer: In CAD software, copying the boundary line of an entity can be completed by using the "Copy" command and selecting the entity to be copied, and then pressing the "Enter" key. In addition, you can use the Boundary Line command to select the boundary line of an entity and copy it. These methods can help you quickly and accurately copy entity boundary lines and improve work efficiency.
CAD copy entity boundary line method steps1. Open the CAD2023 software and open the completed entity. As shown below: 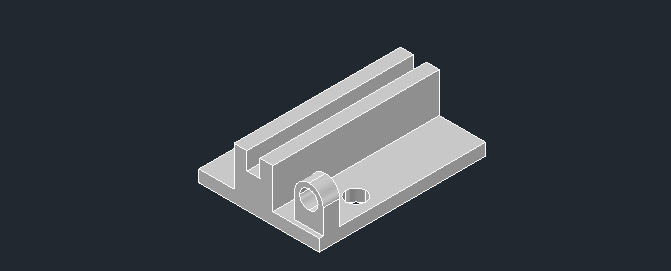
2. Click More Settings and click Copy Edge. As shown below:
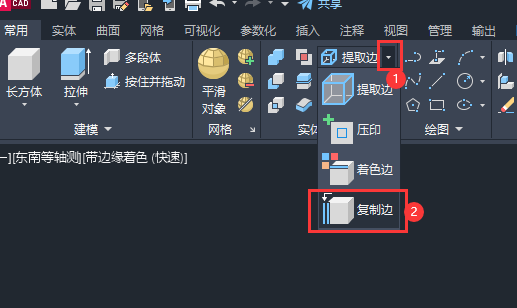
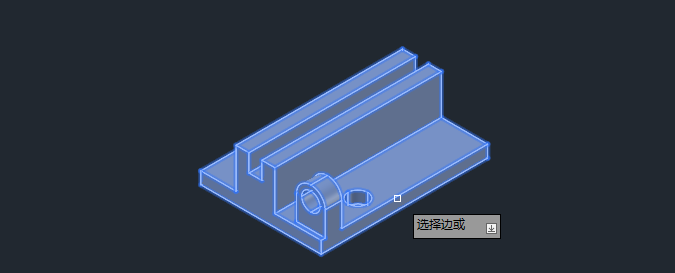
#3. Select the edge of the entity. As shown below:
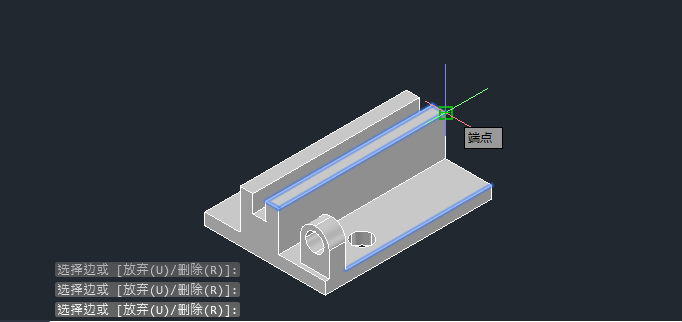
4. Then select the endpoint of the entity, as shown below:
5. Then select exit settings . As shown below:
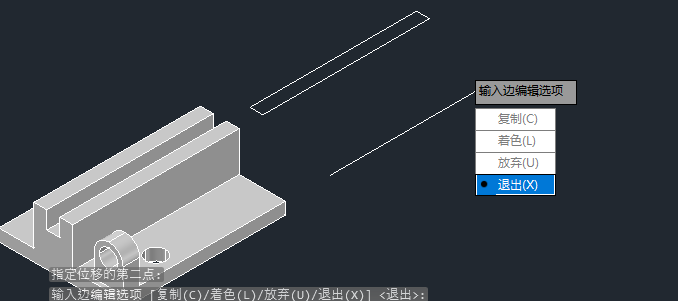
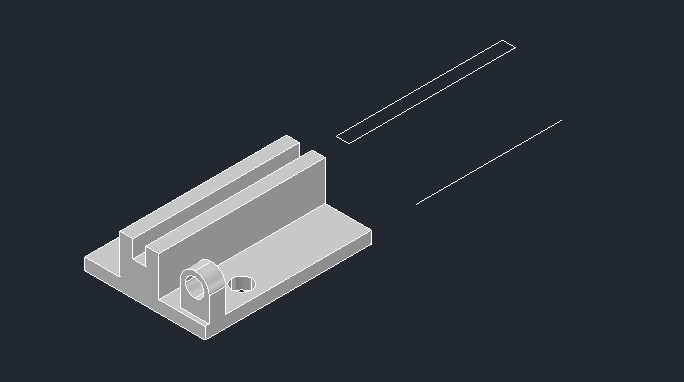
##6. In this way, the edges of the entity are copied. As shown below:
The above is the detailed content of How to copy entity boundary lines in CAD. For more information, please follow other related articles on the PHP Chinese website!

