


Apple Shortcut Command Settings Tutorial
With the advancement of technology, we have gradually discovered many convenient and fast tools and functions, which make our lives more convenient. Apple's Shortcuts are one of them. Shortcuts is an application launched by Apple in the iOS 12 system. It allows users to customize commands to use iOS devices more efficiently. This article will introduce you to how to set up Apple shortcuts, hoping to help you make better use of this feature.
1. Download and install the shortcut application
Apple shortcut is a pre-installed application in the iOS 12 system. If you are using an iOS 12 or higher device, then you You can find it directly in the application list. If the app is not installed on your device, you can go to the App Store to download and install it. After the installation is complete, open the Shortcuts application and start setting up custom commands.
2. Create a custom command
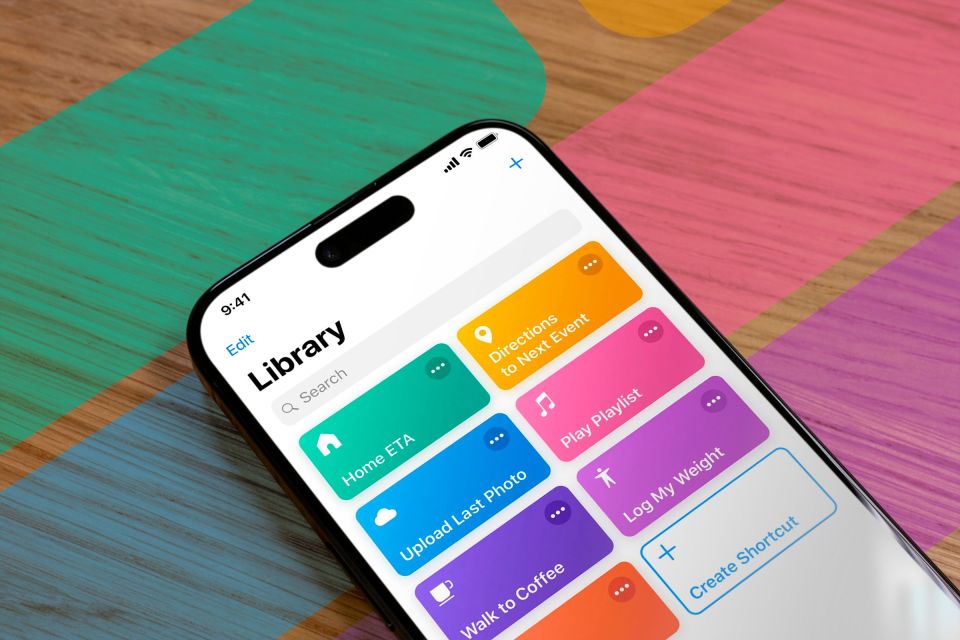
After opening the shortcut command application, you will see a page with several tabs at the top of the page, including "Library", "Personal", and "Automation" wait. The first thing we need to do is create a custom directive. Click the " " button below and select "Create Custom Instruction" in the pop-up menu.
In the setting interface of custom instructions, you can see a blank operation area. Click on the empty area to select the operation you want to add. Shortcut commands provide hundreds of different operations, and you can choose the appropriate operation according to your needs. For example, you can choose to add a "Send Message" action and then fill in the recipients and content. You can also choose to add an "Open App" action to add your most-used apps to shortcuts to open them faster. These are just two examples, you can freely combine and configure them according to your needs.
3. Run and edit shortcut instructions
After creating a custom instruction, you can click the "Run" button in the upper right corner to test it. If everything is fine, your directive will behave accordingly according to your settings. If you want to edit the instruction, click the "..." button below to edit it. In the editing interface, you can modify the added operations or add new operations, as well as set the execution order and conditions, etc.
4. Import and share shortcut commands
Shortcut commands also support import and share functions. If a friend or family member creates a useful command, you can add it to your own shortcuts by importing it. Just click the "..." button in the upper right corner, select "Import Shortcuts", and then select the command file you want to import.
At the same time, you can also share the instructions you create. Click the "..." button in the upper right corner and select "Share Shortcut" to share the command with others through email, messages, AirDrop, etc. In this way, you can not only communicate and share with others, but also get more useful instructions from them.
5. Save and use shortcut commands
After setting the custom command, we need to save it for easy use. Click the "..." button in the upper right corner, select "Add to Home Screen," and give the command a name that's easy to recognize. After completion, you will find an additional shortcut command icon on the home screen. You can click it directly to run your command. In addition, you can also find the "Shortcut Commands" option in the "Settings" of your device and add the command to the "Control Center" so that you can easily launch the command from the Control Center.
Through the above steps, you can easily set up and use Apple shortcuts. Shortcuts can help us make better use of iOS devices and improve the efficiency of work and life. I hope you can find more interesting and useful functions in the process of using shortcut commands!
The above is the detailed content of Learn how to set up Apple shortcuts. For more information, please follow other related articles on the PHP Chinese website!

 Apple News Food Made Love Cooking Again (and Turned Me Into a Subscriber)Apr 18, 2025 am 06:11 AM
Apple News Food: Start my cooking journey Apple News' new food section (iOS 18.4 and above) conquered me with its simplicity and elegant design and ease of use. It brings together recipes from many well-known food publishers and presents each step of cooking steps clearly. Saying goodbye to the ad-filled recipe website, Apple News Food provides clear step-by-step instructions, ingredient lists, pictures, videos, etc., and more importantly, it cleverly uses interactive functions to assist in cooking, making the whole process smooth. The well-designed food section made me activate the month-long free trial of Apple News without hesitation, which was unimaginable before me
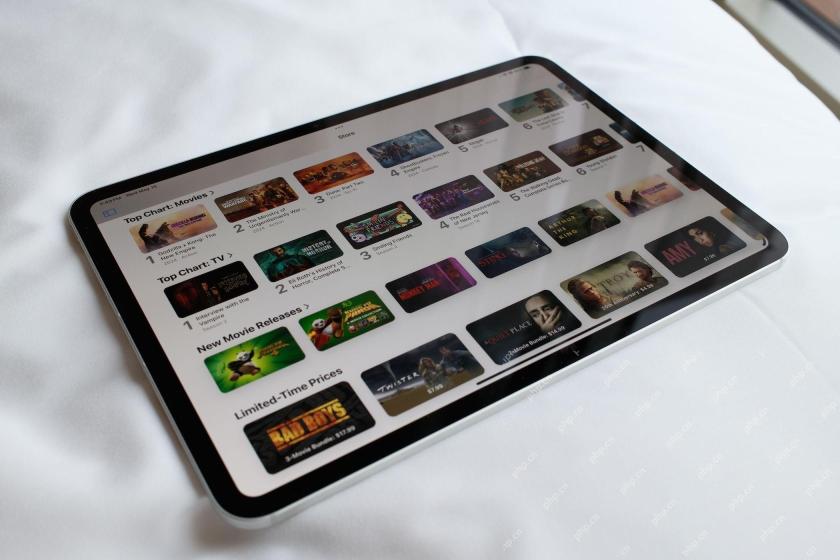 The Best iPads of 2025Apr 18, 2025 am 01:01 AM
Choosing the Right iPad: A Comprehensive Guide Apple's iPad lineup offers a tablet for every need, but selecting the perfect one can be overwhelming. This guide simplifies the process, helping you choose the ideal iPad based on your specific requirem
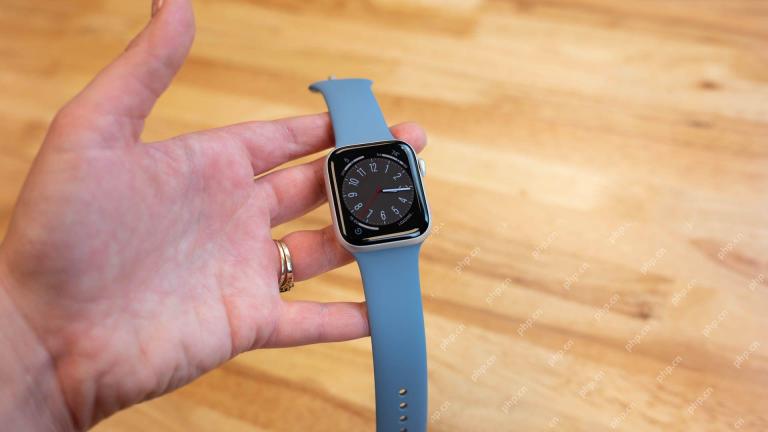 The Apple Watch Is 10 Years Old. Here's Why I Never Bought OneApr 15, 2025 am 06:09 AM
The Apple Watch: Still Not Convinced After a Decade Despite over 200 million units sold since 2015, the Apple Watch remains absent from my wrist. While its health and fitness features are impressive, they don't appeal to someone like me who doesn't
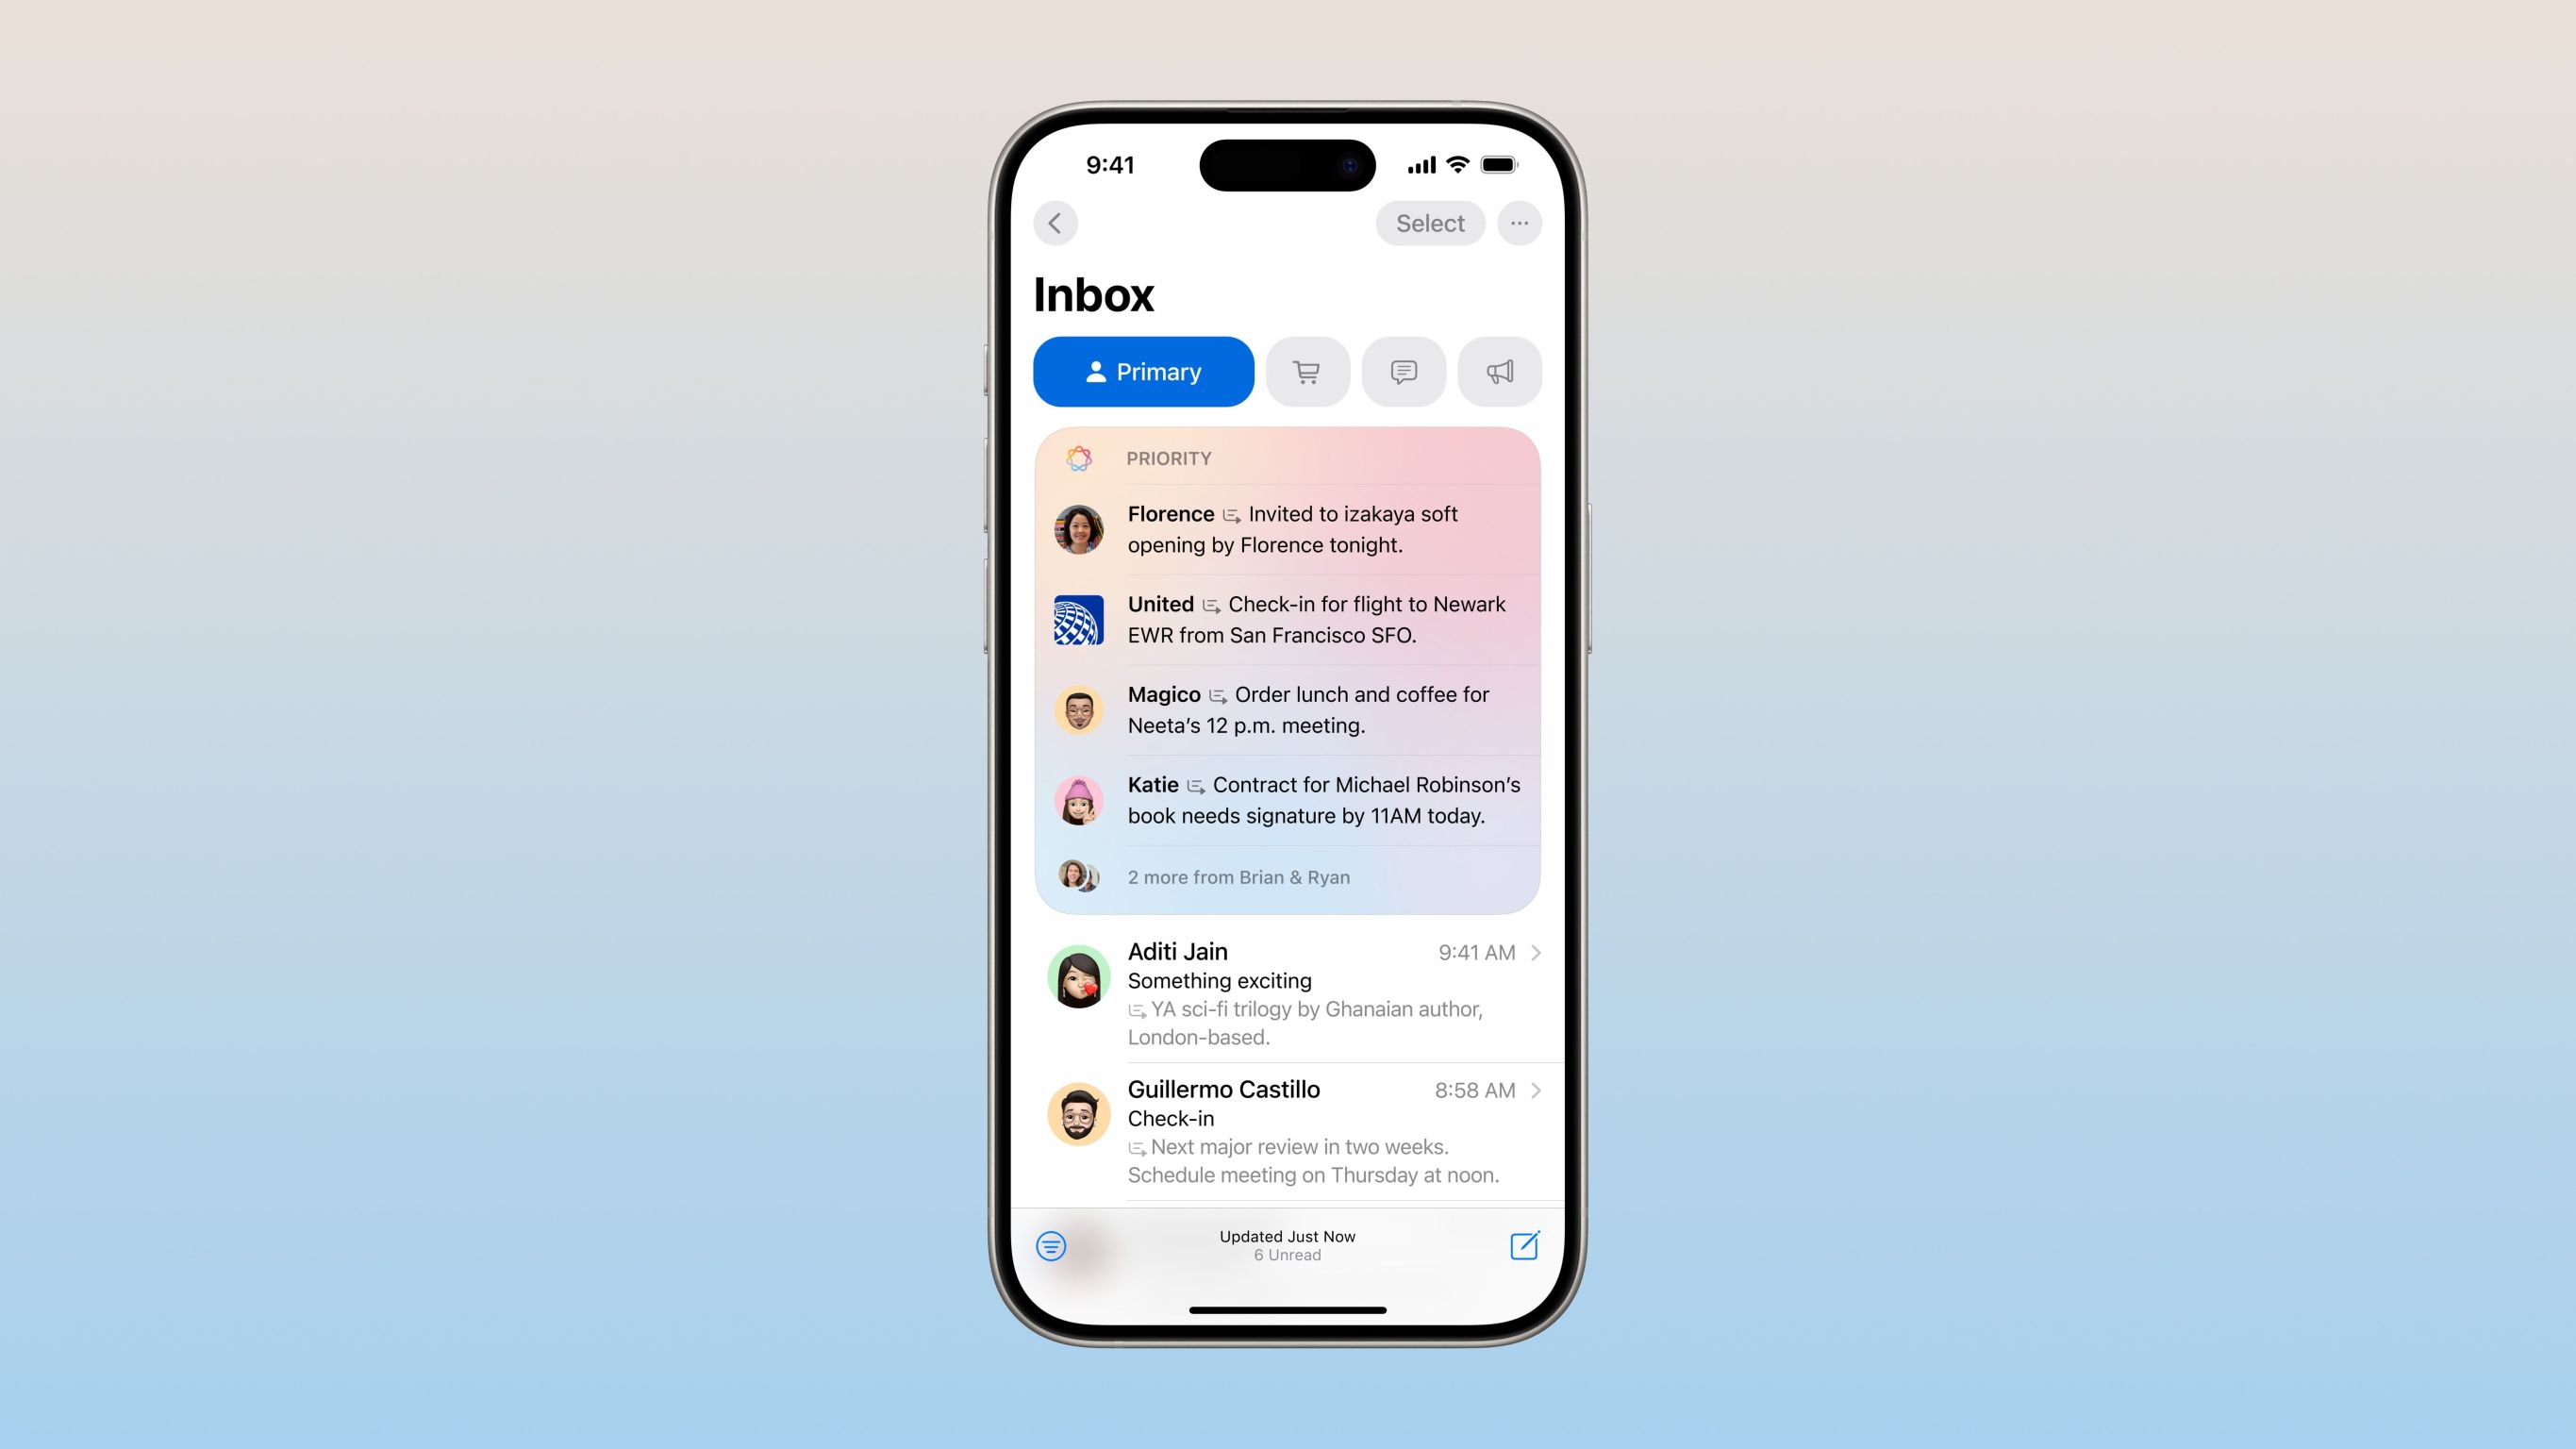 Don't Like the Latest Apple Mail Changes? Here's How to Get Rid of ThemApr 14, 2025 am 12:54 AM
New features of Apple Mail app: Categories, Summary, and Contact Photos The Apple Mail app recently updated its iPhone, iPad and Mac versions, adding features like Gmail-like email classification, notifications and email summary, and contact photos in your inbox. But not everyone likes these new changes. Fortunately, you can disable these new features and restore to a simpler way to use them. Here's how to do it: Disable Apple Mail Classification The email classification feature is designed to sort your inboxes to make it easier to process incoming messages. This feature is suitable for any device running iOS or iPadOS 18.2 and Mac computers with macOS 15.4 installed. Categories include: Main: Mail thinks the most
 We Don't Need Slimmer Phones, But You Might Want One AnywayApr 13, 2025 am 03:01 AM
Ultra-thin phones: Amazing design or risky? Samsung and Apple are about to release ultra-thin flagship phones Samsung Galaxy S25 Edge and Apple iPhone 17 Air are about to be released, and its ultra-thin design has sparked heated discussions. While many fans are concerned about their design compromises, ultra-thin phones still have some attractive advantages. Ultra-thin design: how much does it cost? First of all, these devices are expensive. Ultra-thin design requires custom parts and improved manufacturing processes, greatly increasing costs and ultimately passing them on to consumers. While prices may change at any time, reliable news shows that the iPhone 17 Air may be priced the same as the $899 iPhone Plus, or even likely to completely replace the latter; while the S25 Edge
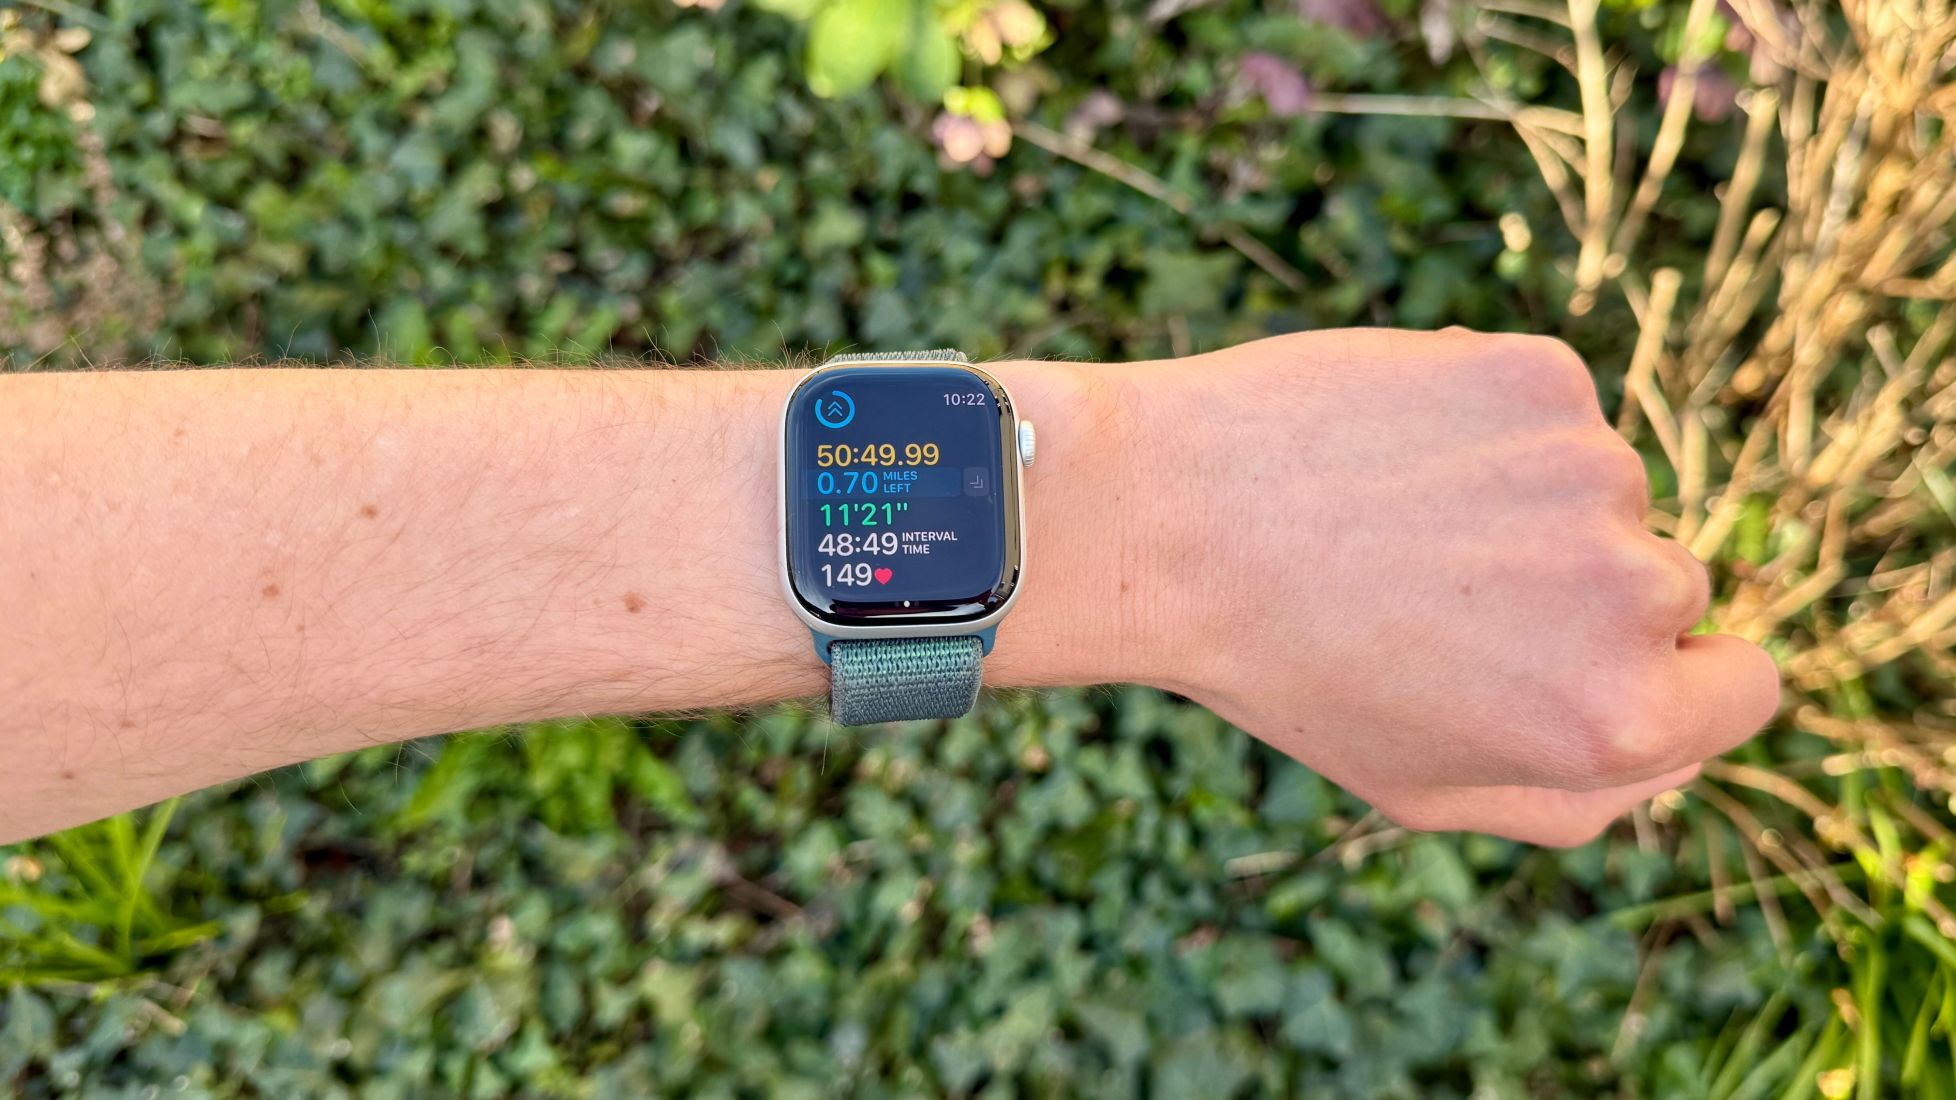 I Regret Ignoring This Apple Watch Running FeatureApr 13, 2025 am 12:58 AM
Take advantage of the Apple Watch running features: From default training to custom planning I've been using default running training I finally found the pacemaker and custom training Easy way to create custom Apple Watch training Make the most of your Apple Watch I'm currently training for a half marathon, which means I'm running three times a week, one to two hours a day, making the most of my Apple Watch. I've been running 142 miles this year, but I've just discovered a game-changing Apple Watch running feature. Related ###### I ran a half marathon with AirPods 4, how effective I'm curious about the new AirPod
 8 Tech Features I Wish Existed in Real LifeApr 12, 2025 am 12:59 AM
Life Hacks We Wish Were Real: Tech Features We Crave in Real Life Modern technology offers incredible conveniences, so much so that we often take them for granted. Pausing live TV, undoing computer errors, or voice-commanding music – these are ever
 Fix the Wait Limit in iPhone Shortcuts With This Simple TrickApr 11, 2025 am 03:05 AM
Apple's Shortcuts app offers a "Wait" action for short pauses, but it's unreliable for longer durations. This limitation stems from iOS's background app restrictions. A clever workaround uses custom Focus modes to achieve extended waits,


Hot AI Tools

Undresser.AI Undress
AI-powered app for creating realistic nude photos

AI Clothes Remover
Online AI tool for removing clothes from photos.

Undress AI Tool
Undress images for free

Clothoff.io
AI clothes remover

Video Face Swap
Swap faces in any video effortlessly with our completely free AI face swap tool!

Hot Article
Hot Tools

Atom editor mac version download
The most popular open source editor

SublimeText3 Linux new version
SublimeText3 Linux latest version

SublimeText3 Mac version
God-level code editing software (SublimeText3)

SublimeText3 English version
Recommended: Win version, supports code prompts!

SAP NetWeaver Server Adapter for Eclipse
Integrate Eclipse with SAP NetWeaver application server.

