
Home >Computer Tutorials >Computer Knowledge >Xuanlong laptop USB boot button
Xuanlong laptop USB boot button

- 王林forward
- 2024-02-14 18:40:171182browse
php editor Xiaoxin introduces to you a special function of Xuanlong notebook-U disk startup button. This laptop is designed with the user's convenience and needs in mind, and a USB boot button is specially added so that users can easily start the computer system by inserting a USB flash drive. The emergence of this function not only simplifies the operation steps, but also improves the user's efficiency and has higher security. Whether it is installing the system, repairing faults or backing up data, it can all be completed through simple operations, which is convenient and fast. Xuanlong notebook's USB boot button makes the user experience smoother.
As we use our computers, they will gradually experience wear and tear, leading to problems such as crashes, lags, and reduced browsing speeds. These problems can usually be solved by reinstalling the system, and there are many methods to choose from. Therefore, today I will take Xuanlong notebook as an example to introduce to you how to use a USB flash drive to install Win10 system.
Preparation tools:
1. U disk above 8G
2. Xiaobai U disk boot disk creation tool
3.win10 system image file
Operation steps:
1. Insert the U disk, open and run the U disk boot disk creation tool, and switch to "U disk boot-ISO mode"
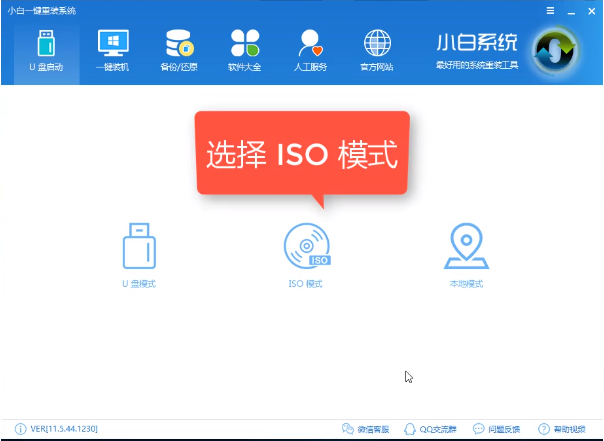
Xuanlong System Software Illustration 1
2. First generate, click "Generate ISO Image File", "Select Advanced Edition PE", after the generation is completed, click to create ISO boot disk, select your hard drive After selecting the U disk, click Write and wait for the writing to complete before the boot disk is created.
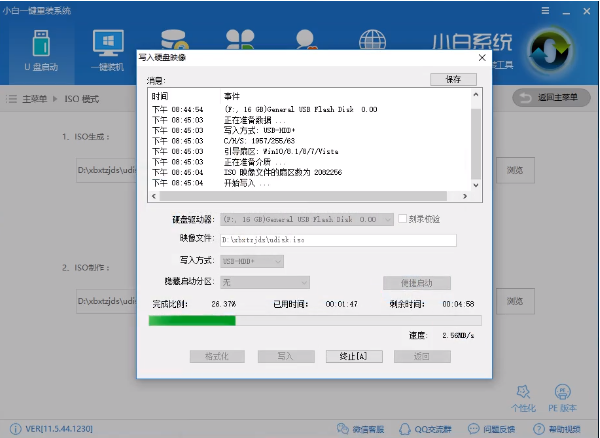
win10 system software diagram 2
3. After the production is completed, copy the downloaded system image file to the USB disk.
4. When restarting the computer, keep pressing the U disk startup shortcut key, which is usually (F12, Del, F11, F2, etc.). Different computer motherboards may have different shortcut keys. Many computers will have a logo when they start up. There will be a short button prompt at the bottom of the screen.

Notebook system software diagram 3
5. After opening the startup selection interface, the option with the word usb or the brand of the U disk is usually the U disk. , use the direction keys "↑↓" to select, and press the Enter key to confirm to enter the PE selection interface.

win10 system software diagram 4
6. After the above steps, you will enter the PE selection interface. Here you generally select "02 WindowsPE/RamOS ( New model)" and press the Enter key to confirm.

Xuanlong win10 system software diagram 5
7. After entering the PE desktop, the PE installation tool will automatically pop up. The first choice here is to check the need to install system image, and then select "Target Partition" in the lower left corner. Generally, the default is sufficient. To avoid accidents, it is best to make sure whether the system disk (C drive) is selected, and then click "Install System".
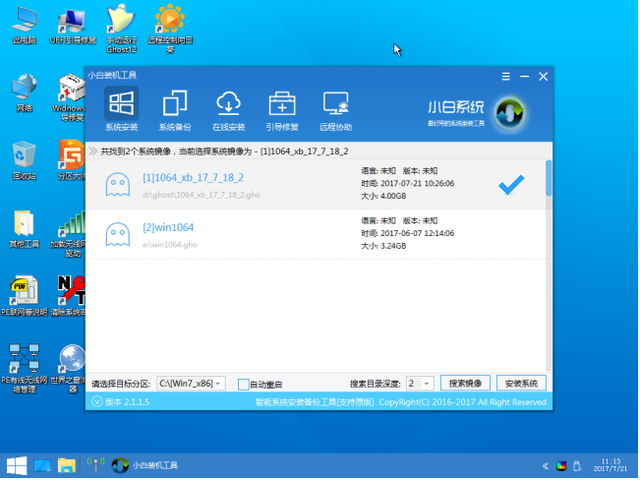
Notebook system software diagram 6
8. Installation execution The system installation process usually takes 4-5 minutes to complete.

win10 system software diagram 7
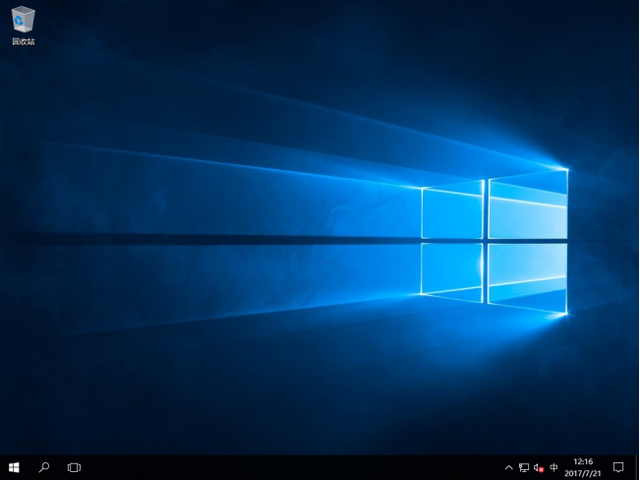
9. After completion, restart the computer to complete the final installation until entering a new system.

Xuanlong win10 system software diagram 8
10. The system installation is completed, set it according to your needs and you can use it normally!
win10 system software diagram 9
The above is the detailed content of Xuanlong laptop USB boot button. For more information, please follow other related articles on the PHP Chinese website!
Related articles
See more- What should you do if the win10 system prompts that your device is at risk of expiration?
- What should I do if there is no Word when opening the Windows 10 system?
- Laptop win7 32-bit system installation tutorial
- How to check the installation time of Windows 7 system
- Computer system installation: U disk boot button guide