
Home >System Tutorial >Windows Series >Solution to the problem that Win11 service Windows Update is disabled and then automatically enabled
Solution to the problem that Win11 service Windows Update is disabled and then automatically enabled

- 王林forward
- 2024-02-14 08:00:331574browse
php editor Xinyi brings you an article about the solution to automatically enable Windows Update after disabling it in Win11. In Win11 system, some users may encounter the problem that the system automatically restarts after disabling Windows Update, which brings inconvenience to users. This article will share a simple and effective solution to help users solve this problem and give you better control over system updates.
Solution to the problem that Win11 service Windows Update is automatically turned on after being disabled
1. After turning off the update service, you must also disable it from restarting
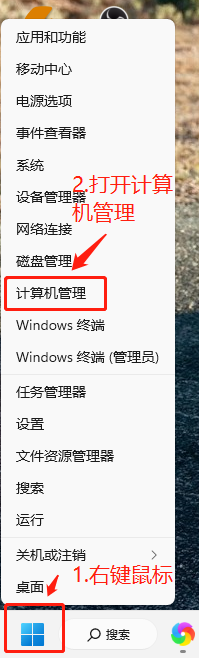
1. Right-click the mouse to open the Windows panel, find "Computer Management Features" and left-click the mouse to open it.
#2. Open the Computer Management (Local) function list in sequence, and find the Windows item in the "Task Scheduler Library".
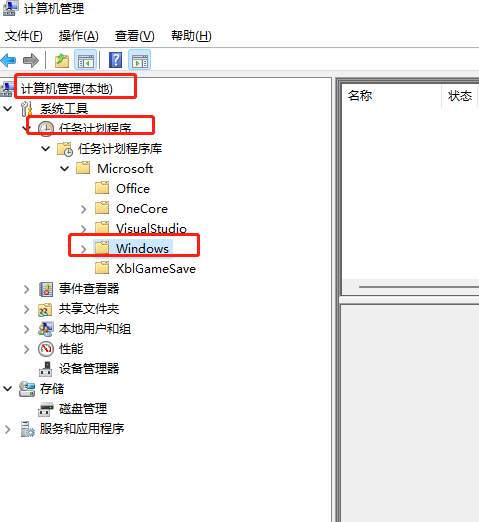
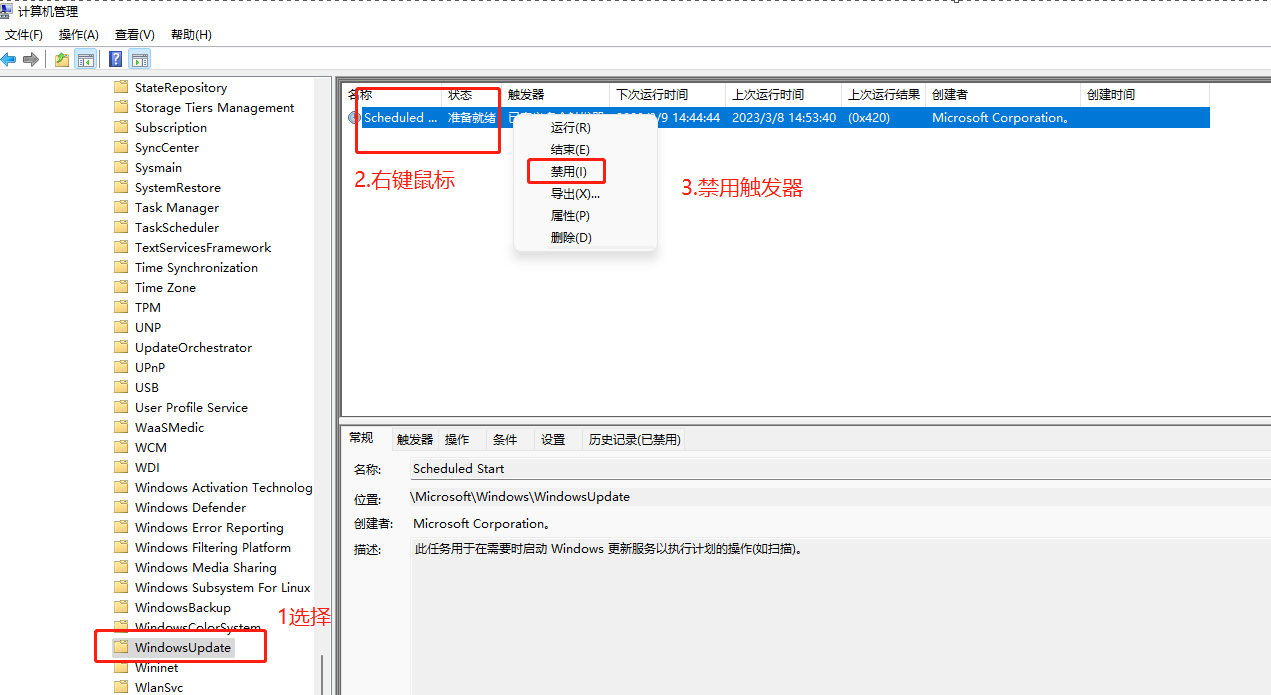
3. Expand Windows and find the WindowsUpdate item inside, and then disable the trigger in the list on the right.
2. Group Policy must also be disabled
1. WIn R brings up the Group Policy, and click "Computer Configuration - Administrative Templates - Windows Components" ---Windows Update--Manage End User Experience", then find "Configure automatic updates" on the right, double-click it, change it to "Disabled" application--OK.

#2. In this way, the WIndows update function is really turned off, and updates cannot be obtained automatically, so problems will not occur after updates.
The above is the detailed content of Solution to the problem that Win11 service Windows Update is disabled and then automatically enabled. For more information, please follow other related articles on the PHP Chinese website!
Related articles
See more- How to solve the problem of garbled characters in win11 system documents
- How to reinstall Win11 system on Mechanical Revolution Aurora Pro
- How to limit broadband traffic in Win11 system
- How to create a workgroup on multiple computers in Win11 system
- Picture and text demonstration tutorial on installing win11 system from USB disk