

 System TutorialLINUXDetailed explanation of CentOS installation fuse and CentOS installation server
php editor Baicao brings you a detailed analysis of CentOS installation fuse and CentOS installation server. The purpose of installing fuse is to implement the extended function of the file system on the CentOS system, while the purpose of installing the server is to build a stable and reliable server environment. This article will introduce in detail the steps to install fuse on CentOS, as well as the detailed operations of installing the server on CentOS, to help readers easily complete relevant settings and solve problems they may encounter. Whether it is a novice or an experienced user, this article can provide practical guidance and tips. Let’s explore together!

CentOS installation fuse
Fuse is a user space file system framework that allows unprivileged users to access and operate the file system through custom file systems , installing fuse on CentOS is very simple, just follow the following steps:
1. Open the terminal and log in as the root user.
2. Use the following command to install the fuse package:
```
yum install fuse
3. Confirm the prompts during the installation process and enter `y`continue.
4. After the installation is complete, use the following command to verify whether fuse is installed successfully:
fuse --version
If the installation is successful, the version information of fuse will be displayed.
CentOS Installation Server
Installing servers on CentOS can meet different needs, such as building web servers, database servers, etc. The following are the steps to install common servers on CentOS:
2. Use the following command to install the required server software package, taking building a Web server as an example:
yum install httpd
If you need to build other types of servers, such as database servers, you can Use the corresponding package to install it.
4. After the installation is complete, use the following command to start the server:
systemctl start httpd
If you install other types of servers, such as database servers, the startup command may There is a difference.
5. Use the following command to set the server to start automatically at boot:
systemctl enable httpd
In this way, the server will automatically start when the system starts.
CentOS installation fuse and CentOS installation server precautions
When installing fuse and server, you need to pay attention to some matters to ensure that the installation process proceeds smoothly:
1. During installation When installing packages, make sure your system is connected to the internet so that the required packages and dependencies can be downloaded.
2. When using the yum command to install a software package, be sure to log in with root permissions to avoid insufficient permissions.
3. When installing the server, be sure to know the name of the required server package and make sure you use the correct package for installation.
4. Before starting the server, you can use the following command to check whether the server has been installed correctly:
systemctl status httpd
If the server has been installed and started correctly, the server will be displayed status information.
Share with you
I hope this article will help you understand how to install fuse and build a server on CentOS. In LINUX, we can use fuse to access various custom file systems and operation, and building a server can meet our different needs. If you have other questions or needs about LINUX, please feel free to consult us at any time.
The above is the detailed content of Detailed explanation of CentOS installation fuse and CentOS installation server. For more information, please follow other related articles on the PHP Chinese website!

 如何在 RHEL 9 上配置 DHCP 服务器Jun 08, 2023 pm 07:02 PM
DHCP是“动态主机配置协议DynamicHostConfigurationProtocol”的首字母缩写词,它是一种网络协议,可自动为计算机网络中的客户端系统分配IP地址。它从DHCP池或在其配置中指定的IP地址范围分配客户端。虽然你可以手动为客户端系统分配静态IP,但DHCP服务器简化了这一过程,并为网络上的客户端系统动态分配IP地址。在本文中,我们将演示如何在RHEL9/RockyLinux9上安装和配置DHCP服务器。先决条件预装RHEL9或RockyLinux9具有sudo管理权限的普
 在容器中怎么使用nginx搭建上传下载的文件服务器May 15, 2023 pm 11:49 PM
一、安装nginx容器为了让nginx支持文件上传,需要下载并运行带有nginx-upload-module模块的容器:sudopodmanpulldocker.io/dimka2014/nginx-upload-with-progress-modules:latestsudopodman-d--namenginx-p83:80docker.io/dimka2014/nginx-upload-with-progress-modules该容器同时带有nginx-upload-module模块和ng
 服务器怎么使用Nginx部署Springboot项目May 14, 2023 pm 01:55 PM
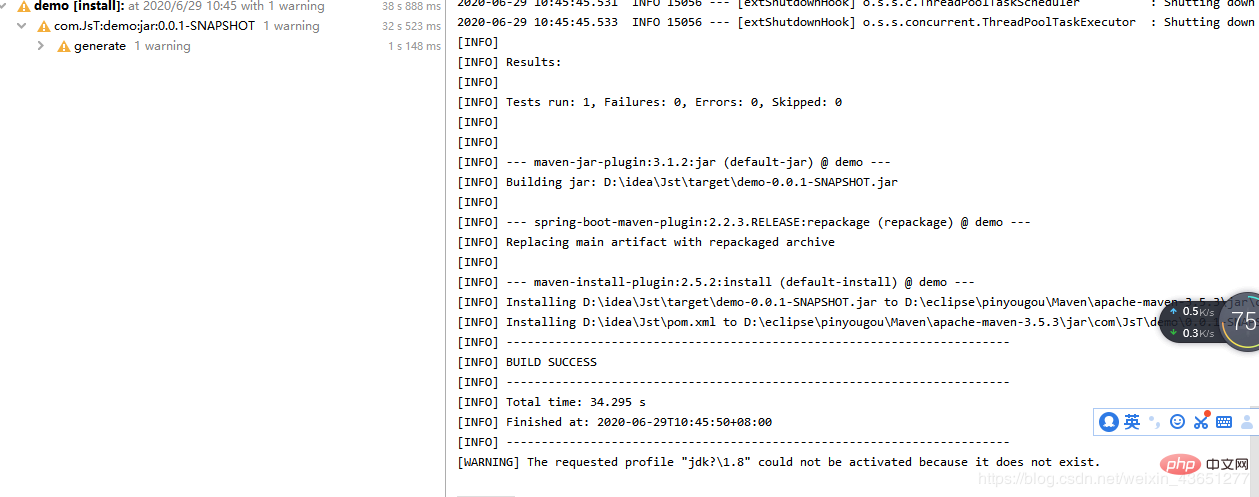
1,将java项目打成jar包这里我用到的是maven工具这里有两个项目,打包完成后一个为demo.jar,另一个为jst.jar2.准备工具1.服务器2.域名(注:经过备案)3.xshell用于连接服务器4.winscp(注:视图工具,用于传输jar)3.将jar包传入服务器直接拖动即可3.使用xshell运行jar包注:(服务器的java环境以及maven环境,各位请自行配置,这里不做描述。)cd到jar包路径下执行:nohupjava-jardemo.jar>temp.txt&
 vue3项目打包发布到服务器后访问页面显示空白怎么解决May 17, 2023 am 08:19 AM
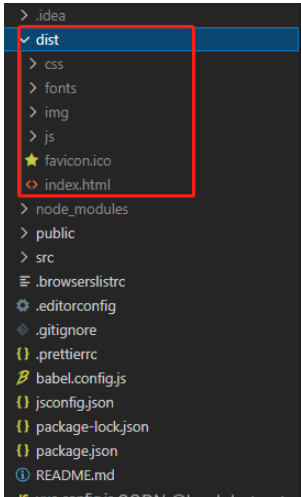
vue3项目打包发布到服务器后访问页面显示空白1、处理vue.config.js文件中的publicPath处理如下:const{defineConfig}=require('@vue/cli-service')module.exports=defineConfig({publicPath:process.env.NODE_ENV==='production'?'./':'/&
 python中怎么使用TCP实现对话客户端和服务器May 17, 2023 pm 03:40 PM
TCP客户端一个使用TCP协议实现可连续对话的客户端示例代码:importsocket#客户端配置HOST='localhost'PORT=12345#创建TCP套接字并连接服务器client_socket=socket.socket(socket.AF_INET,socket.SOCK_STREAM)client_socket.connect((HOST,PORT))whileTrue:#获取用户输入message=input("请输入要发送的消息:&
 Linux怎么在两个服务器直接传文件May 14, 2023 am 09:46 AM
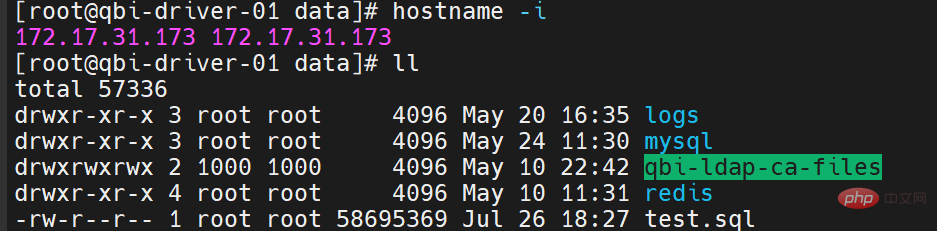
scp是securecopy的简写,是linux系统下基于ssh登陆进行安全的远程文件拷贝命令。scp是加密的,rcp是不加密的,scp是rcp的加强版。因为scp传输是加密的,可能会稍微影响一下速度。另外,scp还非常不占资源,不会提高多少系统负荷,在这一点上,rsync就远远不及它了。虽然rsync比scp会快一点,但当小文件众多的情况下,rsync会导致硬盘I/O非常高,而scp基本不影响系统正常使用。场景:假设我现在有两台服务器(这里的公网ip和内网ip相互传都可以,当然用内网ip相互传
 如何使用psutil模块获取服务器的CPU、内存和磁盘使用率?May 07, 2023 pm 10:28 PM
psutil是一个跨平台的Python库,它允许你获取有关系统进程和系统资源使用情况的信息。它支持Windows、Linux、OSX、FreeBSD、OpenBSD和NetBSD等操作系统,并提供了一些非常有用的功能,如:获取系统CPU使用率、内存使用率、磁盘使用率等信息。获取进程列表、进程状态、进程CPU使用率、进程内存使用率、进程IO信息等。杀死进程、发送信号给进程、挂起进程、恢复进程等操作。使用psutil,可以很方便地监控系统的运行状况,诊断问题和优化性能。以下是一个简单的示例,演示如何
 怎么在同一台服务器上安装多个MySQLMay 29, 2023 pm 12:10 PM
一、安装前的准备工作在进行MySQL多实例的安装前,需要进行以下准备工作:准备多个MySQL的安装包,可以从MySQL官网下载适合自己环境的版本进行下载:https://dev.mysql.com/downloads/准备多个MySQL数据目录,可以通过创建不同的目录来支持不同的MySQL实例,例如:/data/mysql1、/data/mysql2等。针对每个MySQL实例,配置一个独立的MySQL用户,该用户拥有对应的MySQL安装路径和数据目录的权限。二、基于二进制包安装多个MySQL实例


Hot AI Tools

Undresser.AI Undress
AI-powered app for creating realistic nude photos

AI Clothes Remover
Online AI tool for removing clothes from photos.

Undress AI Tool
Undress images for free

Clothoff.io
AI clothes remover

AI Hentai Generator
Generate AI Hentai for free.

Hot Article
Hot Tools

SublimeText3 Chinese version
Chinese version, very easy to use

mPDF
mPDF is a PHP library that can generate PDF files from UTF-8 encoded HTML. The original author, Ian Back, wrote mPDF to output PDF files "on the fly" from his website and handle different languages. It is slower than original scripts like HTML2FPDF and produces larger files when using Unicode fonts, but supports CSS styles etc. and has a lot of enhancements. Supports almost all languages, including RTL (Arabic and Hebrew) and CJK (Chinese, Japanese and Korean). Supports nested block-level elements (such as P, DIV),

ZendStudio 13.5.1 Mac
Powerful PHP integrated development environment

Atom editor mac version download
The most popular open source editor

EditPlus Chinese cracked version
Small size, syntax highlighting, does not support code prompt function

