
Home >System Tutorial >Windows Series >How to uninstall Windows Defender? How to completely uninstall Windows Defender
How to uninstall Windows Defender? How to completely uninstall Windows Defender

- PHPzforward
- 2024-02-13 10:18:221273browse
php editor Baicao introduces how to uninstall Windows Defender and how to completely uninstall it. Windows Defender is the antivirus software that comes with the Windows operating system, but sometimes users may need to uninstall it, such as when using other antivirus software or due to compatibility issues. In this article, we will explain in detail how to uninstall Windows Defender correctly and provide a complete uninstall method to ensure the security and stability of the system. Next, let’s take a look at the specific steps.
How to completely uninstall Windows Defender
Method 1:
1. Enter the system’s own uninstall page directly from the settings.
2. Find the Windows Defender you want to uninstall, right-click Windows Defender to pop up Uninstall, and click Uninstall to uninstall.


Method 2:
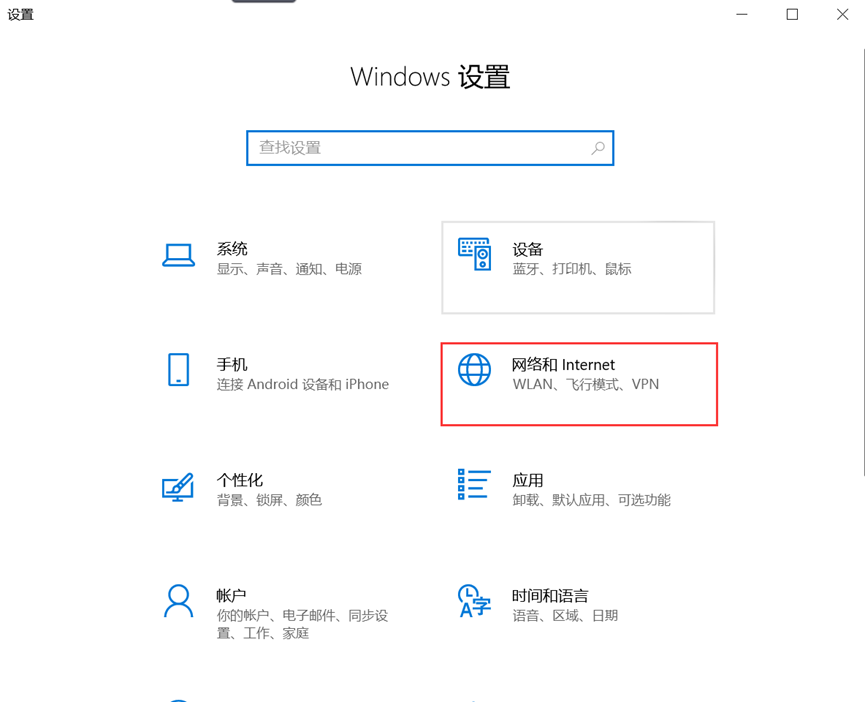
1. Click the win key in the lower left corner of the desktop and select System Settings. As shown in the figure below:

#2. In the system settings, select "Network and Internet". As shown in the figure below:
#3. In Network and Internet, select "Windows Firewall". As shown in the figure below:
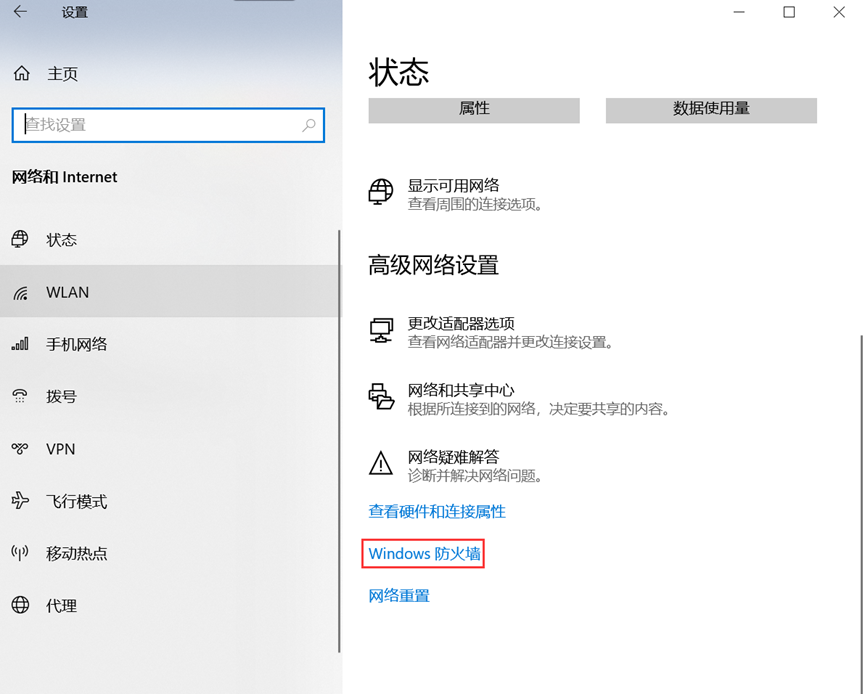
#4. Close all options.

#5. Click icon 2 in the picture above to open "Virus and Threat Protection".

6. Select "Manage Settings" and turn off all defender options. As shown below:

The above is the detailed content of How to uninstall Windows Defender? How to completely uninstall Windows Defender. For more information, please follow other related articles on the PHP Chinese website!
Related articles
See more- This Windows Key Verification Tool Is Actually a Deadly BitRAT That Bypasses Defender
- Windows 11 Build 22622.450 (KB5015890) brings improved Defender, fixes for high CPU usage
- Microsoft releases KB5007651 update again to fix Defender LSA false positive issue in Win11
- Win101909 Turn off WindowsDefender
- defender smartscreen is enabled by default