


php editor Banana will introduce you to a technique related to Win7 system: how to change the virtual memory to another drive letter. In Win7 system, virtual memory is a mechanism used to expand system memory, which can improve the operating efficiency of the system. By default, virtual memory is stored on the system disk (usually the C drive), but if the system disk space is insufficient or higher performance is required, we can change the virtual memory to another drive letter. This article will give you a detailed introduction to how to operate and what to pay attention to.
The new computer needs to adjust the settings. It was found after comparing with the old computer.
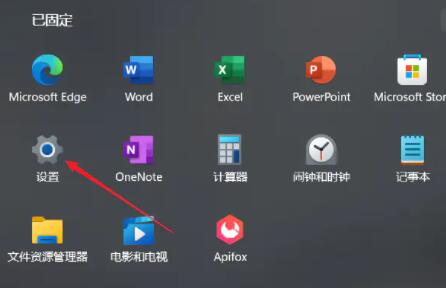
Start menu and click Settings
Then click "System"

System Settings
In "Scale and Layout", change "Text, Application Item Size" to 100%

Scale and Layout
Some After the system is installed on a new computer, it may default to a display ratio of "125%" or "150%", which may cause blurring when opening web pages. Therefore, we recommend adjusting the display ratio to 100% for a clearer web page display.
First open the "Control Panel"

Control Panel
Open the "User Account"

Control Panel Interface
Click "User Account"

User Account Interface
Open "Change User Account Control Settings"

User Account Settings
Pull the slider to the bottom of "Never notify" and finally click OK.
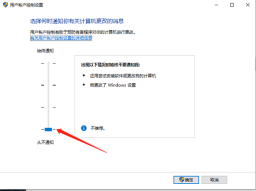
User Account Control Settings Interface
If you do not set this, the following prompt will pop up every time you open the application, which is very cumbersome.

When opening the application
Open the "Control Panel" and change the "View by" to "Small Icons" in the upper right corner. Then open "Windows Defender Firewall"

Control Panel interface
Click "Turn Windows Defender Firewall on or off"

Windows Defender Firewall
Turn off all firewalls and click OK

Firewall settings
If you do not turn it off, you will often receive interceptions during use.
Return to the "Control Panel" interface and click "Power Options"

Control Panel
Select "High Performance" in "Power Plan", which can effectively improve the performance of our computer. After the system is installed, the default is generally, "Balanced (Recommended)"

Power supply Plan
Finally click OK
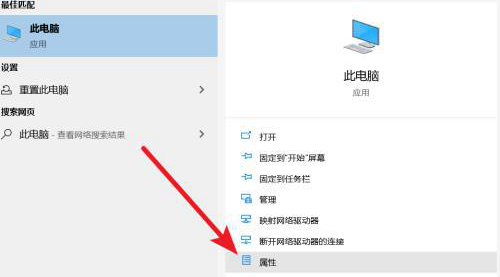
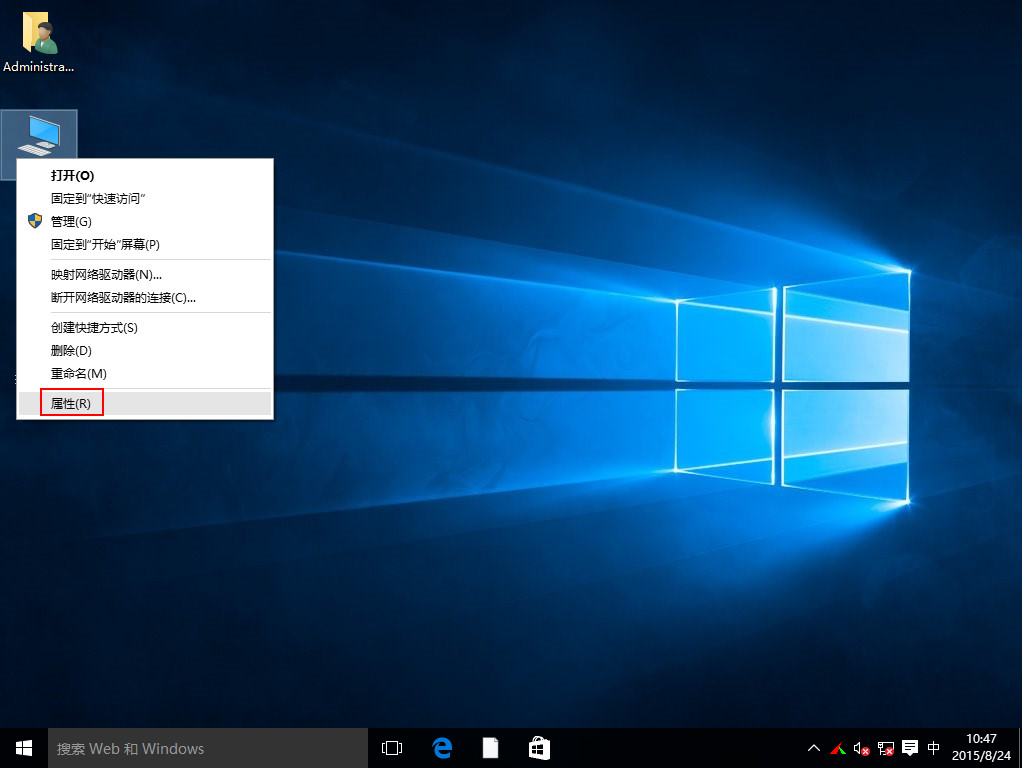
On the desktop, right-click "This Computer", select "Manage", and open "Computer Management" interface

Desktop
Click "Services and Applications", double-click on the right page to open "Services"
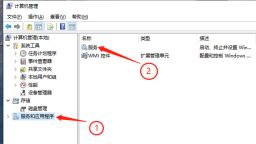
Computer Management
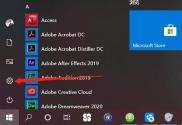
Find "Windows updata", double-click to open the

Service interface
Change the "Startup type" to "Disabled", then click OK to save.

Property settings
In addition to "Windows updata", "Windows Search" and "IP Helper" are also set to "disabled" as above

Windows Search

IP Helper
"IP Helper" is not very useful, and it also takes up resources and is prone to some minor problems.
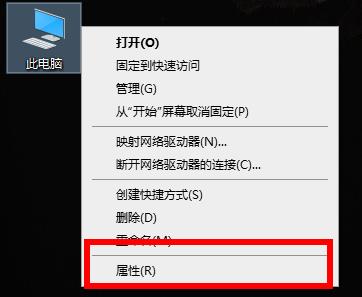
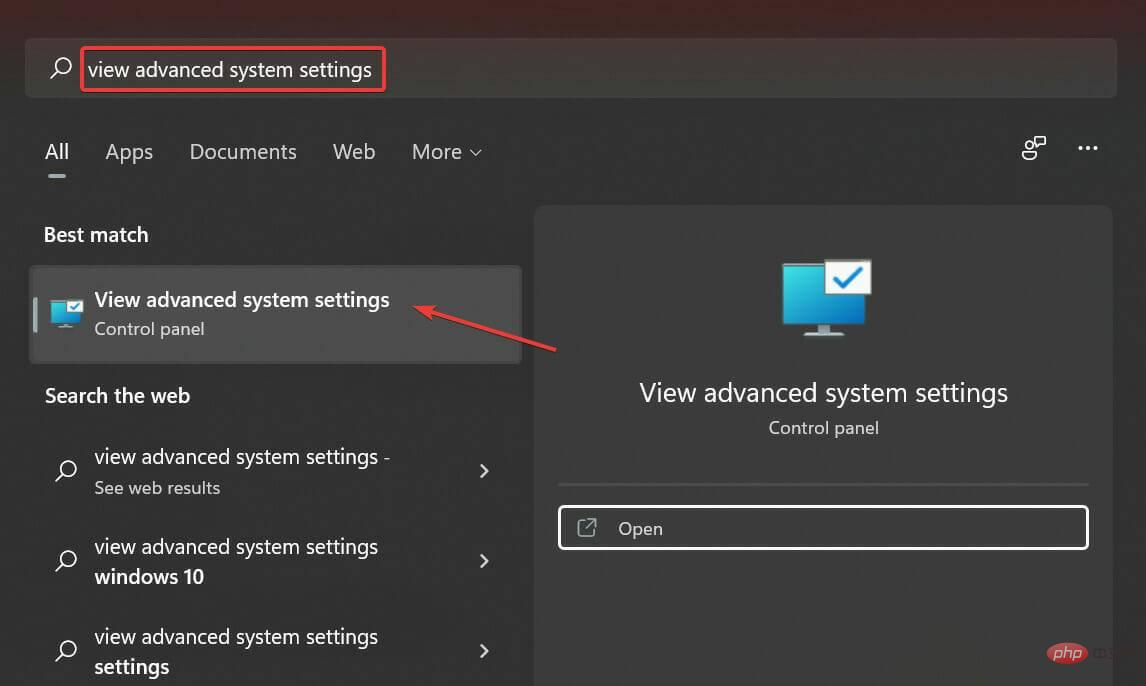
As shown in the figure, right-click "This Computer", open "Advanced System Settings", select "Advanced", and open "Performance" "Settings"-Advanced-click "Change" in Virtual Memory

Uncheck the first checkbox, then select non-C drive as the drive, and set the custom size "Initial size" to " 2048", which is 2G, set the "Maximum value" to "20480", which is 20G, and click OK.

Virtual memory setting page
After these few steps of settings, my new computer is as easy to use as the old computer. Come and give it a try.
Buy a computer and learn knowledge, please follow me!
The above is the detailed content of Change the virtual memory to another drive letter in win7. For more information, please follow other related articles on the PHP Chinese website!

 在win11系统中如何调整虚拟内存?win11系统虚拟内存设置指南Jan 29, 2024 pm 06:45 PM
虚拟内存是一种可以弥补软件内存不足的技术,它能够提供更好的使用体验。然而,一些用户在升级到Windows11系统后可能不知道如何设置虚拟内存。为了解决这个问题,本站小编为大家提供了最新的设置方法。如果你需要了解完整的步骤,请访问本站获取详细信息。win11设置虚拟内存操作方法1、首先,按键盘win按键,点击找到并进入设置页面。3、接着,在里面找到相关链接中的高级系统设置选项。5、在跳转后的页面中,找到虚拟内存,点击更改按钮即可。
 解决win10荒野大镖客2虚拟内存不足的有效方法Dec 31, 2023 pm 04:29 PM
在玩荒野大镖客2的时候很多小伙伴遇到的最大的问题就是提示虚拟内存不足吧,那么这个问题该怎么解决呢?今天就给大家带来了解决方法一起看看吧。win10荒野大镖客2虚拟内存不足怎么办:1、右击此电脑,点击“属性”。2、点击左侧的“高级系统设置”。3、随后点击“高级”再点击“设置”。4、点击性能中的“高级”选择虚拟内存下面的“更改”。5、取消“自动管理所有驱动器的分页文件大小”前的√,点击“自定义大小”,输入数值,点击设置即可。
 虚拟内存设置多少合适Feb 23, 2024 pm 03:34 PM
根据物理内存的大小来决定。具体建议:1、根据微软公司的建议,虚拟内存设为物理内存容量的1.5--3倍;2、如果物理内存为2G,虚拟内存应该设置为3G=3072MB;如果物理内存为4G,那虚拟内存应该设置为6G=6144MB;3、通常推荐将虚拟内存设置为计算机内存总量的1.5到2倍;4、一般跟物理内存差不多。
 如何在 Windows 11 中增加虚拟内存(页面文件)May 13, 2023 pm 04:37 PM
如果您在运行高端应用程序或游戏时注意到一定的延迟,则可能是RAM/内存通常运行已满。这是增加Windows11中的虚拟内存或页面文件大小的地方。虚拟内存或页面文件是最容易被误解的概念之一,围绕它有很多神话。无论其他人说什么或做什么,都必须彻底了解如何从您的计算机中获得最佳性能。在以下部分中,我们将引导您完成在Windows11中增加虚拟内存的步骤,帮助您了解其重要性以及最佳虚拟内存大小。为什么需要虚拟内存?页面文件或虚拟内存基本上是用作RAM的硬盘的一部分。当内存已满且无法存储更多数据时
 如何在 Windows 11 中重置虚拟内存(页面文件)?Apr 13, 2023 pm 11:28 PM
如果您的计算机没有足够的 RAM 或总是满的,您可以依靠虚拟内存从物理内存中卸载非活动文件。但是,如果这不太顺利,您可能需要在 Windows 11 中重置虚拟内存。我们经常看到我们的计算机滞后,最可能的情况是Windows 11 中的高 RAM 使用率。有很多方法可以降低 RAM 消耗,但这可能会影响您的体验。而且,这就是虚拟内存可以提供帮助的地方。有时需要在 Windows 11 中重置虚拟内存,因此,必须正确理解该概念和过程,我们在以下部分中进行了讨论。虚拟内存是如何工作的,为什么我需要重
 虚拟内存分配:16g合适设置吗?Feb 19, 2024 pm 07:42 PM
16G虚拟内存设置多少合适?虚拟内存是计算机系统中的一种技术,它可以通过将部分硬盘空间作为内存的扩充来提升系统的运行效率。对于操作系统来说,虚拟内存是一种非常重要的资源,它可以用来存储暂时不需要的数据,从而释放物理内存供其他程序使用。那么,对于一台具备16G物理内存的计算机来说,该如何设置虚拟内存的大小呢?虚拟内存的大小是由操作系统自动管理的,但我们也可以手
 适当的Win10虚拟内存设置是多少?Jan 15, 2024 am 08:03 AM
其实,所谓的虚拟内存实质上是在硬盘上为它开辟出的一片面积广大的特别区域,由Windows系统将此视为内存使用。究竟怎样才能设置出理想的虚拟内存大小呢?win10虚拟内存设置多少合适答:win10虚拟内存设置为物理内存的1.5倍最合适。这仅是参考值,具体设置方式视实际情况而定,设置区间最小是物理内存的1-1.5倍,最大则不超过物理内存的2-2.5倍,具体设置方法可点击右侧链接进行查看详细内容。(win10虚拟内存设置方法)win10虚拟内存设置在哪个盘最好答:win10虚拟内存设置在C盘最好。由于
 如何设置虚拟内存性能最佳win10「最新win10提示虚拟内存不足解决步骤」Feb 07, 2024 am 10:39 AM
最近有不少用户反馈,电脑自已本身的物理内存已经有8G甚至16G,不过在使用程序时还是会弹出虚拟内存不足的提示,而且系统也变很卡,那么对于这种情况我们该怎么解决呢?接下来就给大家详细介绍解决win10虚拟内存不足的具体操作,有需要的朋友一起来看看吧。1在桌面上右键点击此电脑,选择“属性”,如下图所示:点击输入图片描述(最多30字)2、接着在弹出的窗口,选择“高级系统设置”,如下图所示:点击输入图片描述(最多30字)3、在跳出的系统属性窗口选择性能下方的“设置”按钮,如下图所示:点击输入图片描述(最


Hot AI Tools

Undresser.AI Undress
AI-powered app for creating realistic nude photos

AI Clothes Remover
Online AI tool for removing clothes from photos.

Undress AI Tool
Undress images for free

Clothoff.io
AI clothes remover

AI Hentai Generator
Generate AI Hentai for free.

Hot Article
Hot Tools

SublimeText3 Linux new version
SublimeText3 Linux latest version

SublimeText3 Chinese version
Chinese version, very easy to use

EditPlus Chinese cracked version
Small size, syntax highlighting, does not support code prompt function

WebStorm Mac version
Useful JavaScript development tools

Notepad++7.3.1
Easy-to-use and free code editor

