With Apple's Time Capsule, you get both wireless router and external hard drive backup functionality. You can easily connect to Time Capsule from your MacBook Pro by simply connecting your device to your internet modem.
You can use Time Capsule to create a new wireless network or add it to an existing network. Once connected, Time Capsule works with Apple's Time Machine app to back up your data, giving you peace of mind. 
1. Plug one end of the Ethernet cable into the Time Capsule’s WAN port. Plug the other end into an open Ethernet port on your modem.
2. Plug the Time Capsule’s power cord into the device and plug the other end into an open outlet. Open the Applications folder on your MacBook Pro, and then open the Utilities folder.
3. Select "AirPort Utility". When AirPort Utility opens, select the Time Capsule, and then select Continue. Follow the on-screen instructions to use Time Capsule to set up a wireless network or add a device to an existing network.
Back up data
1. Click the Apple menu on your MacBook Pro and select "System Preferences." Open Time Machine and make sure the slider is in the "On" position.
2. Select Time Capsule as your desired backup device. If you are not automatically asked to select a disk, select Change Disk, Time Capsule, and Use for Backup.
3. Enter your Time Capsule password when prompted and click Connect. Let Time Capsule back up your data non-stop. Stopping backups too early can cause problems.
The above is the detailed content of How to connect a Time Capsule to a MacBookPro. For more information, please follow other related articles on the PHP Chinese website!
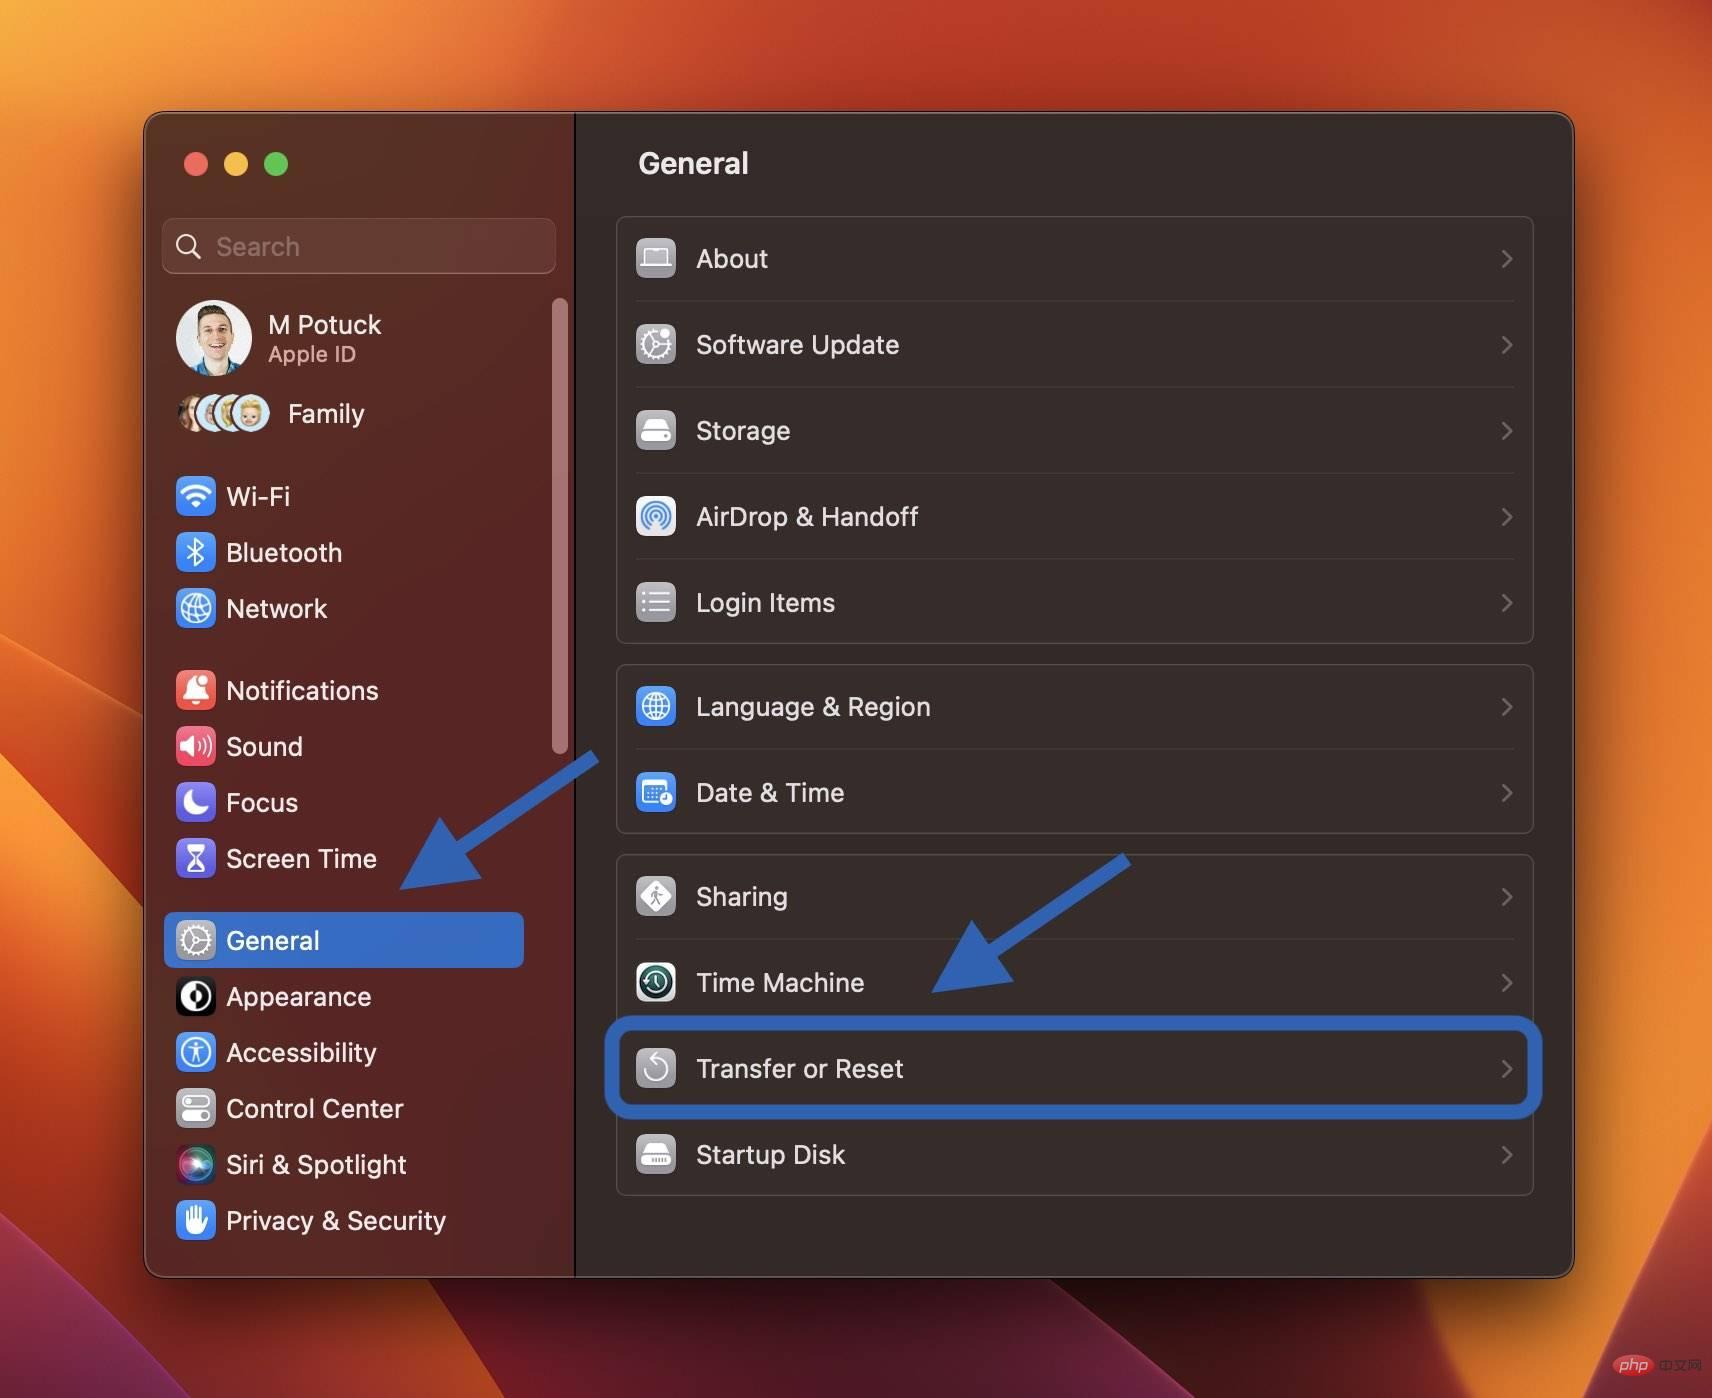 如何在出售或赠送之前重置 MacBook 或 Mac 台式机Apr 19, 2023 pm 07:43 PM
如何重置MacBook和Mac台式机macOSVentura:如何重置Mac在Mac上打开系统设置应用从左侧边栏中选择常规现在单击传输或重置>删除所有内容和设置如果需要,请输入您的密码,然后按照步骤重置您的Mac快捷方式:您还可以使用Spotlight搜索在Mac上搜索“擦除”(右上角的放大镜或使用键盘快捷键cmd+空格键)macOSMonterey:如何重置您的MacmacOSMonterey为2018年及更高版本的Mac提供了全新的擦除助手。如果您尚未升
 如何得知MacBook 的「电池健康度」?Apr 13, 2023 pm 11:58 PM
苹果新推出的系统macOS Ventura ,重新设计了「系统设定」的界面,让用户可以更直觉地使用macOS 电脑,而现在就教各位如何可以更快速地知道,你的MacBook 的电池健康度。首先进入系统设定,到电池点击电池健康度最右方的info「i」系统就会显示你的电池目前的电池健康度百份比
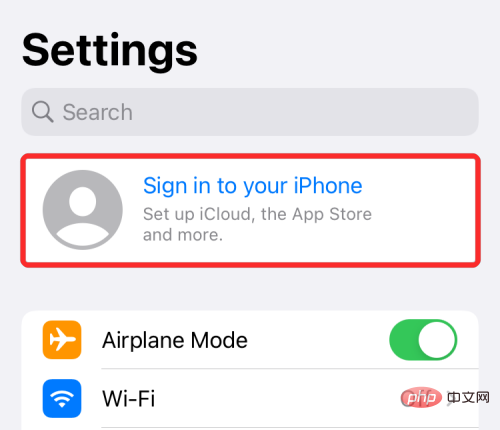 将 iPhone 与 Macbook 配对的 10 种方法Apr 18, 2023 pm 01:01 PM
Apple的产品套件,如iPhone、iPad、Mac和Watch,一直被认为是下一代产品,并且在各自的领域处于领先地位,但如果有一件事能让它们变得更好,那就是把它们很好地联系在一起的“生态系统”。该生态系统将人们在其设备上使用的大多数应用程序和功能合并为一个统一的体验,无论您选择哪种设备,该体验都可以协同工作并且行为相似。因此,应用程序、网站或服务在iPhone、iPad或Mac上的外观和感觉都相同。如果您拥有多台Apple设备,您可以期待它能够与其他设备协同工作,例如,如果您没有
 macbook隔空投送没反应怎么办Mar 03, 2023 am 10:39 AM
macbook隔空投送没反应的解决办法:1、打开访达,点击左边的“隔空投送”;2、点击右下方的“打开蓝牙”按钮;3、点击“允许”选项;4、点击选择“所有人”即可。
 m2版本的macbook pro是什么时候发布的Sep 09, 2022 pm 02:51 PM
m2版本的“macbook pro”是在2022年6月7日的WWDC22开发者大会上正式发布的,并在2022年6月24日正式开始发售;M2是苹果新一代自研芯片,采用台积电4纳米制程量产,首发搭载在“macbook pro”中。
 macbookair尺寸多少Dec 05, 2022 am 11:43 AM
MacBook Air的尺寸有13.6英寸、13.3英寸和11.6英寸。MacBook Air的高度为0.41-1.61厘米(0.16–0.63英寸)、宽度为30.41厘米(11.97英寸)、深度为21.24厘米(8.36英寸)、重量为1.29千克(2.8磅)。
 如何检查MacBook 电池的循环使用次数及健康度?Apr 19, 2023 pm 09:37 PM
iPhone电池的健康度会随着充电次数增加而减少,因而令电池健康度降低。同样,MacBook也有电池循环使用次数的限制,超过后性能会降低。一旦达到循环次数上限,建议更换电池以保持性能。不过怎样才可检查MacBook的电池健康度?检查Mac电池健康度暂时macOS没有像iPhone般显示电池健康度百份比功能,它只能告诉你现在电池的状况是否正常。1:用户可到「系统偏好设置」,再选「电池」。2:选右下方的「电池健康度」。3:之后会显示Mac电池状态,虽然不会有百份比,但会知道是否正常。Mac电池
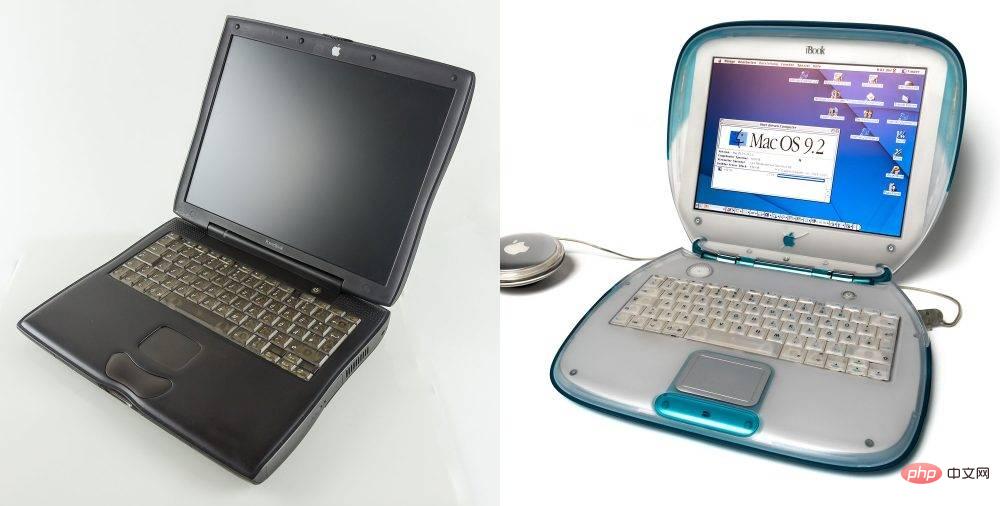 传闻中的新 MacBook Air 设计可能是 Apple 的双重聪明之举Apr 16, 2023 am 08:01 AM
苹果将商业笔记本电脑与消费笔记本电脑分开早期的Apple笔记本电脑价格昂贵,主要面向商业和专业用户。这始于1989年的MacintoshPortable(尽管“luggable”是一个更准确的术语),当时我们还没有拿到PowerBook系列。其中第一个是1991年的PowerBook100,最后一个是在2001年至2006年之间销售的PowerBookG4(铝)。第一款专门针对消费者的苹果笔记本电脑是iBook,于1999年作为iBookG3推出。该设计显然受


Hot AI Tools

Undresser.AI Undress
AI-powered app for creating realistic nude photos

AI Clothes Remover
Online AI tool for removing clothes from photos.

Undress AI Tool
Undress images for free

Clothoff.io
AI clothes remover

AI Hentai Generator
Generate AI Hentai for free.

Hot Article

Hot Tools

EditPlus Chinese cracked version
Small size, syntax highlighting, does not support code prompt function

SublimeText3 English version
Recommended: Win version, supports code prompts!

MinGW - Minimalist GNU for Windows
This project is in the process of being migrated to osdn.net/projects/mingw, you can continue to follow us there. MinGW: A native Windows port of the GNU Compiler Collection (GCC), freely distributable import libraries and header files for building native Windows applications; includes extensions to the MSVC runtime to support C99 functionality. All MinGW software can run on 64-bit Windows platforms.

SublimeText3 Linux new version
SublimeText3 Linux latest version

SAP NetWeaver Server Adapter for Eclipse
Integrate Eclipse with SAP NetWeaver application server.


