How to install the Oil Monkey plug-in for Firefox? Firefox is an open source high-quality browser that is compatible with many plug-in extensions. The Oil Monkey plug-in is a recently emerging plug-in extension management plug-in. It can provide plug-in management services with strong compatibility and stability. Therefore, many friends want to install the Oil Monkey plug-in for Firefox browser, but they cannot. I don’t know how to do it specifically, so the editor will bring you How to install the Oil Monkey plug-in in Firefox.

How to install the Grease Monkey plug-in in Firefox
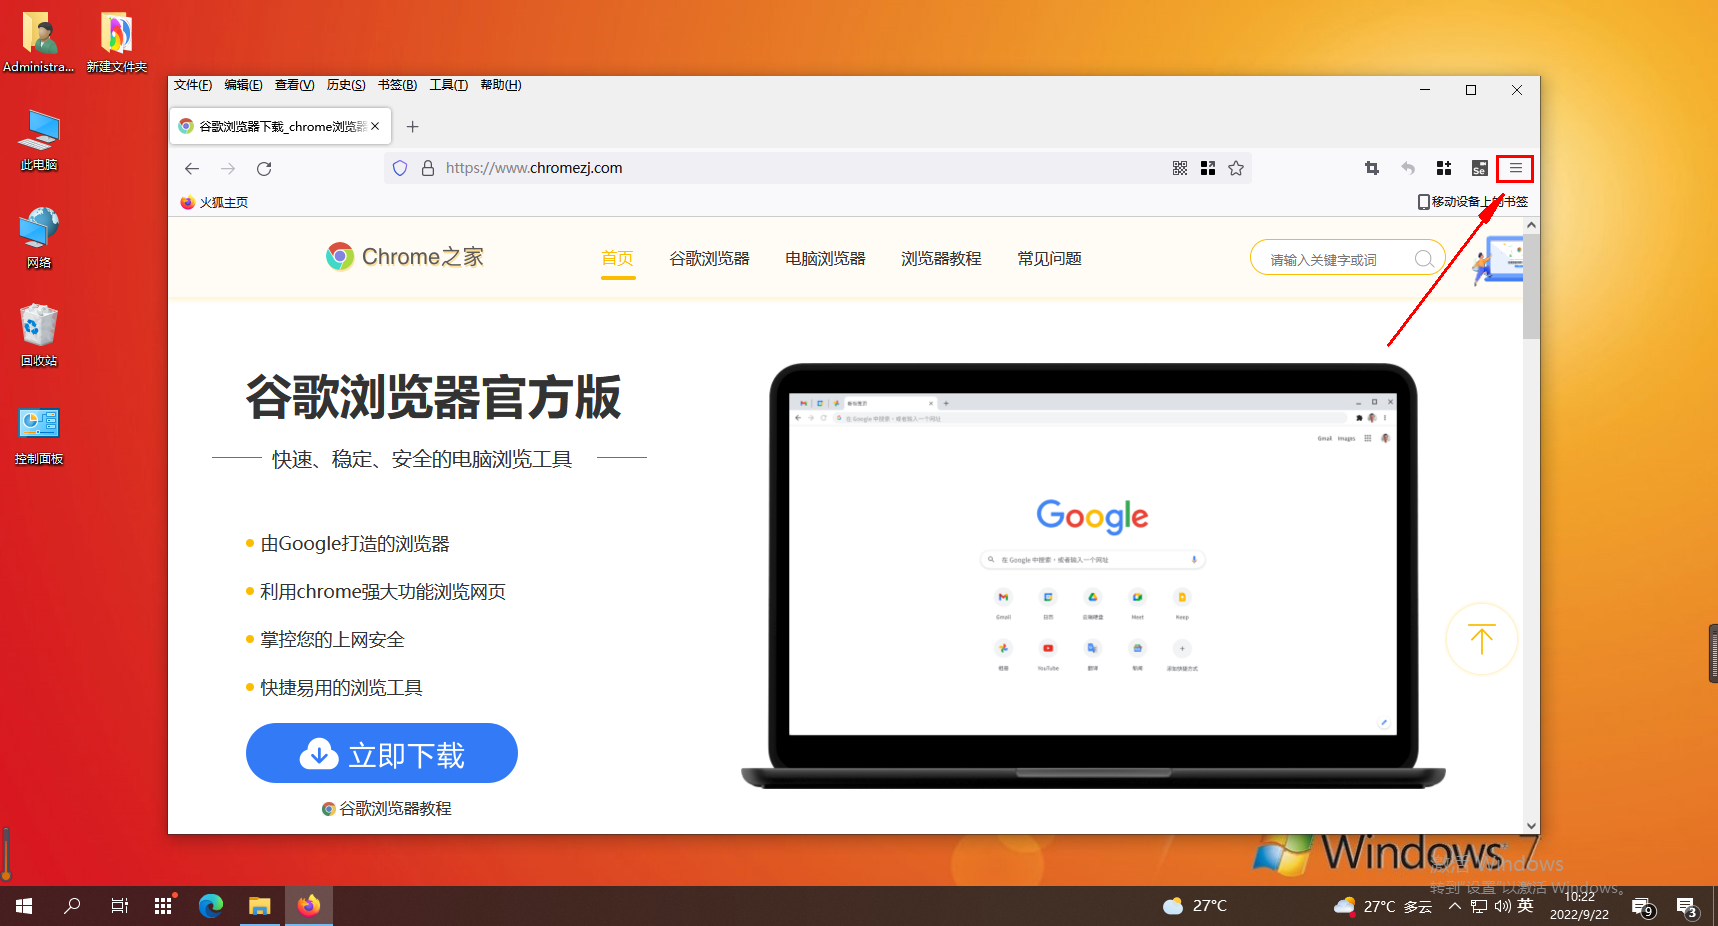
1. Download the plug-in from this site, click Download plug-in in the interface, and wait for the download to complete;

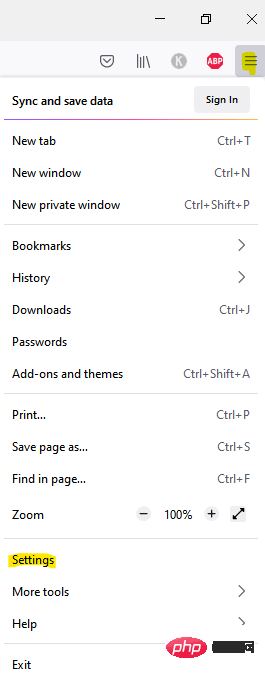
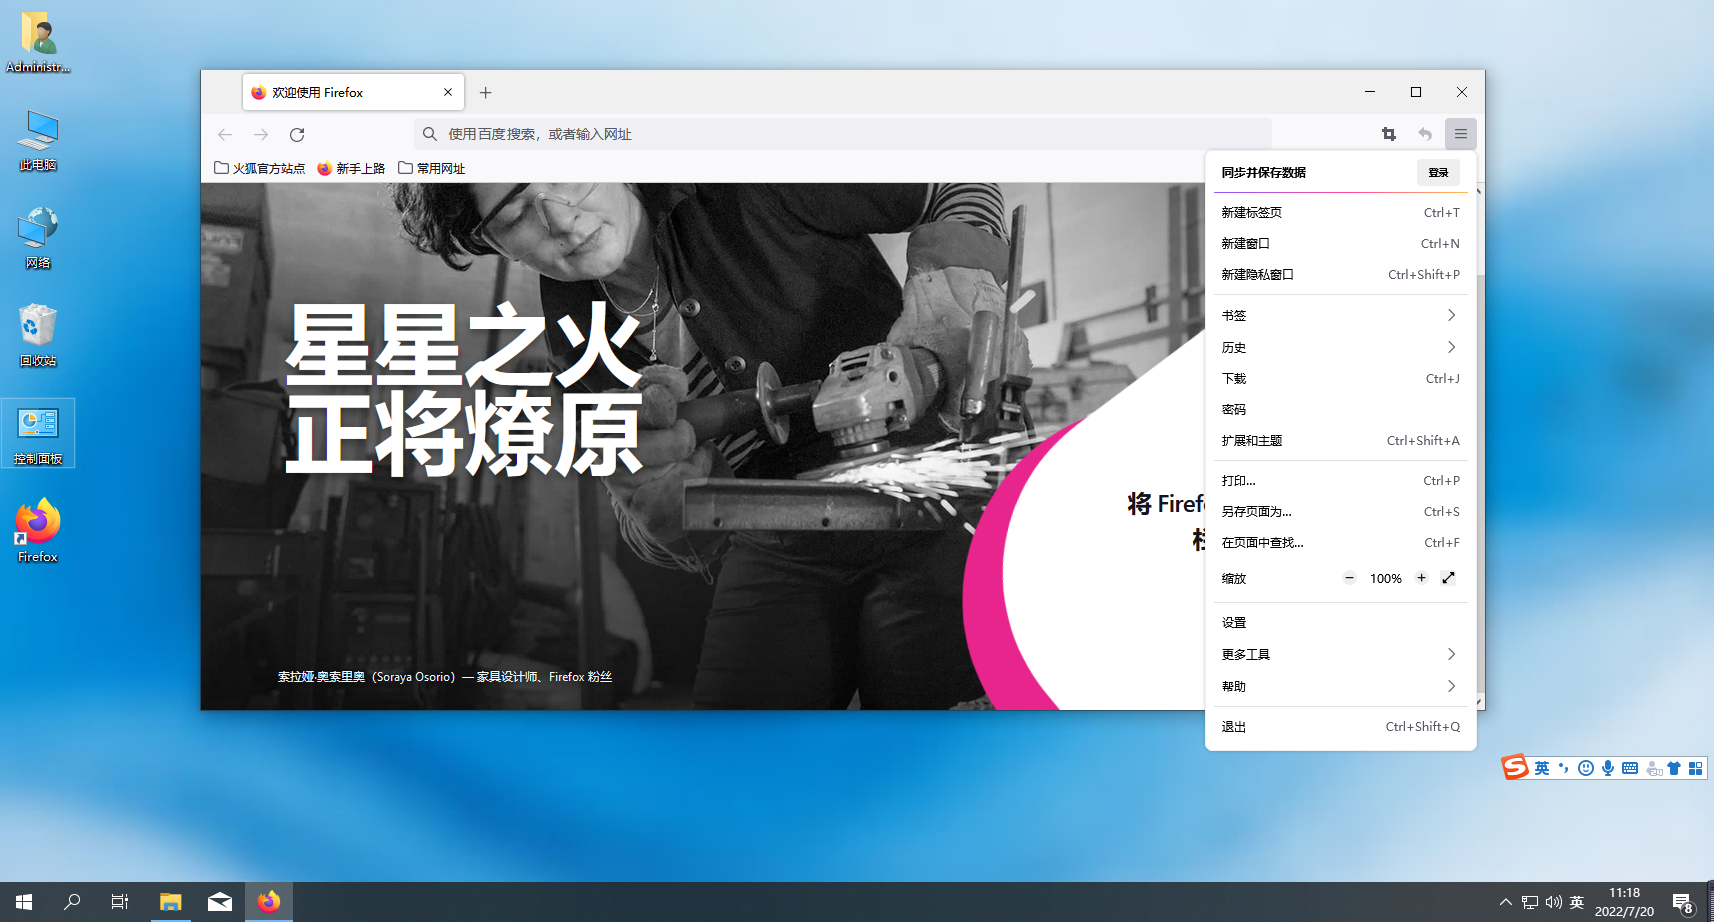
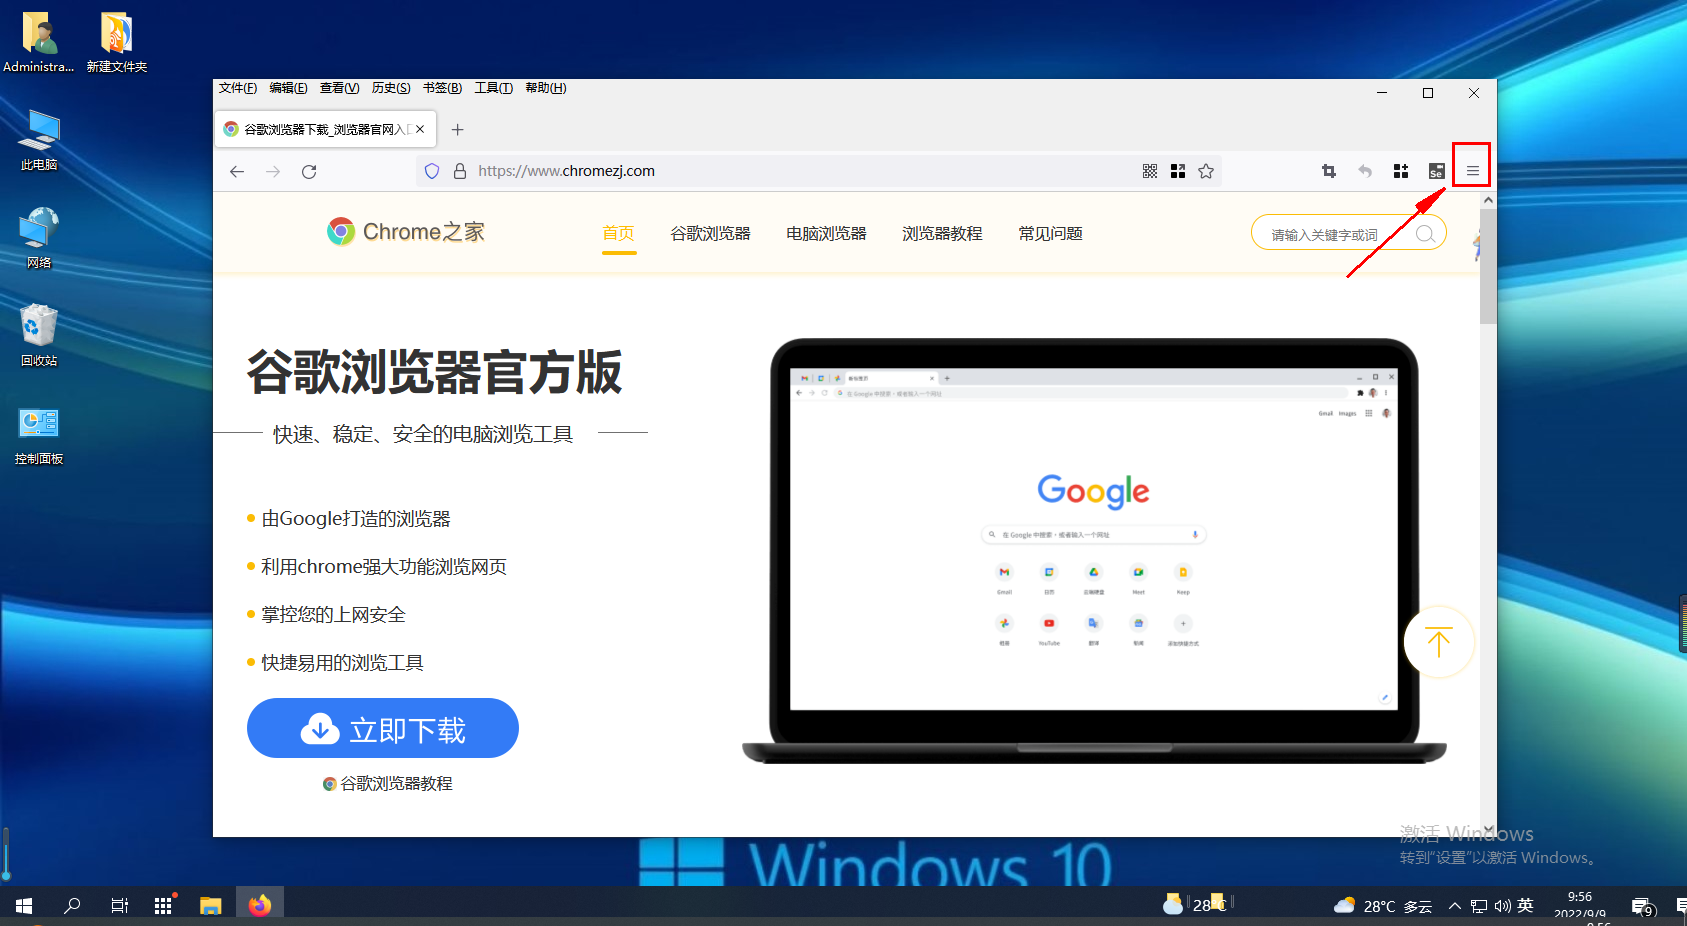
2. After the download is completed, we need to open the Firefox browser and click [three] in the upper right corner;

3. Click [Extensions and Themes] in the pop-up interface to enter the extension interface;

4. In the extension interface, we need to click the [Gear] setting in the interface, and click [Install add-on from file] in the pop-up options;

5. Finally, we find the downloaded plug-in in the pop-up folder interface, click to select and open;

6. A query window will pop up in the Firefox browser interface. Click [Add] in the window to complete the installation process.

The above is the detailed content of How to install the Oil Monkey plug-in for Firefox browser. For more information, please follow other related articles on the PHP Chinese website!
 如何轻松修复 Firefox 高 CPU 使用率问题Apr 15, 2023 pm 09:04 PM
有时在检查任务管理器时,您可能会注意到Firefox浏览器正在使用过多的内存或CPU资源。这是因为浏览器有时可能需要更多的系统资源来从Web下载内容、对其进行处理然后将其呈现给用户。当您希望执行多项任务时,在Firefox浏览器中打开了太多选项卡时,也会发生这种情况,例如,在工作或玩游戏和听音乐时查看电子邮件等。也可能是您正在加载繁重的网站内容或后台运行进程。虽然Firefox以超级安全的浏览和许多高级功能(如自定义选项或标签管理)而闻名,但它占用大量PC资源的事实最终会降低您的
 解决火狐浏览器下载速度慢的方法Jan 30, 2024 am 09:21 AM
火狐浏览器下载文件速度慢怎么办?小伙伴们在使用火狐浏览器进行文件下载的时候,是否有遇到过下载速度非常慢的情况呢?这其实是因为火狐浏览器中的安全防护模式实时保护下载数据的安全导致的,如果各位想要获得更高的下载速度的话,就需要关闭掉一些安全防护功能,那么,我们具体该怎么操作呢?下面就由小编为大家带来火狐浏览器下载速度慢解决方法。火狐浏览器下载速度慢解决方法1.打开火狐浏览器右上角的三个横杆,点击下设置2.在左边的选项点击,隐私与安全。3.向下滑动鼠标中间,找到,安全,欺诈内容和危险软件防护拦截危险与
 火狐浏览器图片显示问题解决方法Jan 29, 2024 pm 10:45 PM
火狐浏览器无法显示图片怎么办?我们在使用火狐浏览器的时候,图片无法正常的显示出来,应该怎么办!有小伙伴近期在使用火狐浏览器的时候,发现网页中自带的图片,无法正常的显示出来,是已经开裂的状态,这对他们浏览网页带来了很大的不方便,这种情况的解决办法,小编下面整理了详细的方法步骤,不会的话跟着我一起往下看吧!火狐浏览器无法显示图片解决办法1、打开火狐浏览器,在浏览器的地址栏中输入【“about:config”】并按下回车键,如图所示。2、此时会显示如下图所示的警告内容,点击【接受风险并继续】按钮,如图
 如何修复浏览器的后退按钮在 Windows 11 / 10 中不起作用May 11, 2023 pm 10:34 PM
浏览是大多数用户在其系统上为工作或空闲时间所做的事情。许多Windows用户报告他们在浏览系统时遇到问题,因为浏览器的后退按钮突然不起作用,这也意味着后退按钮变灰。他们对此无能为力。发生这种情况可能有几个原因,我们已经分析了这个问题并提出了一些解决方案。如果您在系统上也遇到同样的问题,那么这篇文章肯定会帮助您解决问题。修复1:清除浏览器的Cookie和站点数据有时,清除cookie和站点数据可能有助于在一定程度上解决浏览器问题。我们已经分析了此修复程序,并提出了一些有关如何在您的浏览器上进行
 如何在火狐浏览器中启用兼容模式设置Jan 29, 2024 pm 11:27 PM
火狐浏览器如何设置兼容模式?我们打不开网页应该如何设置成兼容模式,下面介绍下具体的方法步骤!我们在使用火狐浏览器上网浏览网页的时候,会遇到一些网站不能够正常的打开,这种情况给我们浏览网页带来了很大的不便,那么该如何解决呢,我们可以打开兼容模式,这样就可以打开一些比较老旧的网站,小编下面整理火狐浏览器设置兼容模式方法,不会的话,跟着我一起往下看吧!火狐浏览器如何设置兼容模式1、打开我们的狐火浏览器,进入到自己的浏览器主页中,然后点击右上角的【三】打开更多功能界面2、在弹出的界面中,会有很多的功能,
 如何调整火狐浏览器的字体大小Jan 30, 2024 pm 05:00 PM
火狐浏览器怎么修改字体大小?我们在使用火狐浏览器得时候想要修改字体应该如何修改,下面介绍下!有些用户在使用火狐浏览器的时候,觉得字体太小了,想要把字体修改大点,那么我们应该如何修改火狐浏览器的字体呢,具体应该如何操作,小编下面整理了火狐浏览器修改字体大小教程,不会的话,跟着我一起往下看吧!火狐浏览器修改字体大小教程1、首先打开桌面上的火狐浏览器,然后点击右上角的三根横线2、点击设置选项3、最后在常规设置中就可以直接修改字体大小了
 如何在火狐浏览器上安装油猴脚本插件Jan 30, 2024 am 09:27 AM
火狐浏览器怎么添加油猴脚本插件?油猴是很多小伙伴都在使用的一款插件管理拓展,拥有非常多简单好用的服务功能,很多小伙伴都喜欢用这个程序。又因为火狐浏览器是对拓展程序最为自由的浏览器软件,因此有不少的小伙伴想为火狐浏览器添加油猴脚本插件,但是却不清楚具体该怎么操作,下面就由小编为大家带来火狐浏览器油猴插件安装教程。火狐浏览器油猴插件安装教程1、进入网址“https://addons.mozilla.org/zh-CN/firefox/addon/tampermonkey/”,在界面中点击下载插件;2
 如何退出火狐浏览器的全屏模式?Jan 29, 2024 pm 08:03 PM
火狐浏览器怎么退出全屏?我们在使用火狐浏览器的时候,不小心点到了全屏浏览,要怎么退出全屏,下面介绍下!有小伙伴反映说自己在使用火狐浏览器的时候,不小心点到了全屏浏览,不知道该如何退出,想要使用菜单栏和收藏夹但是都找不到了,那么火狐浏览器该如何退出全屏呢,小编下面整理了火狐浏览器退出全屏详细方法,不会的话,跟着我往下看吧!火狐浏览器怎么退出全屏1、打开火狐浏览器,这个时候是全屏模式2、鼠标移到最上面,会有缩小按钮显示出来3、点击就可以退出了4、或者按住F11也可以退出全屏


Hot AI Tools

Undresser.AI Undress
AI-powered app for creating realistic nude photos

AI Clothes Remover
Online AI tool for removing clothes from photos.

Undress AI Tool
Undress images for free

Clothoff.io
AI clothes remover

AI Hentai Generator
Generate AI Hentai for free.

Hot Article

Hot Tools

EditPlus Chinese cracked version
Small size, syntax highlighting, does not support code prompt function

ZendStudio 13.5.1 Mac
Powerful PHP integrated development environment

Safe Exam Browser
Safe Exam Browser is a secure browser environment for taking online exams securely. This software turns any computer into a secure workstation. It controls access to any utility and prevents students from using unauthorized resources.

Dreamweaver Mac version
Visual web development tools

VSCode Windows 64-bit Download
A free and powerful IDE editor launched by Microsoft


