
Home >Computer Tutorials >Browser >How to set up 360 Browser to automatically log in to your account
How to set up 360 Browser to automatically log in to your account

- 王林forward
- 2024-01-29 19:27:291964browse
php editor Strawberry will answer for you: The operation of 360 Browser to automatically log in to the account is very simple. First, open 360 Browser, click the settings button in the upper right corner, and then select the "Options" menu. In the pop-up options window, find the "Privacy" tab and click to enter. In the Privacy tab, you can see an "Automatic login" option. Check it to enable the automatic login function. In addition, you can also click "Manage Autofill Data" to manage your account information. With this setting, the next time you visit the website again, 360 Browser will automatically fill in your account information and log in to your account conveniently and quickly. Hope the above methods are helpful to you!

360 browser automatic login method
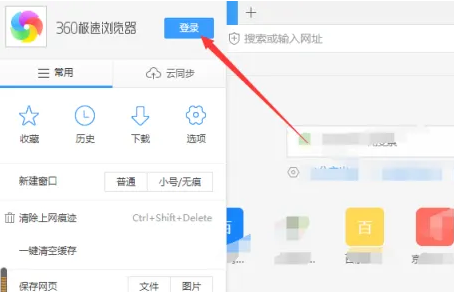
1. First open the 360 browser and click the login button
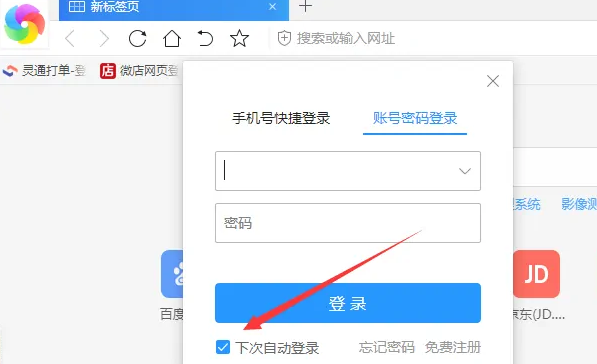
2. As shown in the picture, you need to check the automatic login option of 360 Browser.
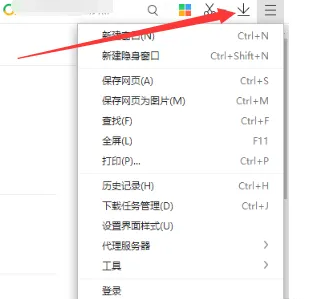
3. Click the menu in the upper right corner of the browser and select options
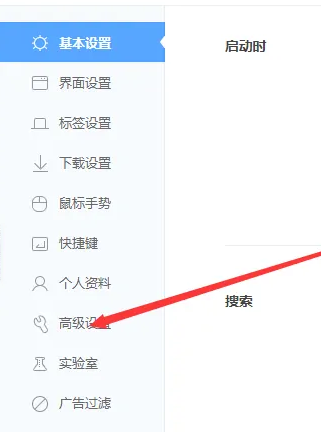
4. Select the advanced settings option in the browser options
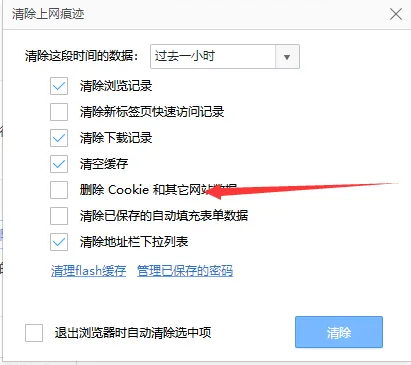
5. Click the clear browsing history option

6. Note that the clear cookie option is removed here, otherwise the login will appear again soon. Or log out automatically
The above is the detailed content of How to set up 360 Browser to automatically log in to your account. For more information, please follow other related articles on the PHP Chinese website!