Home >Computer Tutorials >Computer Knowledge >How to move the right column to the bottom in win11? The recovery operation guide is displayed at the bottom of win11
How to move the right column to the bottom in win11? The recovery operation guide is displayed at the bottom of win11
- 王林forward
- 2024-01-29 16:39:181547browse
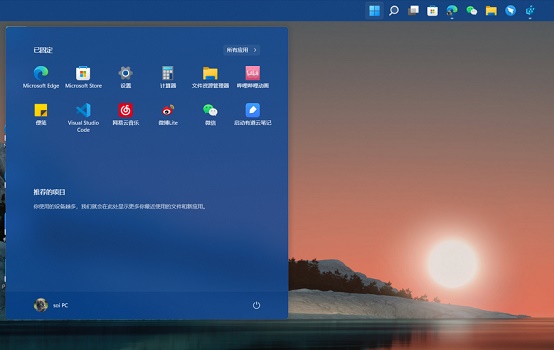
php editor Banana brings you a tutorial on how to change the right column to the bottom of Win11 system. Win11 is the latest operating system released by Microsoft. Its interface design is different from the past. The change in the position of the right column may make some users feel uncomfortable. But don’t worry, with a simple setting adjustment, you can easily change the right column to the bottom and restore the display you are familiar with. Next, we will introduce the specific operation steps in detail to help you quickly adapt to the new interface of the Win11 system.
How to change the right column to the bottom in win11
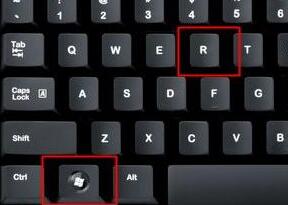
1. First, press the win r key combination on the keyboard at the same time to call up the run.
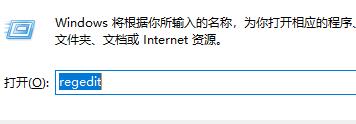
#2. Enter regedit in the run dialog box and press Enter to confirm.
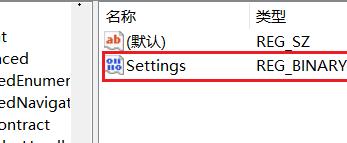
3. Locate the following registry path HKEY_CURRENT_USERSoftwareMicrosoftWindowsCurrentVersionExplorerStuckRects3.

#4. Double-click to open the settings file on the right.
According to the numbers in the illustrated positions, 00 represents the left, 01 represents the top, 02 represents the right, and 03 represents the bottom. If you want to change the position to bottom, just change the number to 03.
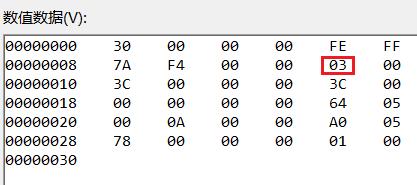
6. We can also set it to 01 to change it to the top.
The above is the detailed content of How to move the right column to the bottom in win11? The recovery operation guide is displayed at the bottom of win11. For more information, please follow other related articles on the PHP Chinese website!

