 Computer Tutorials
 Computer Knowledge
 How to expand the stacked display of the Win11 taskbar? Tutorial on stacking and expanding the Win11 taskbar
php editor Banana will give you a detailed tutorial on stacking and expanding the win11 taskbar. Win11 is the latest operating system released by Microsoft, and the design of the taskbar has also undergone brand-new changes. One of the special features is taskbar stacking, which can stack multiple app icons on one icon to save taskbar space. However, some users may not know how to expand stacked icons. This tutorial will provide you with simple and clear steps to help you easily expand the win11 taskbar stack and improve operational convenience.
How to expand the win11 taskbar stacking method
Method 1.
1. Right-click on the blank space of the taskbar and select Taskbar Settings.

#2. After entering personalization, find the taskbar corner overflow option in the menu on the right.

#3. After clicking the taskbar corner overflow, turn on the switch for the application icon to be displayed.

#4. After completing the settings, you can see the icons of all applications.

Method 2:
1. We need to use a software to achieve it. Search, download and install the startallback software to open it, and select Taskbar to enter.

2. Find the Combinetaskbarbuttons option and set it to Never to set the Windows 11 taskbar to not be merged.

#3. Re-open the desktop, you can see that the taskbar is no longer merged, and the taskbar is transparent, and the user can adjust it as needed.
4. Right-click the small arrow on the taskbar to unlock the taskbar setting. The operation is similar to the previous Win10 and Win7, which is more convenient.

The above is the detailed content of How to expand the stacked display of the Win11 taskbar? Tutorial on stacking and expanding the Win11 taskbar. For more information, please follow other related articles on the PHP Chinese website!
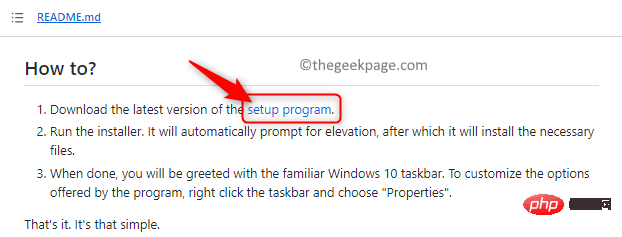 如何在 Windows 11 中将快速启动工具栏添加到任务栏Apr 14, 2023 pm 02:31 PM
在 Windows 10 和 Windows 11 中,快速启动工具栏位于任务栏(系统托盘之前),帮助用户打开或启动经常访问的文件、文件夹、应用程序等。这是 Windows 10 的原生功能,允许用户创建自定义工具栏来访问文件、文件夹和应用程序。但是,在 Windows 11 中,用户无法使用此功能。但是,可以创建和添加快速启动工具栏以访问从 Windows 11 PC 的系统托盘定期访问的文件、文件夹和应用程序。您是否希望在 Windows 11 系统上使用快速启动工具栏,然后继续阅读这篇文章
 如何在 Windows 11 上隐藏、禁用或卸载小部件(以及禁用 Windows+W 快捷方式)Apr 13, 2023 pm 04:16 PM
您可以在 Windows 11 上正式禁用小部件吗?不,Windows 不允许您使用“设置”下的简单选项禁用小部件。但是,有一些可用的技巧可以让您非常轻松地禁用 Windows 11 计算机上的小部件。 在我们查看这些极客技巧之前,您应该知道 Windows 11 确实可以让您很容易地从任务栏中隐藏小部件,但它会继续在后台运行小部件服务,并在您按下 Windows + W 键盘快捷键时打开小部件窗口,有意或无意。对我们来说,是后者。这就是为什么我们也提供了禁用键盘组合快捷键的教程,这样它就不会遇
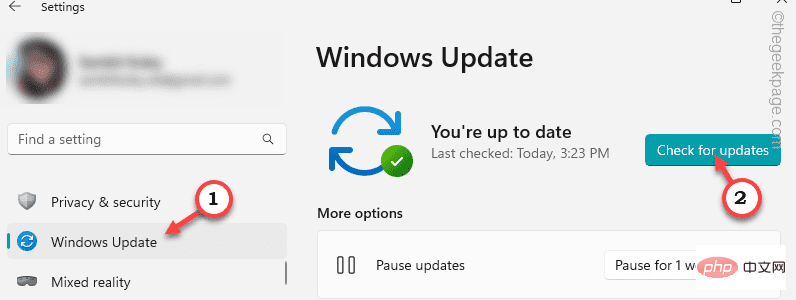 DesktopWindowXamlSource出现在Windows 11/10的任务栏上Apr 13, 2023 pm 09:13 PM
DesktopWindowXamlSource 可帮助计算机上的应用托管 XAML 控件。因此,如果应用正在尝试使用此 API,但无法正确使用它,您会注意到 DesktopWindowXAMLSource 出现在任务栏上方的透明、无响应窗口中。似乎OneDrive是这个问题背后的真正原因。您可以应用一些简单的修复程序来修复它。修复1 –将计算机更新到最新版本这是一个众所周知的错误,Windows在最近的更新中修复了此问题。因此,如果您有一段时间没有更新系统,请安装它们并重新启动计算机。步骤 1
 Windows 11 可能很快就会让你将 Windows Widgets 移到右边Apr 14, 2023 pm 09:10 PM
如何在Windows11build25324中启用更新的小部件从GitHub下载ViVeTool并将文件解压缩到一个方便且易于查找的文件夹中。按Win+X并选择Terminal(Admin)。使用Ctrl+Shift+2快捷键或单击窗口顶部的向下箭头按钮,将Windows终端切换到命令提示符配置文件。使用CD命令导航到包含ViveTool文件的文件夹。例如,如果您已将ViveTool放在C:\Vive中,请键入CDC:\Vive。键入vivetool/enab
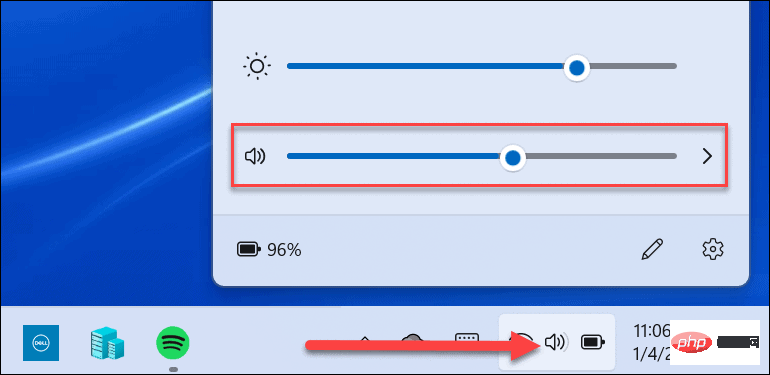 如何在 Windows 11 中恢复经典音量混合器Apr 13, 2023 pm 09:16 PM
什么是 Windows 11 音量混合器?如果你还没有在 Windows 11 中使用过新的 Volume Mixer,让我们来看看。它有一个新位置,并且与旧 Windows 版本中使用的声音控件略有不同。您可以通过左键单击右下角的扬声器图标找到它。这会为您的系统打开一个通用音量栏——音量栏上方是Windows 11 快速设置。单击音量滑块右侧的箭头以选择声音输出。请注意,您还可以右键单击扬声器图标以显示隐藏菜单。从那里,您可以单击打开音量混合器。这将打开一个完整的系统页面,您可以在其中控制系统
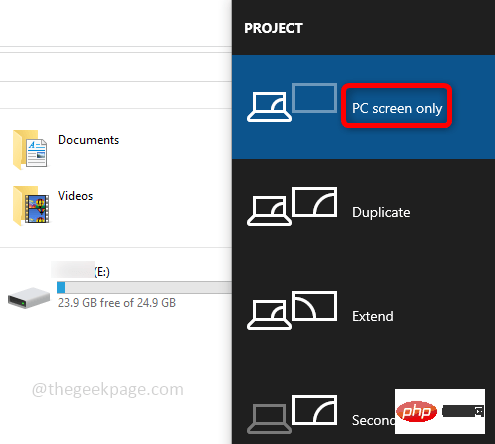 在 Windows 10 / 11 修复中无法最大化任务栏中的程序Apr 14, 2023 pm 04:43 PM
Windows10和Windows11具有广泛的功能和特性,但有时当您遇到问题时会很烦人。你们中的一些人可能会遇到这样的问题,即应用程序会自动最小化到任务栏中,并且看起来像一个小图标,即使通过单击该图标进行了多次尝试,它也无法最大化,因此,您的工作被卡住了。是的,这令人沮丧,但您可以通过几个步骤轻松解决此问题,所以不用担心。要知道如何解决此问题,请尝试本文中的以下简单方法,并查看哪种方法适合您。方法1:仅选择选项PC屏幕如果您使用双显示器,有时这可能会发生在您的1台计算机已插入但您正在
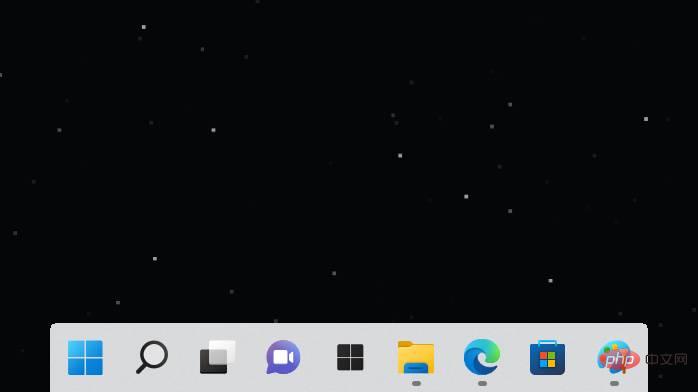 TaskbarXI 将您的 Windows 11 任务栏变成类似 macOS 的 DockApr 14, 2023 am 09:37 AM
微软彻底改革了Windows 11的任务栏和开始菜单,但并不是每个人都对新的外观和感觉感到满意。Stardock是一种实用程序,它用更接近 Windows 7 或 Windows 10 中的外观替换更新后的开始菜单,现在有一个新的第三方工具用于自定义任务栏。TaskbarXI(通过Ghacks)是一个新的应用程序,它为 Windows 11 任务栏添加了额外的自定义选项,作为Windows 10流行的TaskbarX 工具的继承者而开发。它仍处于开发的早期阶段——甚至还没有图形界面——但它确实有
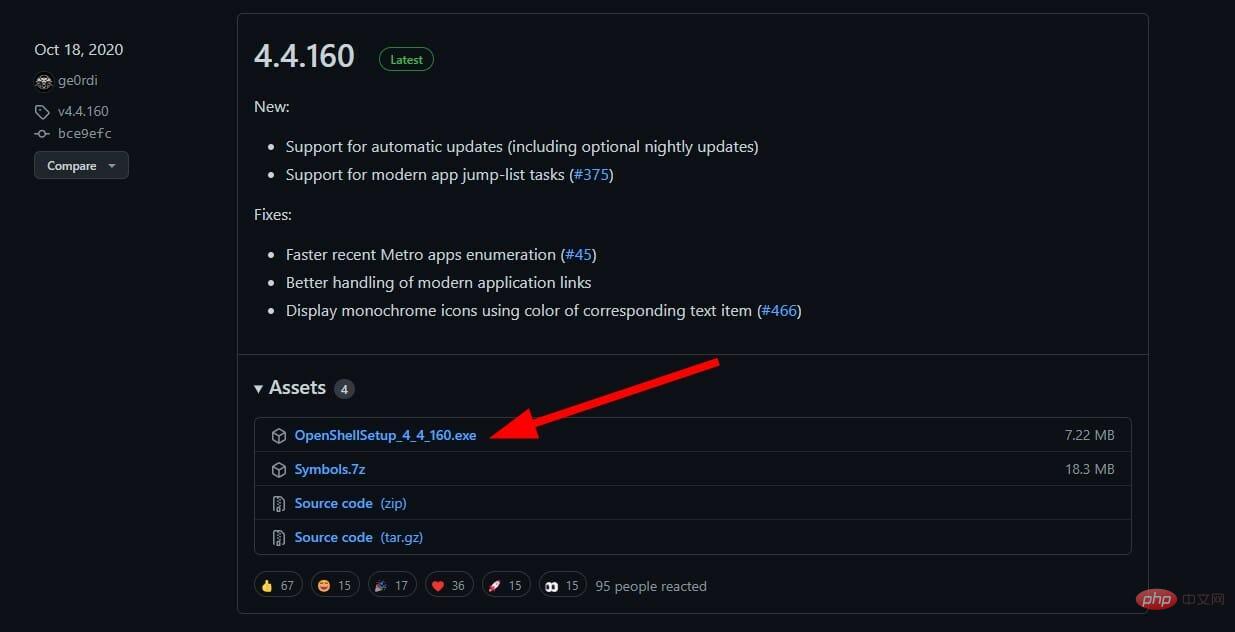 以下是 Open Shell Windows 11 无法正常工作问题的修复Apr 14, 2023 pm 02:07 PM
无法在Windows 11上运行的 Open shell 并不是一个新问题,并且自从这个新操作系统问世以来一直困扰着用户。Open-Shell Windows 11 不工作问题的原因并不具体。它可能是由程序中的意外错误、病毒或恶意软件的存在或损坏的系统文件引起的。对于那些不知道的人,Open-Shell 是 2017 年停产的 Classic Shell 的替代品。您可以查看我们的教程,了解如何在 Windows 11 上安装 Classic Shell。如何替换 Windows 11 的开始菜


Hot AI Tools

Undresser.AI Undress
AI-powered app for creating realistic nude photos

AI Clothes Remover
Online AI tool for removing clothes from photos.

Undress AI Tool
Undress images for free

Clothoff.io
AI clothes remover

AI Hentai Generator
Generate AI Hentai for free.

Hot Article

Hot Tools

Safe Exam Browser
Safe Exam Browser is a secure browser environment for taking online exams securely. This software turns any computer into a secure workstation. It controls access to any utility and prevents students from using unauthorized resources.

Notepad++7.3.1
Easy-to-use and free code editor

MantisBT
Mantis is an easy-to-deploy web-based defect tracking tool designed to aid in product defect tracking. It requires PHP, MySQL and a web server. Check out our demo and hosting services.

Dreamweaver CS6
Visual web development tools

ZendStudio 13.5.1 Mac
Powerful PHP integrated development environment


