
 System TutorialWindows SeriesHow to set up a hotspot in win10 Steps and methods to set up a hotspot in win10
How to set up a hotspot in win10 Steps and methods to set up a hotspot in win10

The win10 system has added many practical functions based on the win7 system. Among them, the win10 hotspot function is very popular among users, but there are still some users who don’t know how to turn on the hotspot in win10. Don’t worry, let’s take a look at the following: How does it work?
With the development of the times, everyone now basically owns a variety of digital products. Many digital products require wifi or hotspots to access the Internet. The win10 system we use now can turn on hotspots, but many friends do not If you know how to open a hotspot in Win10, let me tell you how to open a hotspot in Win10.
How to enable win10 to open a hotspot
1. Enter the win10 desktop, press the win i key on the keyboard, open the windows settings interface, select "Network and Internet", and proceed to the next step.

Win10 Open Hotspot Map-1
2. Click Mobile Hotspot on the left side of the newly appeared interface. Go to the next step.

win10 Hotspot Map-2
3. Then click Edit on the right side of the interface to set the mobile hotspot Network name and password.

win10 heat map-3
4. Then select the shared location, select Ethernet here.

Win10 Open Hotspot Map-4
5. After the above settings are completed, just turn on the mobile hotspot switch. .

Hotspot Map-5
Now you know how to enable win10 to open a hotspot. I hope it will be helpful to you.
The above is the detailed content of How to set up a hotspot in win10 Steps and methods to set up a hotspot in win10. For more information, please follow other related articles on the PHP Chinese website!

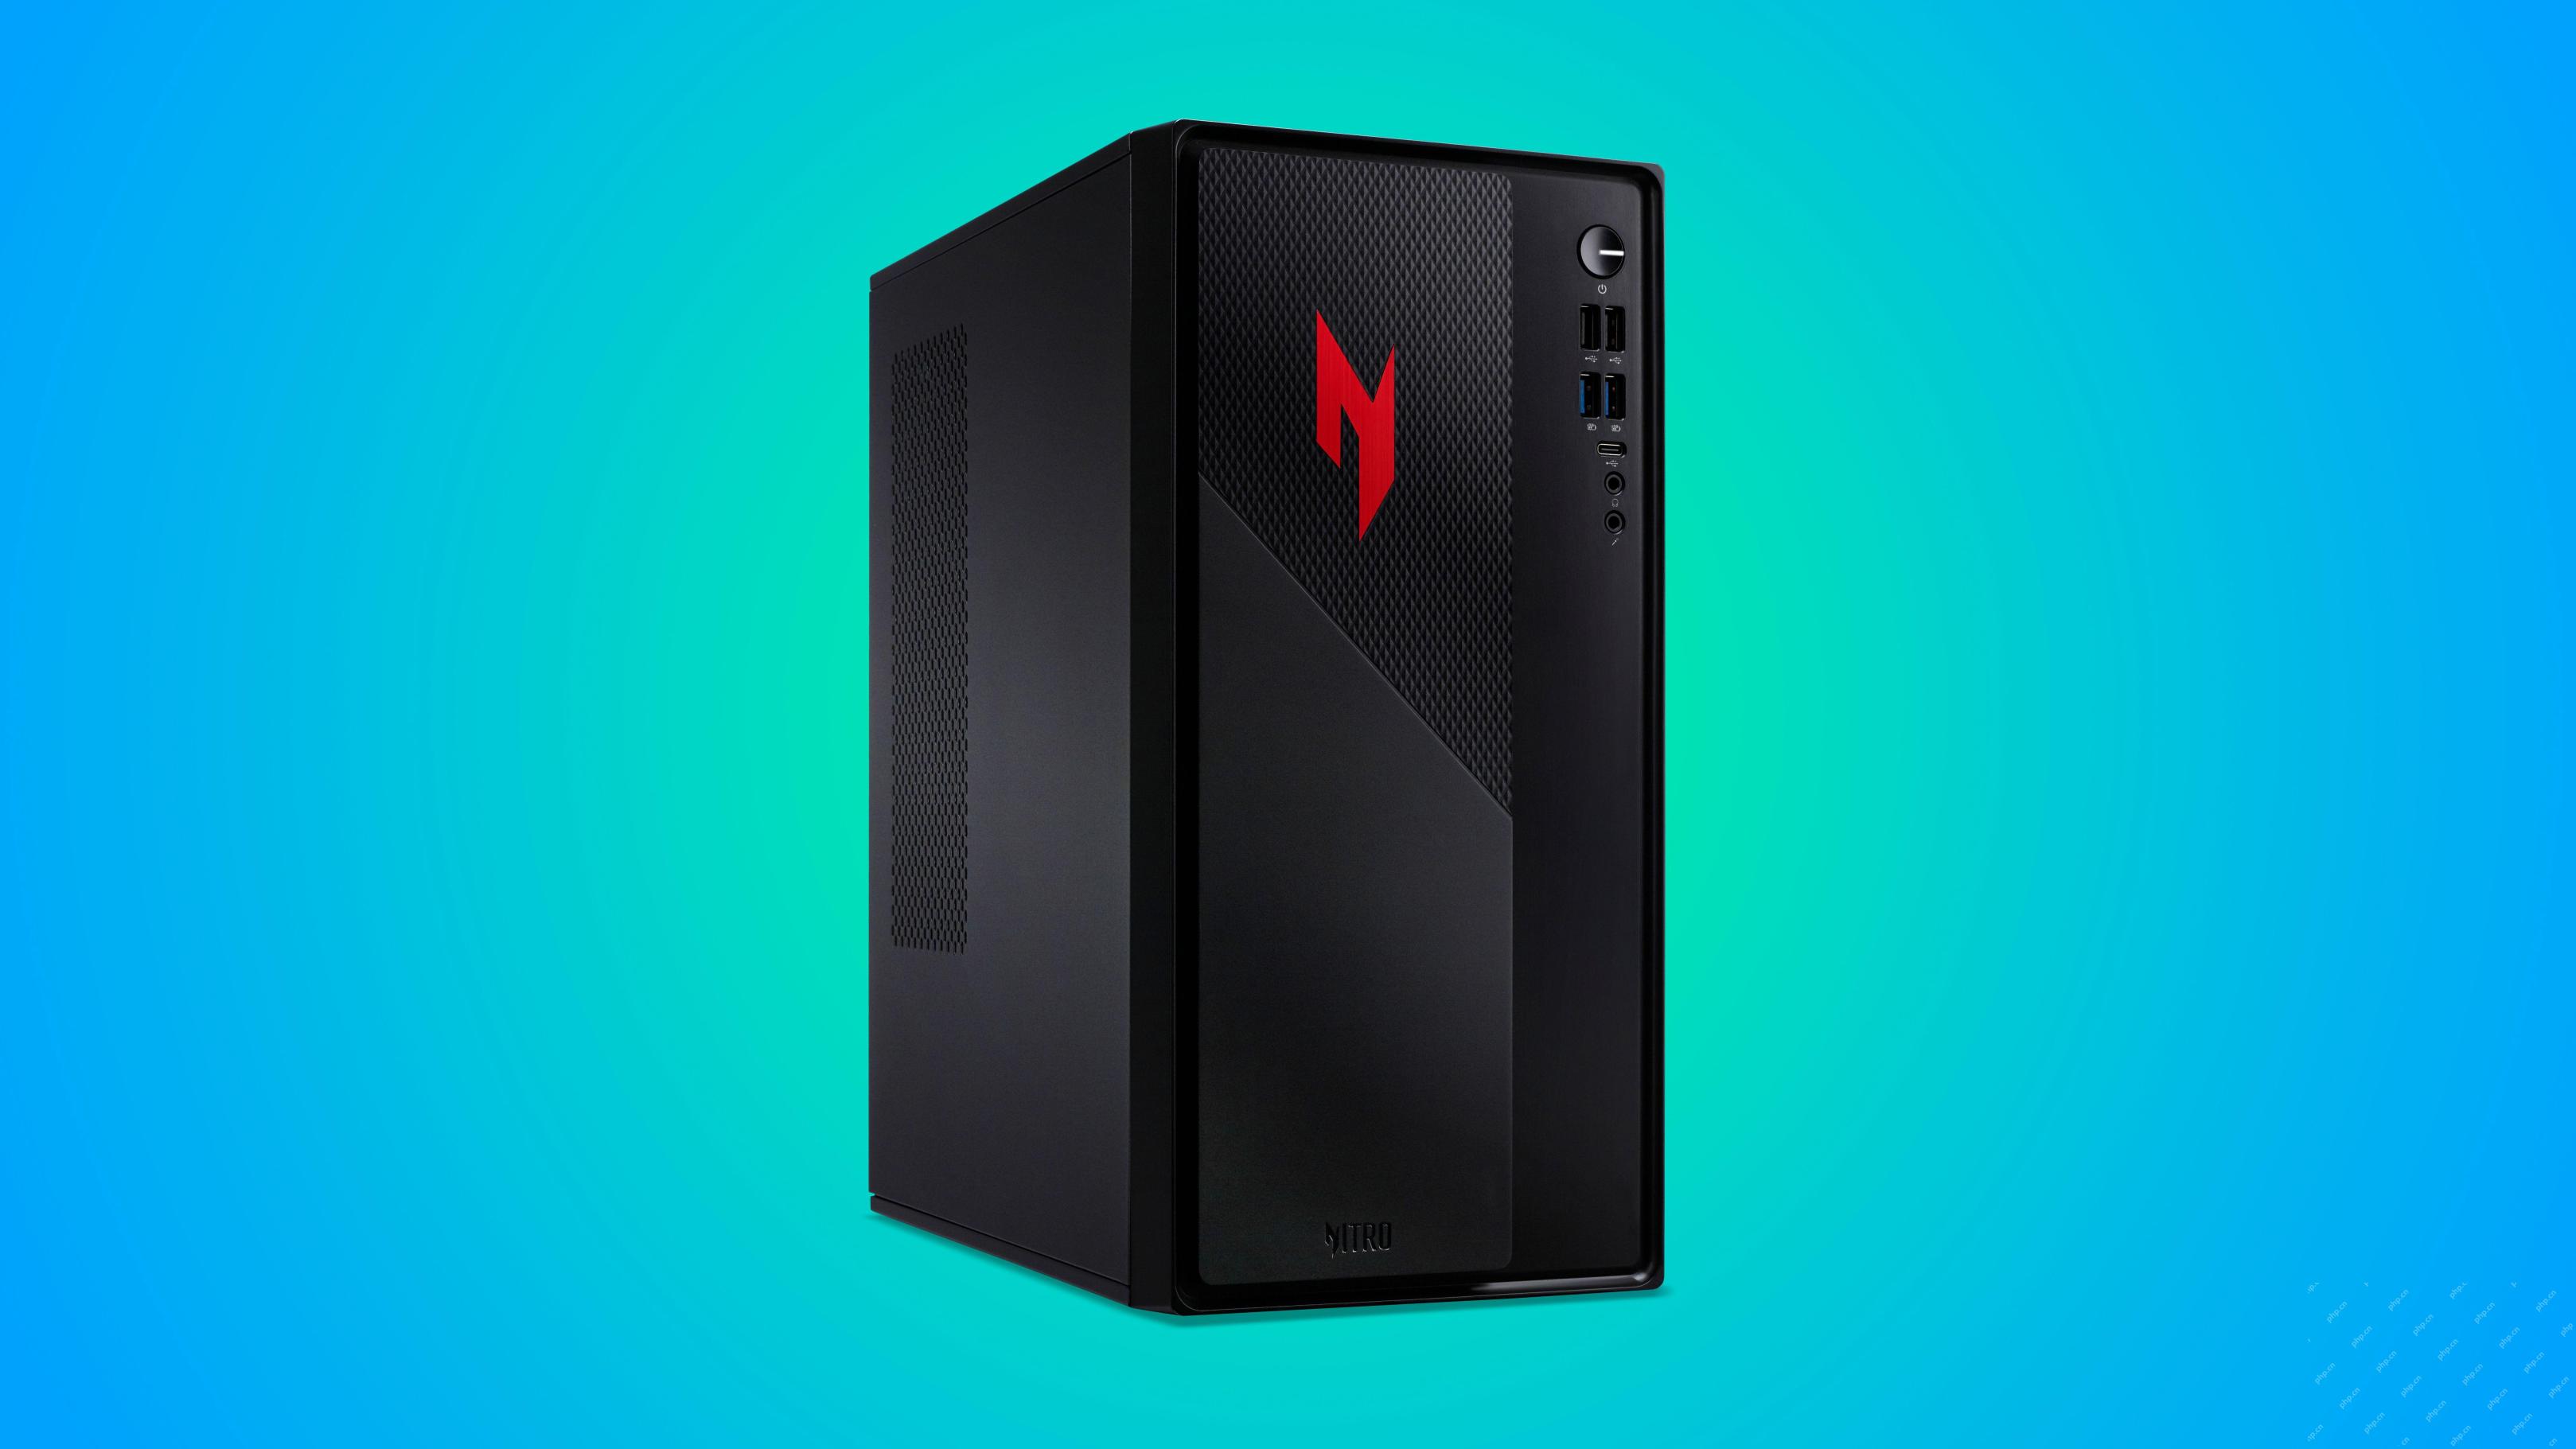 This Acer Desktop PC Has Laptop Specs, For Some ReasonApr 17, 2025 am 06:03 AM
Acer's latest gaming laptop series is stunning, but the company has also launched a desktop computer that is awkward in Acer's product line and has its own advantages and disadvantages compared to other small desktop computers. Acer today added four new laptops and a redesigned compact desktop to its popular Nitro gaming lineup. However, let's talk about desktop computers first, because it's the most unique. What makes it unique is that it uses laptop specifications. The Nitro 20 N20-100 uses an AMD Ryzen AI 9 365 processor, or the Intel Core i5-13420H desktop processor is also available. Graphics card can be equipped with up to
 This Limited-Edition 'DOOM' Release Comes In a Box That Runs 'DOOM'Apr 17, 2025 am 06:02 AM
Limited Run Games is releasing a limited-edition DOOM DOOM II: Will It Run Edition box set, a playful nod to the enduring "Can it run DOOM?" meme. This extravagant set includes remastered versions of the first two DOOM games, playable ac
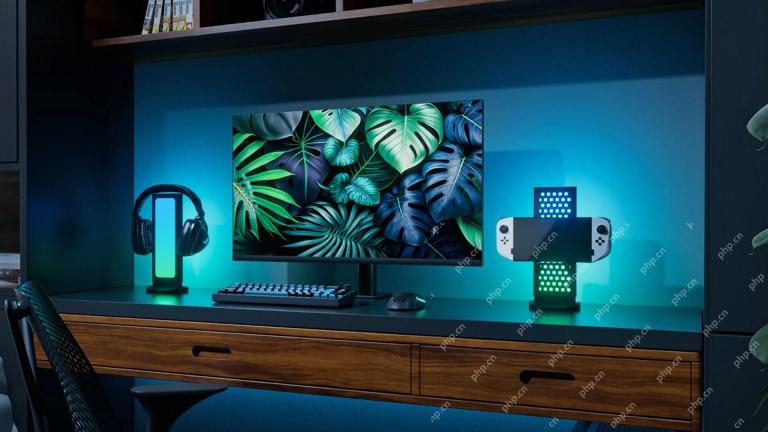 Nanoleaf Wants to Change How You Charge Your TechApr 17, 2025 am 01:03 AM
Nanoleaf's Pegboard Desk Dock: A Stylish and Functional Desk Organizer Tired of the same old charging setup? Nanoleaf's new Pegboard Desk Dock offers a stylish and functional alternative. This multifunctional desk accessory boasts 32 full-color RGB
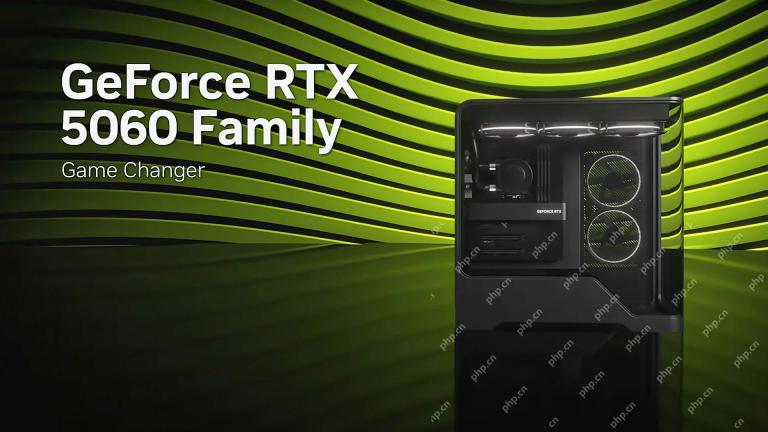 The RTX 5060 Family Is Here, but Skip the 8GB ModelsApr 16, 2025 pm 09:01 PM
The RTX 50-series GPUs: Incremental Upgrades, Competitive Pricing (Mostly) The RTX 50-series represents a measured evolution rather than a revolutionary leap in GPU technology. While performance gains are modest, AI enhancements are a key feature.
 Windows Notifications Getting Annoying? Change These 5 SettingsApr 16, 2025 am 06:08 AM
Although Windows notification function is convenient, too many pop-ups can make people feel upset. Don't worry, Windows provides multiple ways to manage and restrict notifications, keeping information open and avoiding interference. 1. Mute all notifications In some cases, such as recording a screen, focusing on work, presentations, or games, you may need a completely quiet environment. Windows allows you to mute all notifications to avoid being interrupted. Open the Settings app, click System on the left, and select Notifications. Turn off the switch next to "Notification" to disable notifications for all applications. When you are done, remember to re-open the notifications to avoid missing important updates. This method may not be suitable for users who do not want to miss out on job-related app notifications.
 I Never Buy This PC Part UsedApr 16, 2025 am 06:02 AM
Why Hard Drive and SSD Fans Fail and How to Choose Used Storage Safely Failing hard drive or SSD fans can be a major problem. This article explores why these components fail and how to mitigate the risks when buying used storage. The Risks of Used H
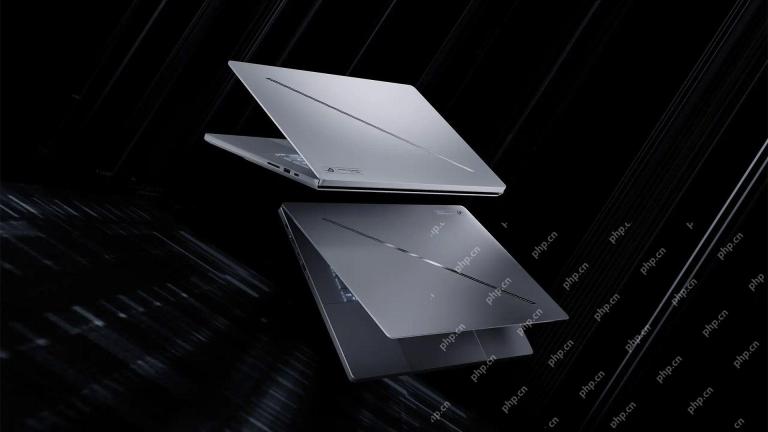 ASUS' ROG Zephyrus G14 OLED Gaming Laptop Is $300 OffApr 16, 2025 am 03:01 AM
ASUS ROG Zephyrus G14 Esports Laptop Special Offer! Buy ASUS ROG Zephyrus G14 Esports Laptop now and enjoy a $300 offer! Original price is $1999, current price is only $1699! Enjoy immersive gaming experience anytime, anywhere, or use it as a reliable portable workstation. Best Buy currently offers offers on this 2024 14-inch ASUS ROG Zephyrus G14 e-sports laptop. Its powerful configuration and performance are impressive. This ASUS ROG Zephyrus G14 e-sports laptop costs 16 on Best Buy
 5 Hidden Windows Features You Should Be UsingApr 16, 2025 am 12:57 AM
Unlock Hidden Windows Features for a Smoother Experience! Discover surprisingly useful Windows functionalities that can significantly enhance your computing experience. Even seasoned Windows users might find some new tricks here. Dynamic Lock: Auto


Hot AI Tools

Undresser.AI Undress
AI-powered app for creating realistic nude photos

AI Clothes Remover
Online AI tool for removing clothes from photos.

Undress AI Tool
Undress images for free

Clothoff.io
AI clothes remover

AI Hentai Generator
Generate AI Hentai for free.

Hot Article
Hot Tools

MinGW - Minimalist GNU for Windows
This project is in the process of being migrated to osdn.net/projects/mingw, you can continue to follow us there. MinGW: A native Windows port of the GNU Compiler Collection (GCC), freely distributable import libraries and header files for building native Windows applications; includes extensions to the MSVC runtime to support C99 functionality. All MinGW software can run on 64-bit Windows platforms.

EditPlus Chinese cracked version
Small size, syntax highlighting, does not support code prompt function

SublimeText3 Chinese version
Chinese version, very easy to use

SublimeText3 Linux new version
SublimeText3 Linux latest version

Zend Studio 13.0.1
Powerful PHP integrated development environment

