Home >Mobile Tutorial >iPhone >How to personalize the settings of the Notes app in iOS 17.2?
How to personalize the settings of the Notes app in iOS 17.2?
- 王林forward
- 2024-01-14 14:24:17740browse
After upgrading to iOS 17.2 or higher, iPhone users will be able to use the Notes app to record their lives. This feature not only helps users capture those momentary thoughts and inspirations, but also helps them organize their thoughts, organize their schedules, and record important life events. Through the "Notes" application, users can record their thoughts and feelings anytime and anywhere without worrying about forgetting. In addition, users can also use the "Notes" application for schedule planning to ensure that their lives are organized. This app will become an indispensable tool in users’ lives, allowing them to manage their time and thoughts more efficiently.
The following are the settings instructions for the "Notes" App. Users can make personalized adjustments according to their needs:
1. Custom note suggestions
You can perform any of the following operations:
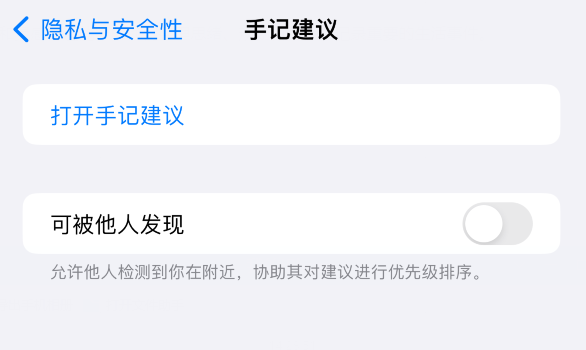
Customize privacy settings: Go to "Settings" ” - “Privacy & Security” - “Note Suggestions” and then turn any category on or off.

Recommended to use data from Apps and opened services; for recommended data retention Private and stored on your iPhone.
Change notification settings: Go to "Settings" - "Notifications" - "Note Suggestions".
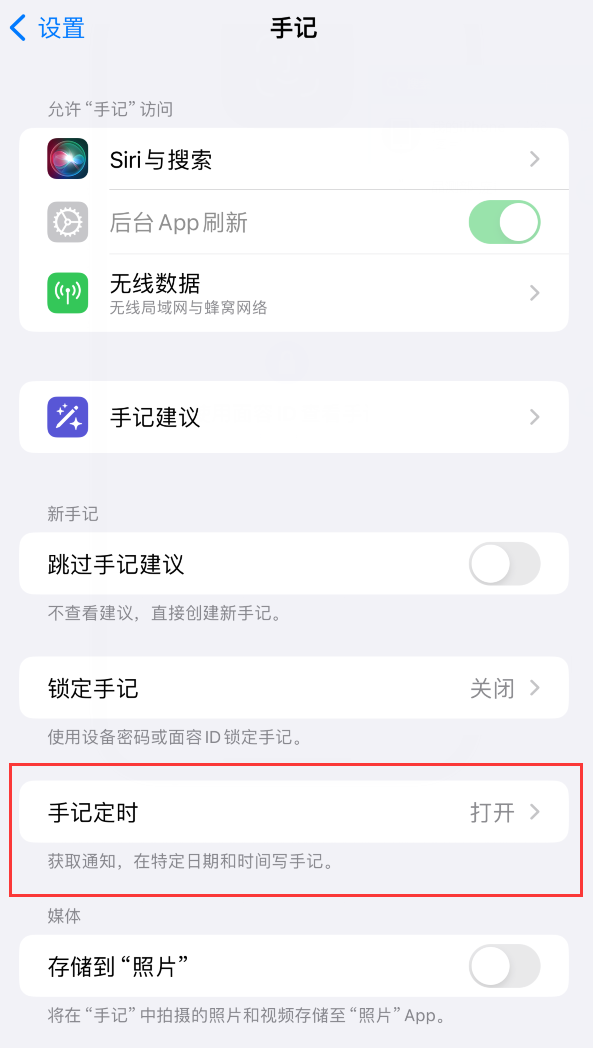
Create a new note directly without viewing suggestions: Go to "Settings" - "Notes" and turn on "Skip Note Suggestions".
2. Note lock function
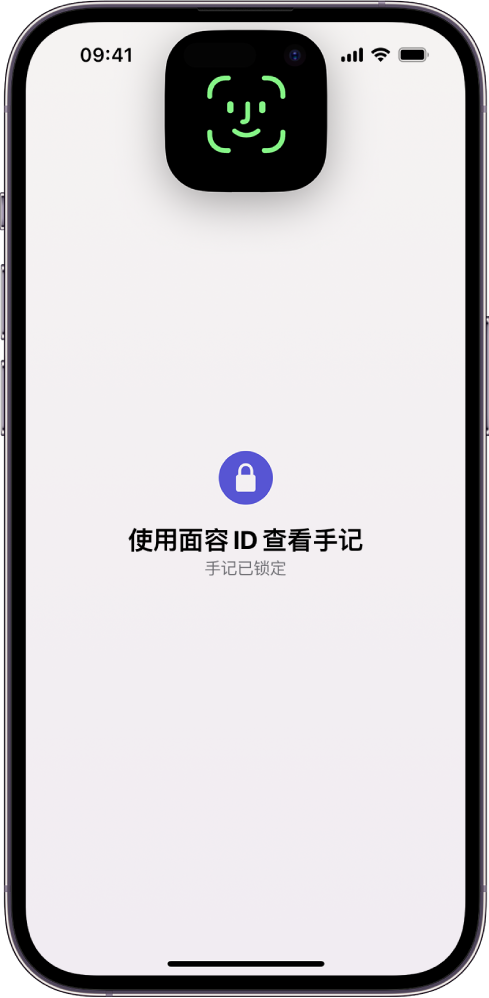
If you don’t want the content of the note to be seen by others, you can lock it. Only you can view and edit it.
Go to "Settings" - "Notes" - "Lock Notes" and follow the on-screen instructions.
To unlock Notes, open Notes, then use Face ID, Touch ID, or a passcode to verify and unlock.


##Go to "Settings" - Apple ID - iCloud. Tap Show All, then open Notes.
To back up your notes without using iCloud, you can encrypt the backup via iTunes Encrypted Backup or Full Backup.
The above is the detailed content of How to personalize the settings of the Notes app in iOS 17.2?. For more information, please follow other related articles on the PHP Chinese website!

