
Home >System Tutorial >Windows Series >Win11 start menu setting grouping method
Win11 start menu setting grouping method

- WBOYWBOYWBOYWBOYWBOYWBOYWBOYWBOYWBOYWBOYWBOYWBOYWBforward
- 2024-01-06 22:30:061379browse
The start menu of each system is very rich. People with obsessive-compulsive disorder will want to group it. What we bring to you today is the win11 start menu setting grouping method. You are still unfamiliar with the new system. Friends, come and find out together.
How to set up grouping in win11 start menu:
1. First open the start menu and click on the start menu in the taskbar.

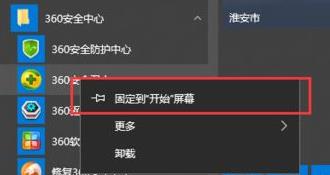
2. Then right-click the program on the left that you want to add a label and select "Pin to Start Screen".
3. At this time, you can see that the selected program tag has been added to Start, and the system will automatically add it to the previously created group.
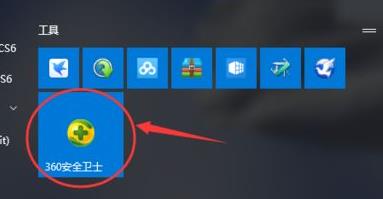
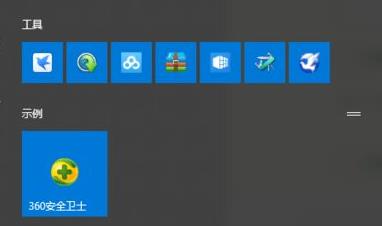
4. For example, now add 360 Security Guard to the group and name it automatically.
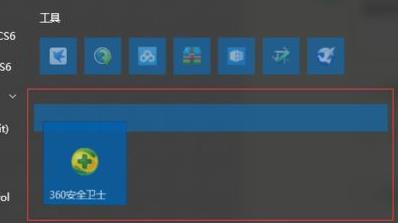
5. Then drag the label down to a blank space, see the blue horizontal bar color block, and then cancel the mouse click.
6. Now move the mouse to the front, you can see a new group, and click "Unnamed" to start changing the name.
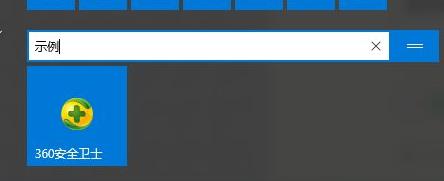
7. After the final name change is completed, the grouping can be completed successfully.
The above is the detailed content of Win11 start menu setting grouping method. For more information, please follow other related articles on the PHP Chinese website!