


How to connect to a wireless network on Windows 11

Most computers nowadays are connected to wireless networks, and then they can access the Internet normally. It is very convenient. We only need to find the network icon in the lower right corner, then find the network we want to connect to and enter the password to connect.
How to connect to WiFi in win11:
1. First, we open "wifi connection".

2. Then select the “wifi” you want to connect to.

3. Then click the “Connect” button.

4. Then enter the password and click Next.

5. Finally, we have completed the connection.

Extension: How to set the IP address
The above is the detailed content of How to connect to a wireless network on Windows 11. For more information, please follow other related articles on the PHP Chinese website!

 Here's How to Make Your Windows Installation More PrivateMay 05, 2025 pm 09:02 PM
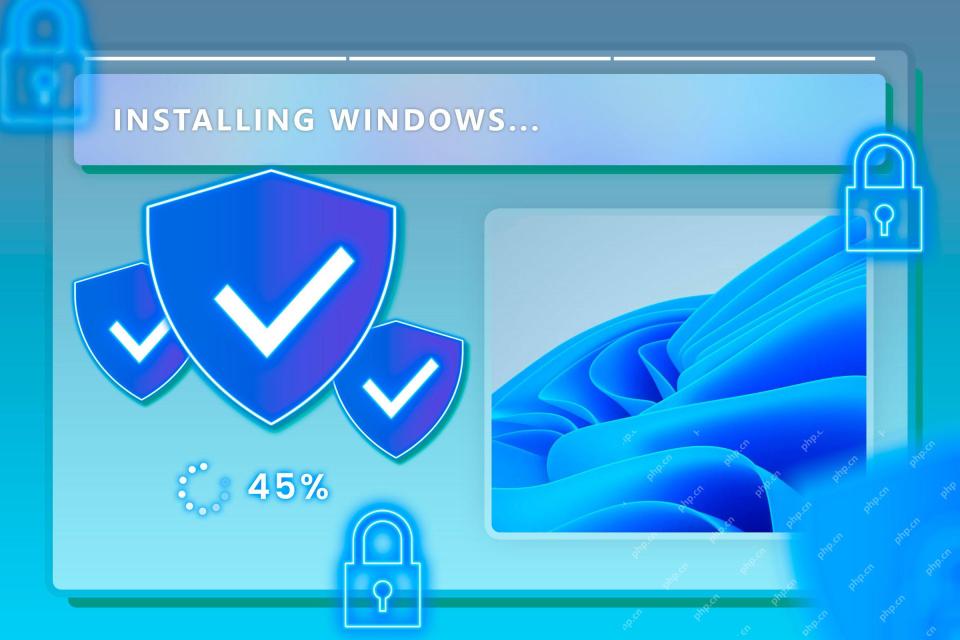
Bypass Microsoft's Privacy Intrusions: A Clean Windows Installation with a Local Account Windows installations have become notoriously privacy-invasive. Microsoft's requirement to link your installation to a Microsoft account, coupled with aggressiv
 How to Free Up RAM on Windows 11May 05, 2025 am 06:01 AM
Boost Your Windows 11 Performance: A Guide to Freeing Up RAM Is your Windows 11 PC experiencing frustrating lag and freezes? Low RAM (Random Access Memory) could be the culprit. This guide provides several effective methods to reclaim valuable RAM
 Why I Don't Shut My Windows PC Down, and You Shouldn't EitherMay 05, 2025 am 03:03 AM
Should you power down your PC or let it sleep when leaving the office? I stopped powering down years ago, and I won't go back. Here's why I keep my PC running 24/7/365, and why you should consider it too. My Past Sleep Mode Habits I've never been on
 The Acer Nitro V Gaming Laptop Has Has a Huge DiscountMay 04, 2025 am 06:10 AM
##### Acer Nitro V 15 ANV15-51-51H9 Amazon is now selling Acer Nitro V e-sports gaming laptops, enjoying a great discount of 18%! This high-performance gaming laptop is originally priced at $849.99 and is currently only $699.99, so it is not to be missed! This gaming laptop is equipped with powerful hardware configuration, allowing both casual players and veteran gamers to get a smooth gaming experience. It is equipped with an Intel Core i7-13620H processor, ensuring smooth game operation and effortless multitasking. NVIDIA GeForce RTX 4050 Laptop GPU with 194 AI TOPS, supports advanced A
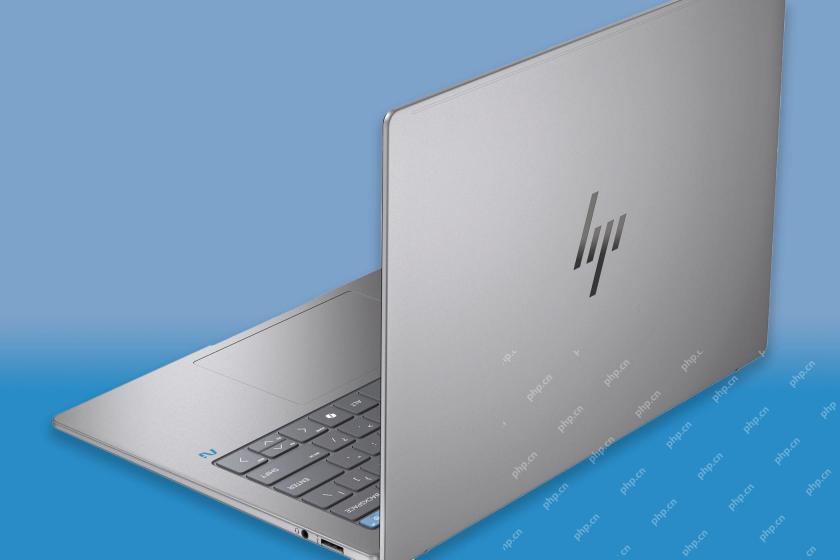
 Today Only: This 14-inch HP Laptop Is Just $170May 04, 2025 am 06:05 AM
Great value HP 14-inch laptop, currently only $169.99! This HP 14-inch laptop is originally priced at $219.99, and now Best Buy is priced at $169.99, saving $50! It is equipped with an Intel N150 processor, 4GB of memory and 128GB of UFS storage. Although the 1366x768 resolution screen is slightly outdated, it is enough to handle daily basic tasks. Preinstalled with Windows 11 Home Edition S mode and has up to 11 hours of battery life, which is a great value for money. This laptop is perfect for daily web browsing and office use. It uses Intel N150 processor, a quad-core processor with a maximum frequency of 3.6 GHz and has 6M
 More Price Hikes and Batteries on Fire: Weekly RoundupMay 04, 2025 am 06:03 AM
Tech News Roundup: Recalls, Price Changes, and Exciting New Releases This week's tech news is packed with updates, recalls, and new product launches. Let's dive into the highlights: Safety First: Recalls and Updates Baseus Power Bank Recall: Baseus
 iFixit Is Helping Make HP Laptops More RepairableMay 04, 2025 am 12:53 AM
Related ##### Samsung hinders mobile phone repair iFixit's partnership with Samsung broke down, and Samsung reportedly forced repair shops to share customer information. Article The blog post also mentioned: "A interesting feature worth watching is the new battery replacement tool, which [HP] calls it the Revivekit. There are two smaller boxes in the box - one with a new battery, and the other designed to safely store the old battery after replacement. The cardboard profile design allows it to cover the old battery and protect it from accidental poking when you do repairs. It also comes with some strategically placed adhesive pads to help securely hold it to the battery when you work - and it is designed to still stick to the battery when you lift it, which you can fold and store after that.
 This 100W USB-C Baseus Charger Is 45% OffMay 04, 2025 am 12:52 AM
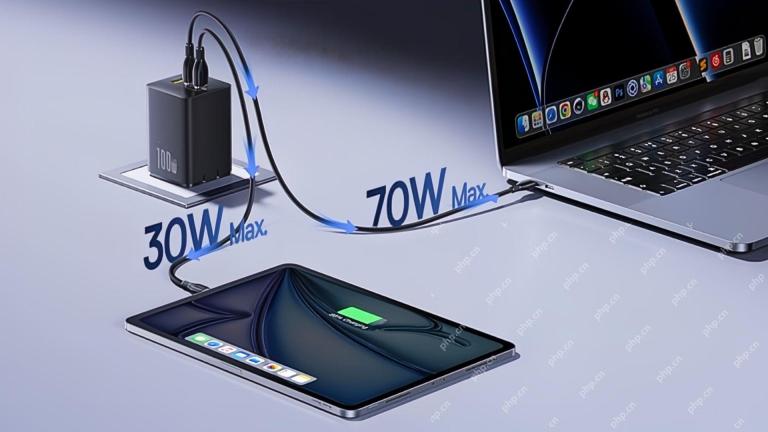
Baseus 100W Three-Port USB-C Charger: Great Value! The Baseus 100W three-port USB-C charger provides ultra-high speed charging for up to three devices at the same time. The two USB-C ports each provide 100W output, while one USB-A port adds more compatibility. Its compact and portable design and foldable plug are perfect for traveling. Advanced cooling system and intelligent power distribution technology ensure safe and efficient charging. Amazon Baseus flagship store is currently in a big promotion. If you purchase Baseus 100W three-port USB-C charger, you will get two 45W USB-C chargers and charging cables. The total price is only


Hot AI Tools

Undresser.AI Undress
AI-powered app for creating realistic nude photos

AI Clothes Remover
Online AI tool for removing clothes from photos.

Undress AI Tool
Undress images for free

Clothoff.io
AI clothes remover

Video Face Swap
Swap faces in any video effortlessly with our completely free AI face swap tool!

Hot Article
Hot Tools

Notepad++7.3.1
Easy-to-use and free code editor

SublimeText3 Linux new version
SublimeText3 Linux latest version

MantisBT
Mantis is an easy-to-deploy web-based defect tracking tool designed to aid in product defect tracking. It requires PHP, MySQL and a web server. Check out our demo and hosting services.

SublimeText3 Mac version
God-level code editing software (SublimeText3)

PhpStorm Mac version
The latest (2018.2.1) professional PHP integrated development tool

