Home >System Tutorial >Windows Series >Teach you how to remove the win7 motherboard battery
Teach you how to remove the win7 motherboard battery
- 王林forward
- 2024-01-03 19:15:581218browse
Many people may not know that our computer motherboards require their own batteries and cannot be used directly after being connected to a power source. The battery may be out of power. If the battery is out of power and we don’t want to take it to a repair shop to replace it, we can replace it ourselves through the tutorial below.
win7 motherboard battery removal tutorial
1. First, we need to disassemble the host and find the motherboard.
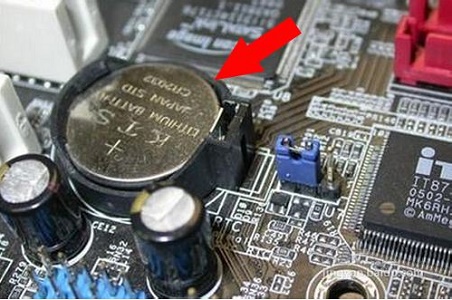
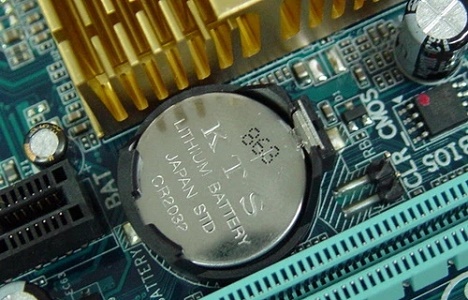
2. Then find a button battery with a " " on the back and a diameter of 1-2cm on the motherboard. This is the motherboard battery.
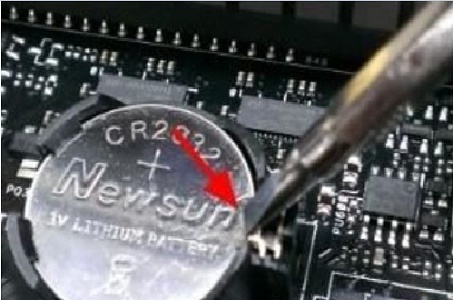
#3. Use a relatively flat tool to press the buckle next to it.
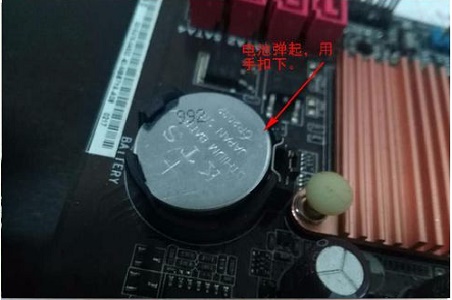
#4. The battery will pop up automatically, and then we can take it out.
#5. Then put the new battery back, first place it where there is no buckle, and then press the place where there is a buckle to complete the installation.
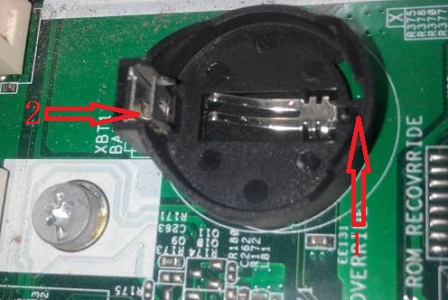
#6. The above is the removal method of the "external button" battery. If it is a "button-up" battery, there will be a button on the battery, just lift the button up. If it is a "press-on" battery, you only need to push the battery outward.
The above is the detailed content of Teach you how to remove the win7 motherboard battery. For more information, please follow other related articles on the PHP Chinese website!
Related articles
See more- What is the maximum memory frequency supported by the B250 motherboard?
- What to do if the wireless network does not display in Windows 10
- There is a battery on the motherboard of the PC. What is its function?
- What CPU does b460 motherboard support?
- Detailed introduction of ASUS motherboard USB boot pressing F number

