Home >System Tutorial >Windows Series >Interpret the connection method of the power switch cable of the win7 motherboard
Interpret the connection method of the power switch cable of the win7 motherboard
- WBOYWBOYWBOYWBOYWBOYWBOYWBOYWBOYWBOYWBOYWBOYWBOYWBforward
- 2023-12-30 10:25:131043browse
When we buy a computer, especially when we buy separate hardware and need to install it ourselves, we need to personally complete the connection of the motherboard boot line. But many people don’t know where to start when faced with various messy cables, let alone installation. So today I will bring you a diagram of how to connect the win7 motherboard boot cable, let’s learn together.
Win7 motherboard boot cable connection diagram
1. First, we open the case and find all the power cables.
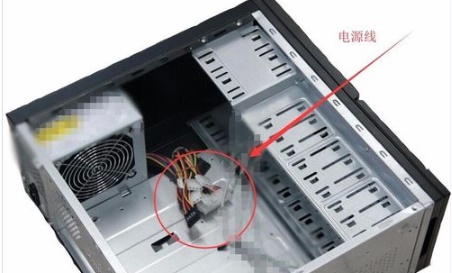
2. Find the 24-pin thread as shown in the picture.
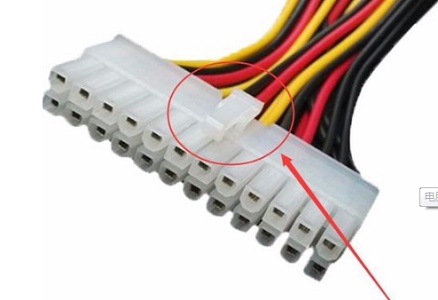
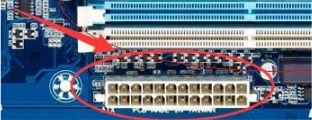
3. Insert into the corresponding 24-pin power connector.
4. Then find the four-port cable that supplies power to the motherboard, as shown in the picture.
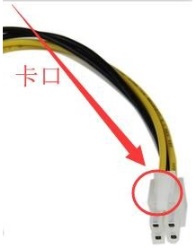
5. Insert it into the graphic interface of the motherboard.
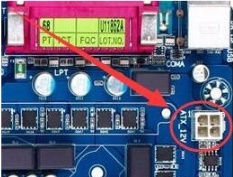
6. Find the line of the flat interface as shown in the picture.
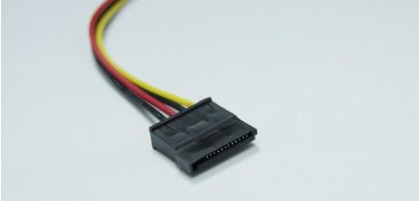
7. Then insert it into the position in the picture. If it cannot be inserted, change the direction and do not insert it hard.
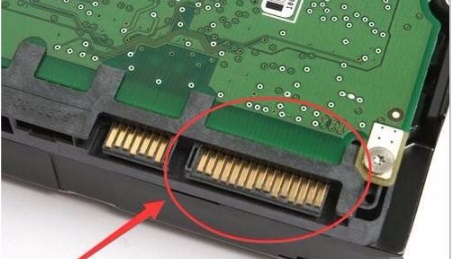
8. Finally, plug the last SATA cable into the power interface of the optical drive.

The above is the detailed content of Interpret the connection method of the power switch cable of the win7 motherboard. For more information, please follow other related articles on the PHP Chinese website!

