


Win10 Disk Defragmentation can help users organize their computer systems, making the computer run faster and taking up less memory. Usually, just open the management tools in the start menu, and you can find defragmentation there.
Where is win10 disk defragmentation
Answer: In the management tools,
We just need to open the "Management Tools" in the start menu first

You can find the "Defragmentation and Optimize Drive" function in it.

Win10 disk defragmentation detailed steps:
1. First enter the win10 system desktop and click "This Computer"

2. Then enter "File Explorer", in the list on the right, click "This Computer"

3. Then click on the disk on the computer , then click the above tab "Manage"

4. Then under its command, select "Optimization"

5. The "Optimize Drive" dialog box pops up below. Select a disk and click "Optimize"

6. At this time, you will see that the disk is being organized. Just wait for the disk defragmentation to complete.

The above is the detailed content of Learn how to defragment your Windows 10 disk. For more information, please follow other related articles on the PHP Chinese website!

 6 Tasks You Should Do Regularly on Your Windows ComputerApr 19, 2025 am 03:01 AM
Maintaining a Windows computer requires regular upkeep to ensure smooth operation and prevent performance issues, security risks, and unnoticed hardware problems. Here's a routine maintenance checklist to keep your computer running smoothly: 1. Run
 How to Right-Click With No MouseApr 18, 2025 pm 12:03 PM
The mouse is a vital component to getting work done on your PC. But when you’re stuck with a faulty mouse, you can run into a few problems including the inability to right-click. But the good news is that there are definitely ways t
 5 Mistakes That Can Ruin Your Windows ExperienceApr 18, 2025 am 06:01 AM
Maintaining a clean and efficient Windows experience is crucial for optimal performance. Here are some common pitfalls to avoid: 1. Overloading Startup Apps: Too many startup applications significantly slow down boot times and overall system perfor
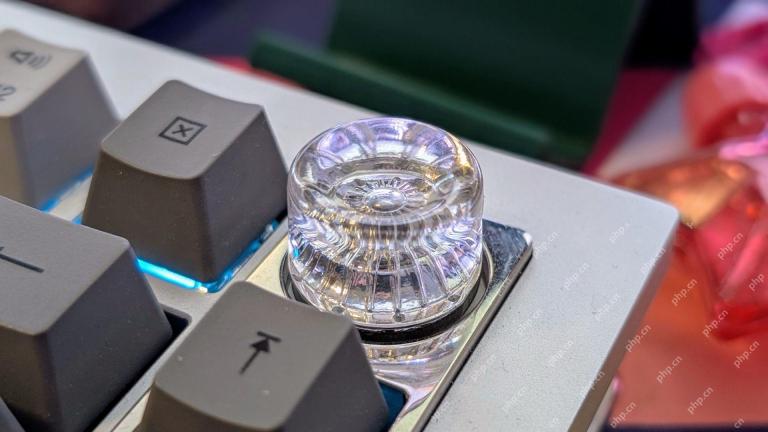 Your Keyboard Needs a Big Ol' Volume KnobApr 18, 2025 am 03:04 AM
In today's touchscreen world, the satisfying tactile feedback of physical controls is a welcome change. That's why a keyboard with a large volume knob is surprisingly appealing. I recently experienced this firsthand, and it's been a revelation. For
 Windows 11 Will Let You Copy Any Text on Your ScreenApr 18, 2025 am 03:01 AM
Windows 11 Snipping Tool Gains Powerful New OCR Feature: Say Goodbye to Manual Text Selection! Windows 11's Snipping Tool just received a major upgrade, adding Optical Character Recognition (OCR) capabilities. This allows users to select text from v
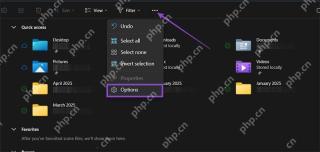 How and Why to Change Default File Explorer FolderApr 17, 2025 pm 10:01 PM
This guide explains how to change the default opening location of File Explorer in Windows 11 and 10. The default "Home" view, while convenient for some, may compromise privacy or workflow efficiency. This tutorial offers three methods to
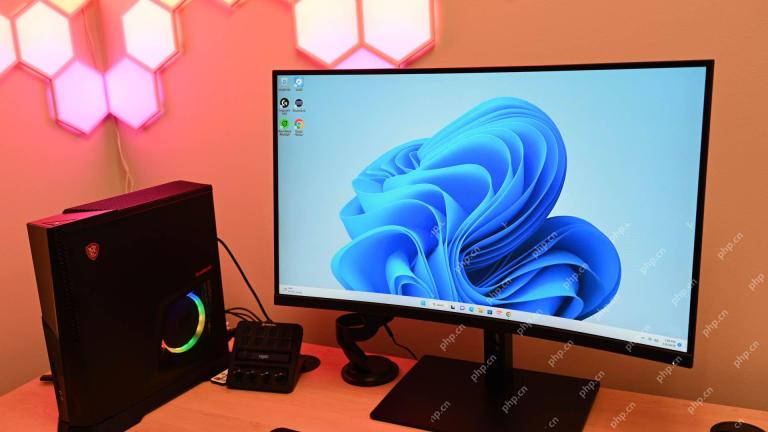
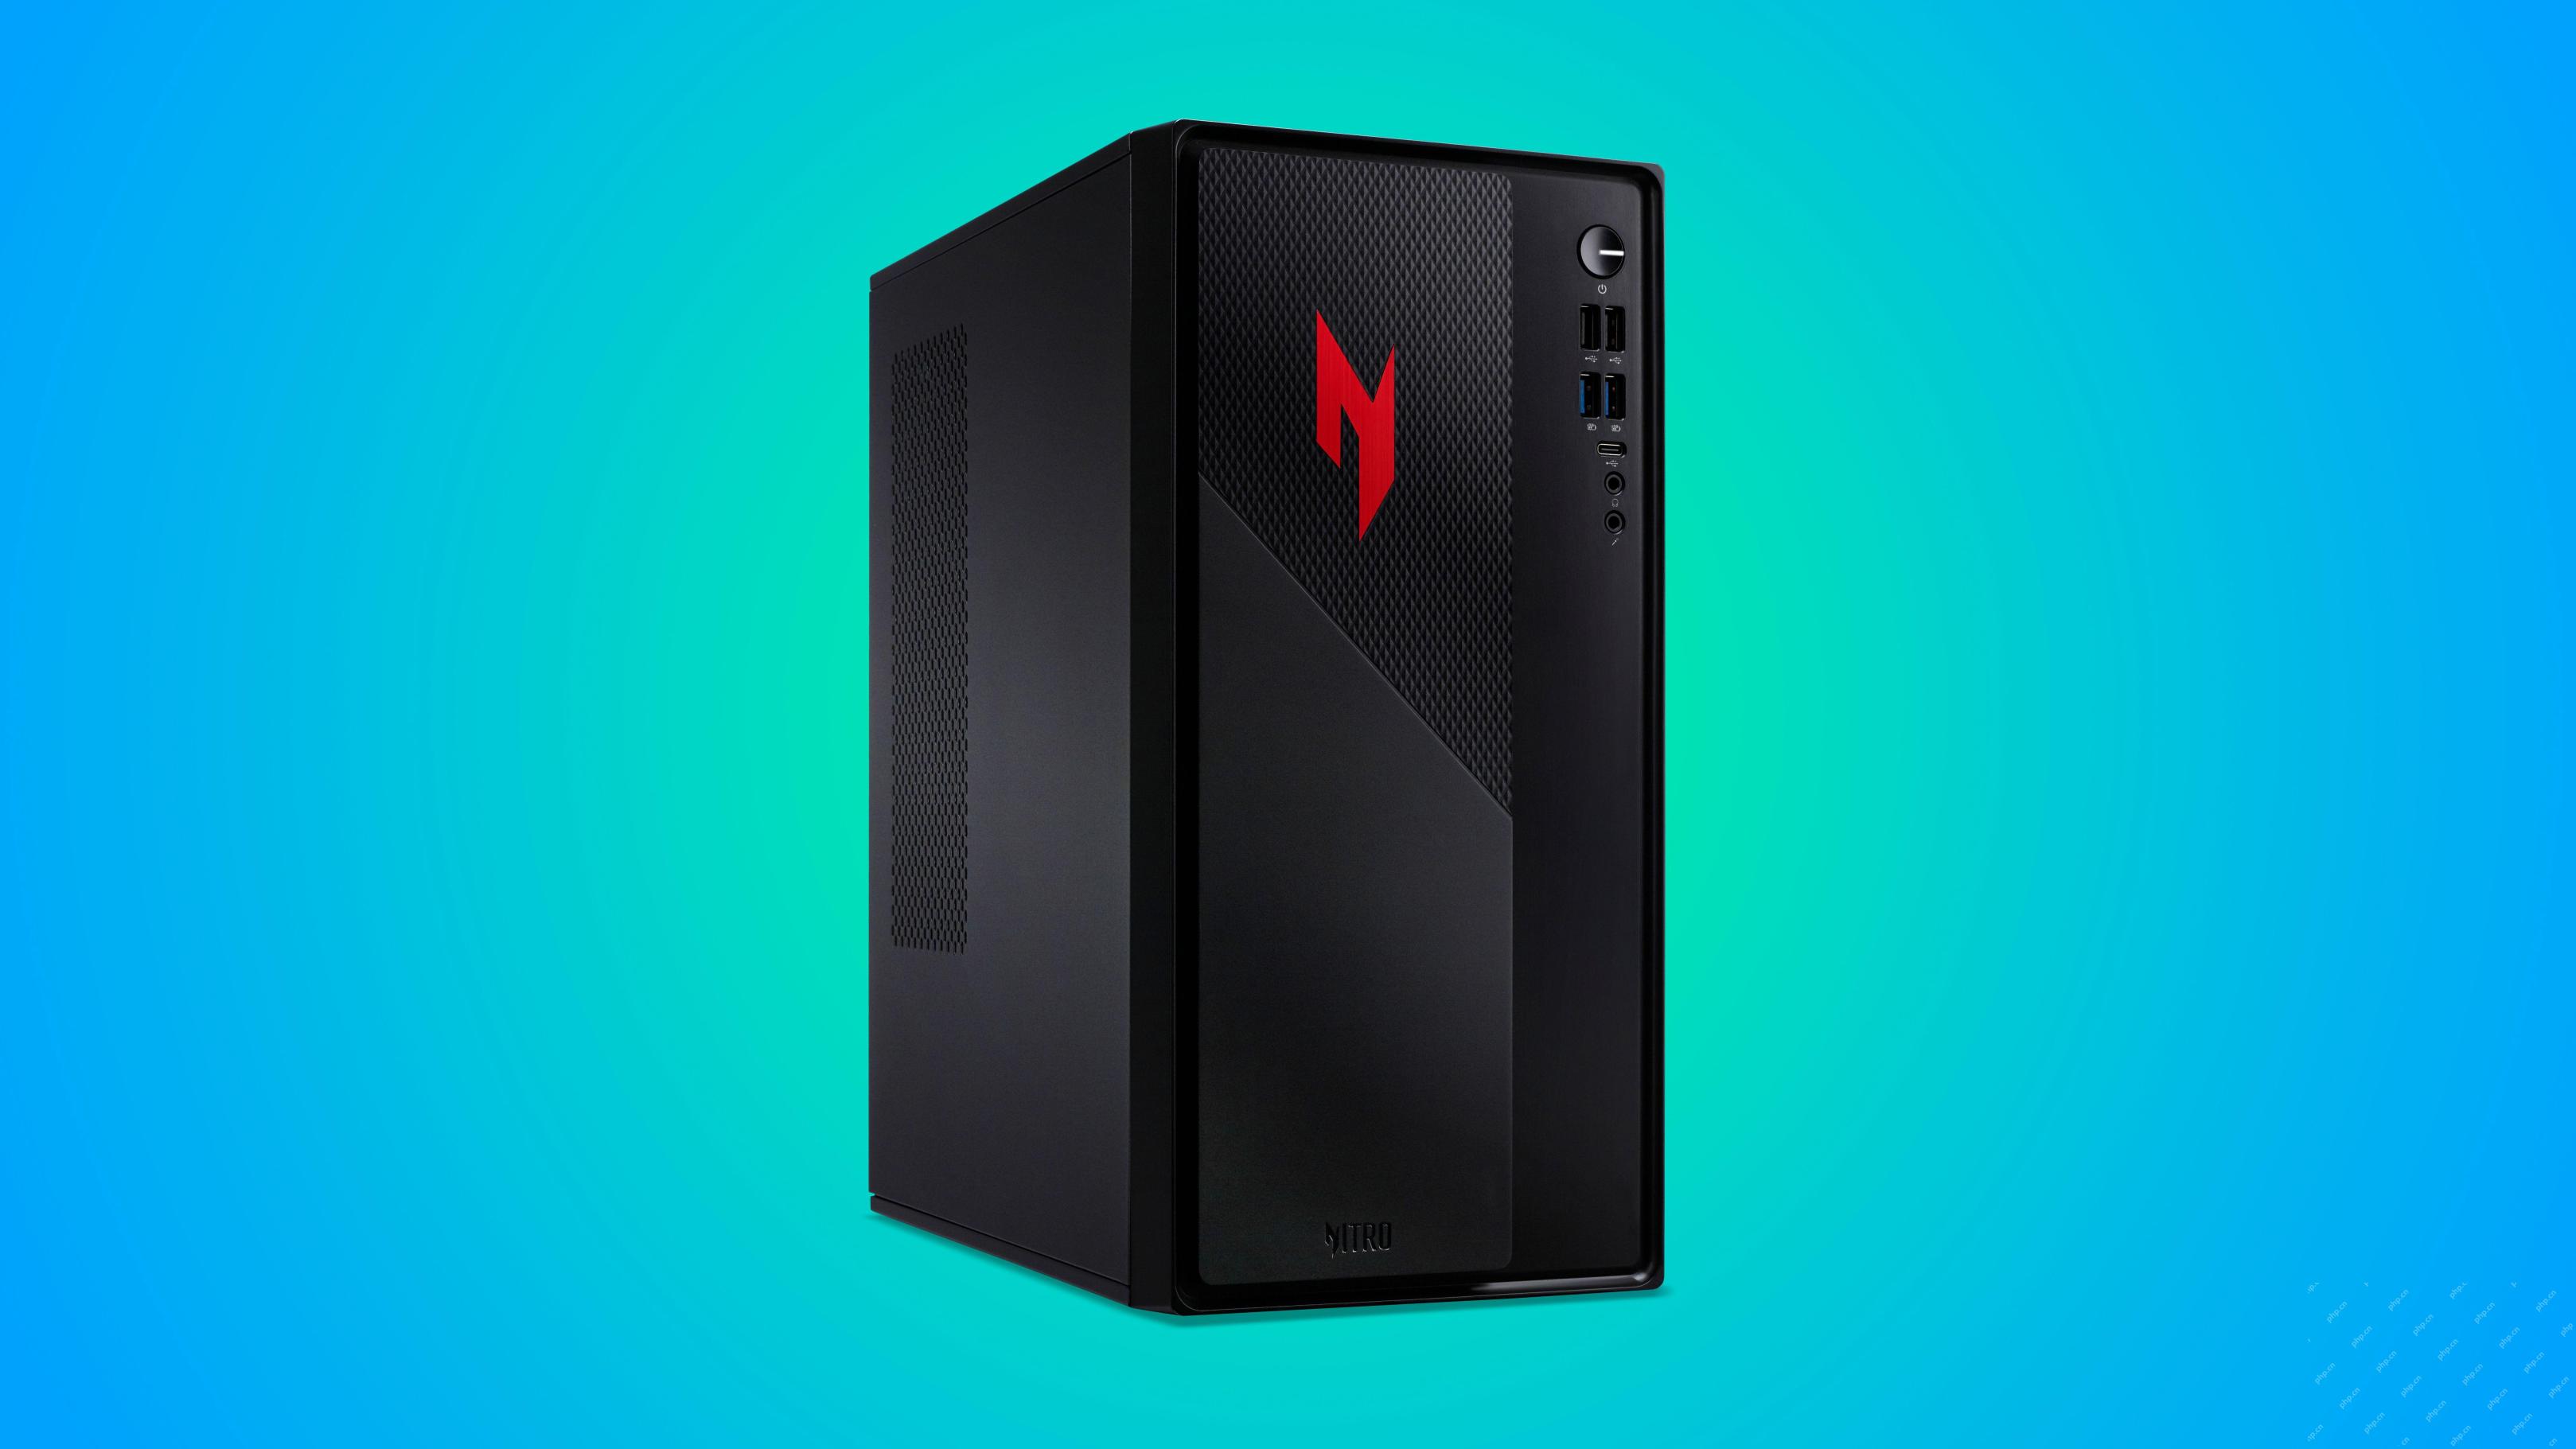 This Acer Desktop PC Has Laptop Specs, For Some ReasonApr 17, 2025 am 06:03 AM
Acer's latest gaming laptop series is stunning, but the company has also launched a desktop computer that is awkward in Acer's product line and has its own advantages and disadvantages compared to other small desktop computers. Acer today added four new laptops and a redesigned compact desktop to its popular Nitro gaming lineup. However, let's talk about desktop computers first, because it's the most unique. What makes it unique is that it uses laptop specifications. The Nitro 20 N20-100 uses an AMD Ryzen AI 9 365 processor, or the Intel Core i5-13420H desktop processor is also available. Graphics card can be equipped with up to
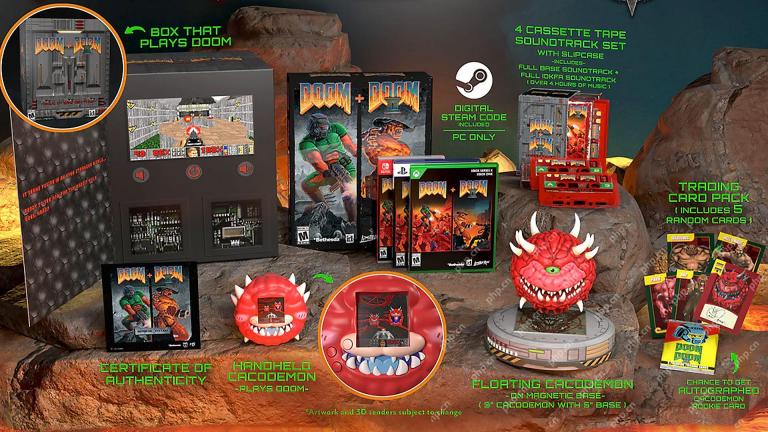 This Limited-Edition 'DOOM' Release Comes In a Box That Runs 'DOOM'Apr 17, 2025 am 06:02 AM
Limited Run Games is releasing a limited-edition DOOM DOOM II: Will It Run Edition box set, a playful nod to the enduring "Can it run DOOM?" meme. This extravagant set includes remastered versions of the first two DOOM games, playable ac


Hot AI Tools

Undresser.AI Undress
AI-powered app for creating realistic nude photos

AI Clothes Remover
Online AI tool for removing clothes from photos.

Undress AI Tool
Undress images for free

Clothoff.io
AI clothes remover

Video Face Swap
Swap faces in any video effortlessly with our completely free AI face swap tool!

Hot Article
Hot Tools

Atom editor mac version download
The most popular open source editor

SublimeText3 Linux new version
SublimeText3 Linux latest version

SublimeText3 Mac version
God-level code editing software (SublimeText3)

SublimeText3 English version
Recommended: Win version, supports code prompts!

SAP NetWeaver Server Adapter for Eclipse
Integrate Eclipse with SAP NetWeaver application server.

