Home >System Tutorial >Windows Series >win101903 sandbox startup guide
win101903 sandbox startup guide
- WBOYWBOYWBOYWBOYWBOYWBOYWBOYWBOYWBOYWBOYWBOYWBOYWBforward
- 2023-12-28 18:39:041011browse
win101903 How to open the sandbox? Many users still don’t know how to use it. So for this problem, the editor thinks that we can search it in the windows function of the system. After confirming the configuration of our system, we can open it on the relevant page.
How to open the win101903 sandbox:
1. First enter "Control Panel" in the lower left corner and open it.

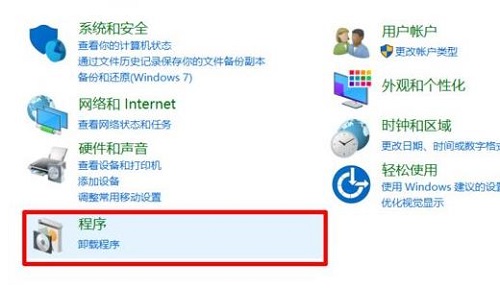
2. Then click "Program" below.
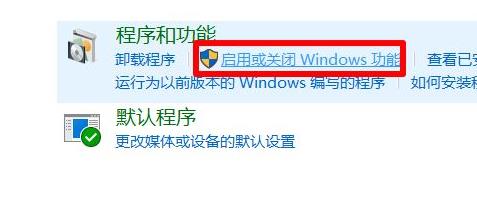
3. Click "Turn Windows features on or off" on the program page.
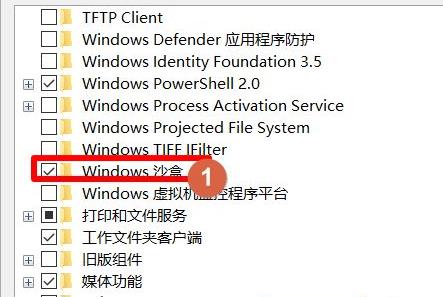
4. Then check "Windows Sandbox" in the pop-up "Windows Features" menu.
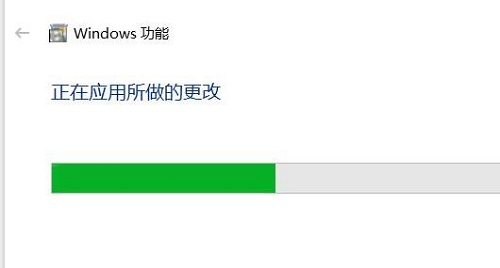
5. Then you need to wait for loading to proceed.
6. After the configuration is completed, click "Restart Now".
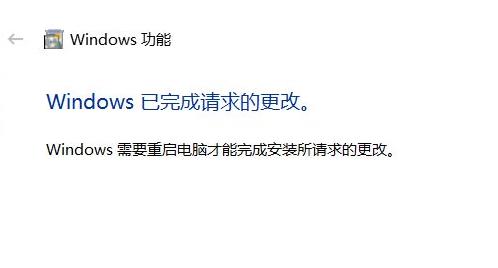
7. Then you can click on the lower left corner to start and find the "windows sandbox", which is the sandbox.
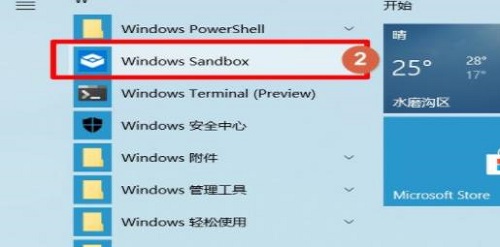
8. Then wait patiently for a few minutes to open it.

Reasons and solutions for being unable to open "Windows Sandbox":
1. When you read this article and want to enable "Windows Sandbox" , but found that the "Windows Sandbox" window could not be opened,
2. Check here to see if your system version is Win10 19H1 Build 18305.1003 preview
3. If so, the reason is Microsoft This is caused by a bug in the pushed KB4483214 security update.
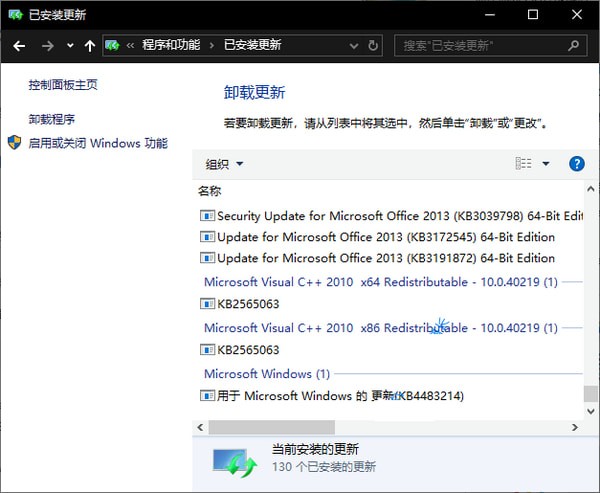
4. So the solution is to go to "Control Panel - Programs - Programs and Features - Installed Updates" and uninstall KB4483214.
The above is the detailed content of win101903 sandbox startup guide. For more information, please follow other related articles on the PHP Chinese website!

