Home >System Tutorial >Windows Series >Guide to changing the default installation path of win7 software
Guide to changing the default installation path of win7 software
- WBOYWBOYWBOYWBOYWBOYWBOYWBOYWBOYWBOYWBOYWBOYWBOYWBforward
- 2023-12-26 19:33:591991browse
Generally speaking, the default software installation location of the system is the c drive, but the c drive is often our system disk, which can easily cause insufficient memory in the system disk. Therefore, we can change the default installation location of the software by modifying the registry. Let’s take a look at the specific method below.
Win7 default software installation location change tutorial
1. First click on the lower left corner to start, select "Run"
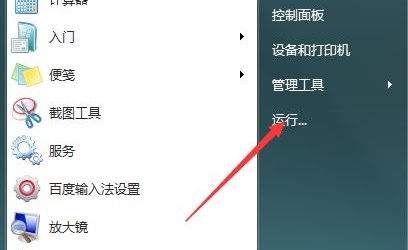
2. Enter " regedit" and press Enter to confirm.

3. Find the "HKEY_LOCAL_MACHINE\SOFTWARE\Microsoft\Windows\CurrentVersion" path.
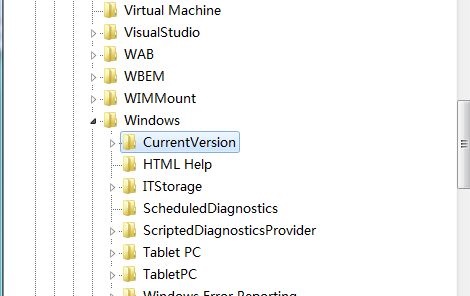
4. Double-click to open the "ProgramFilesDir" file and change the value to the path location that needs to be saved.
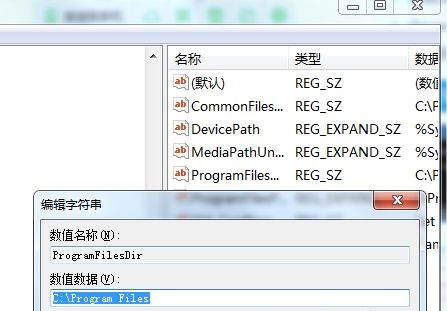
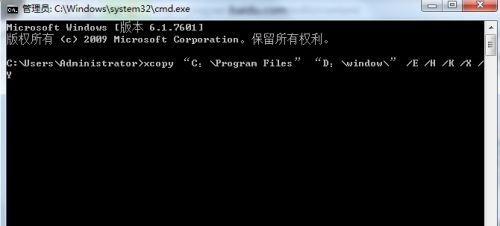
5. Then return to the desktop and open Run again, enter "cmd", and press Enter to confirm
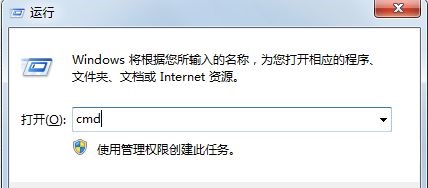
6. Then enter "xcopy "C:\Program Files" "D:\window\" /E /H /K /X /Y". (This is to transfer the save location to the D drive. If it is another drive, just change D to another drive letter)
The above is the detailed content of Guide to changing the default installation path of win7 software. For more information, please follow other related articles on the PHP Chinese website!
Related articles
See more- How to change the user and group of a file in Linux?
- ai software basic tutorial
- What should I do if my win10 computer always automatically installs software?
- How to add picture-in-picture in the computer version of Cutout (Tutorial)
- Where is the default installation location for npm packages in Windows 10?

