

 System TutorialWindows SeriesHow to take a screenshot and save it on Win11? Win11 screenshot saving guide
How to take a screenshot and save it on Win11? Win11 screenshot saving guide

Many friends inevitably go back and take some screenshots when using computers. Recently, some users using Win11 system have found that after taking pictures using the built-in screenshot tool, the pictures have disappeared. This may be because they have not been saved. The reason is, how to operate at this time? Let’s take a look at the method with the editor below.
Operation tutorial for saving screenshots in Win11
1. First, click "Start" or "Search" at the bottom.

#2. Then search for and open "Snipping Tool".

#3. After opening, click "New" in the upper left corner.

#4. Then capture the desired screen content.

#5. After taking a screenshot, you will automatically enter the editing interface and click the "Save Button" in the upper right corner.

#6. Finally, select the save location and "Save" to save the win11 screenshot.

The above is the detailed content of How to take a screenshot and save it on Win11? Win11 screenshot saving guide. For more information, please follow other related articles on the PHP Chinese website!

 Windows Recall Strikes Back, and Nest Says Goodbye: Weekly RoundupApr 27, 2025 pm 06:11 PM
Tech News Roundup: Windows Recall, New eReaders, and More! This week's tech news is packed with updates, new releases, and some surprising developments. Let's dive in! Windows Recall Finally Deployed (After Significant Delays) Microsoft's controvers
 10 Ways to Reuse or Repurpose an Old LaptopApr 27, 2025 am 09:30 AM
Repurpose Your Old Laptop: 10 Ingenious Ideas to Avoid the Landfill! Many of us upgrade our laptops every few years, leaving perfectly functional machines gathering dust. Instead of discarding them, consider these ten creative ways to give your old
 This File Manager Solves All My Windows File Explorer WoesApr 27, 2025 am 06:02 AM
This article explores why the author prefers OneCommander, a free third-party file explorer, over Windows File Explorer. The author highlights several key shortcomings of Windows File Explorer, including its slow adoption of modern features (like da
 8Bitdo's Retro Xbox Mouse Is Just $48 TodayApr 27, 2025 am 12:56 AM
8BitDo Retro R8 Gaming Mouse: Great Value Offers are coming! The 8BitDo Xbox Edition R8 is an officially licensed translucent green wireless gaming mouse that uses a PAW 3395 sensor, supports three connectivity modes: Bluetooth, 2.4G and wired USB-C, and is equipped with programmable buttons and a charging dock. Amazon is selling well now! This high-performance wireless gaming mouse is currently priced at just $47.99, enjoying a 20% discount, a record low! Originally priced at $59.99, the R8 mouse is absolutely worth the money with its excellent features and officially licensed Xbox design. Its dazzling translucent green shell is similar to the first generation Xbo
 Windows Recall Is Finally Rolling Out After Controversal RevealApr 27, 2025 am 12:55 AM
Copilot PCs Get Enhanced Recall and Windows Search Features Microsoft's Copilot PCs are receiving significant updates to their Recall and Windows Search functionalities. These improvements leverage the power of the device's integrated TPU (Tensor
 Microsoft Is Fixing a Weird Bug in OutlookApr 26, 2025 pm 09:03 PM
High CPU usage in Outlook? Microsoft's got a fix coming. Many Outlook users on Windows have reported a frustrating issue: their CPUs are spiking to 30-50% while simply composing emails. This impacts performance, battery life (especially on laptops),
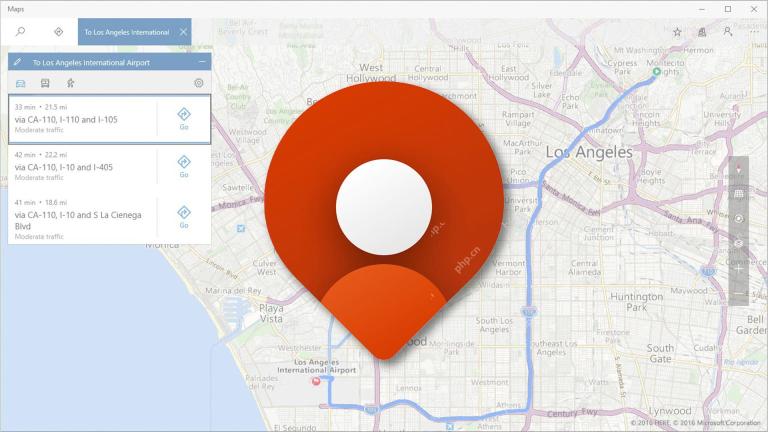 Windows Maps Will Become 'Nonfunctional' This JulyApr 26, 2025 am 09:01 AM
Related ##### Before Dropbox and OneDrive, We Had Windows Briefcase Windows Briefcase: A Pioneer in File Synchronization. Posts 1 Choosing a navigation app? Bing Maps offers the closest experience to the discontinued Windows Maps. Google Maps and
 Before Dropbox and OneDrive, We Had Windows BriefcaseApr 26, 2025 am 06:11 AM
The "breviation package" feature introduced by Windows 95 makes file synchronization possible. At that time, this function was unique in the field of file synchronization. However, with the rise of cloud services such as OneDrive, Microsoft has gradually phased out the "branded briefcase" feature since Windows 8. You might be surprised that file synchronization is not a new technology, in fact, Microsoft has provided this feature with a virtual folder called "Briefcase" as early as Windows 95. A brief history of Windows "Briefcase" As the name suggests, the "brookie" feature was released with Windows 95 released in 1995, which is still considered by many to be one of the best operating systems. It has user friends


Hot AI Tools

Undresser.AI Undress
AI-powered app for creating realistic nude photos

AI Clothes Remover
Online AI tool for removing clothes from photos.

Undress AI Tool
Undress images for free

Clothoff.io
AI clothes remover

Video Face Swap
Swap faces in any video effortlessly with our completely free AI face swap tool!

Hot Article
Hot Tools

SublimeText3 English version
Recommended: Win version, supports code prompts!

PhpStorm Mac version
The latest (2018.2.1) professional PHP integrated development tool

SecLists
SecLists is the ultimate security tester's companion. It is a collection of various types of lists that are frequently used during security assessments, all in one place. SecLists helps make security testing more efficient and productive by conveniently providing all the lists a security tester might need. List types include usernames, passwords, URLs, fuzzing payloads, sensitive data patterns, web shells, and more. The tester can simply pull this repository onto a new test machine and he will have access to every type of list he needs.

Notepad++7.3.1
Easy-to-use and free code editor

Atom editor mac version download
The most popular open source editor

