Home >System Tutorial >Windows Series >Tutorial on moving C drive to D drive in Windows 11
Tutorial on moving C drive to D drive in Windows 11
- 王林forward
- 2023-12-22 12:19:102909browse
Many friends want to free up the C drive space by moving the win11 C drive software to the D drive, but they don’t know how to do it. In fact, we only need to use the computer housekeeper software.
How to move the c drive to the d drive in win11:
1. The system does not have its own software moving function.
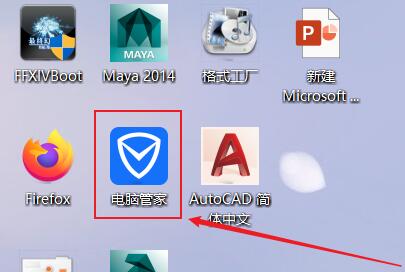
2. So we need to download a "Computer Manager"
3. After the download and installation is completed, open this software.

4. Then enter the "Toolbox" on the left

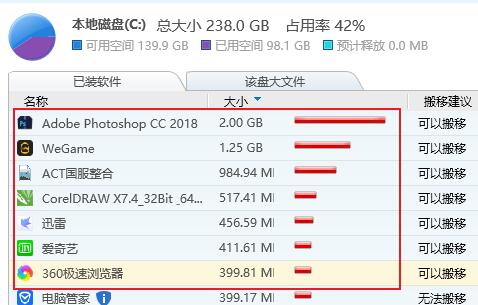
5. Then open the "Software" in the toolbox "Moving" function.

6. Below you can see the software that supports relocation, select the software that needs to be moved.

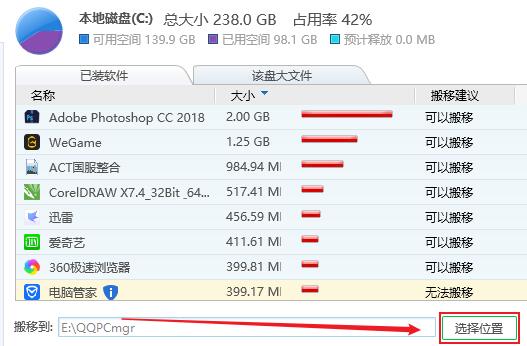
7. Then click "Select Location" below and select "d drive"

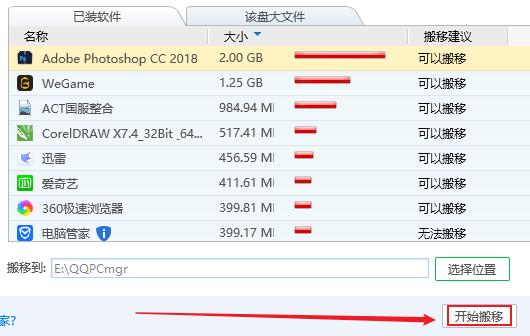
8. Finally click "Start moving" and just wait for the software move to finish.

The above is the detailed content of Tutorial on moving C drive to D drive in Windows 11. For more information, please follow other related articles on the PHP Chinese website!
Related articles
See more- How to enable quick startup in win10 How to enable fast startup in win10
- How to delete old password information in win11 How to delete old password information in win11
- How to solve the problem of plugging in headphones and still playing music in win10?
- What are the functions of Microsoft Photos in win10 system_Introduction to the functions of Microsoft Photos in win10 system
- Which one is better, win732 or win64? Details

