
Home >System Tutorial >Windows Series >Guide to using the automatic repair function of win10
Guide to using the automatic repair function of win10

- 王林forward
- 2023-12-22 11:10:031207browse
Win10 automatic repair function is a function that can help users repair and maintain the system after the system crashes, freezes, black screen, blue screen and other problems. However, many users do not know how to use automatic repair in win10, then Come and take a look at the detailed tutorial~
How to use automatic repair in win10:
1. After an error occurs in the win10 system, you can directly use "automatic repair" to repair the win10 system, that is, the win10RE function .
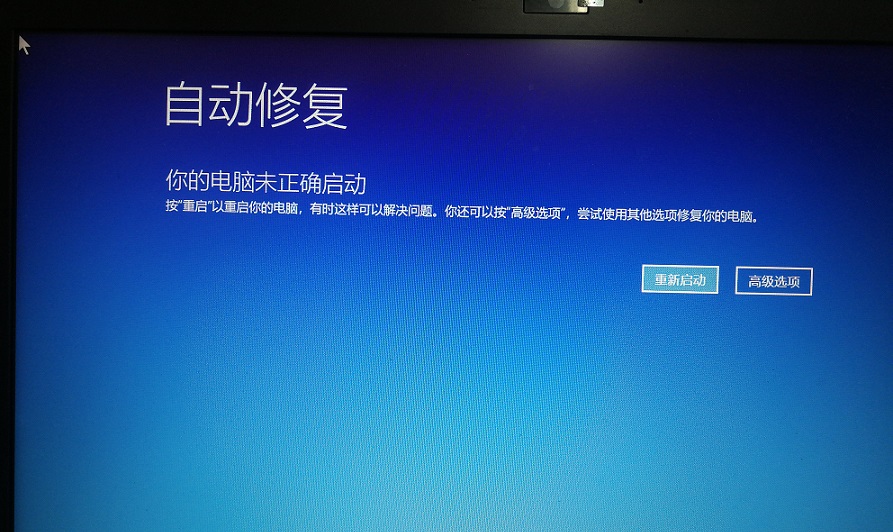
2. 3 ways to start win10RE.
· Hold down shift and select "Restart", xxx will be able to xxx enter the win10RE page.
· Another way is to enter win10RE by pressing F8 several times when booting up.
· When the system fails to start, the "Recovery Interface" will pop up. You can also enter it by selecting "View Advanced Repair Options".
3. Use win10RE to uninstall updates that crash the system. Enter win10RE, and then select "Troubleshooting"
4. After entering the page, see "Uninstall Preview Update", click OK to uninstall the update patch.

5. Use win10RE to reinstall the win10 system. Use a USB flash drive or xxx CD to start win10, and you need to download the win10 image.
6. Select "Next".
7. Select "Repair Computer".
8. After booting to the win10RE page, select "Troubleshooting", and then you will see "Use this media to reinstall...", and then confirm.
9. Then follow the prompts on the page and continue the installation.
The above is the detailed content of Guide to using the automatic repair function of win10. For more information, please follow other related articles on the PHP Chinese website!
Related articles
See more- What should I do if the prompt that my windows license is about to expire keeps popping up?
- In which folder are the desktop files of win7 system located in the c drive?
- What are the steps of ppt chart making tutorial?
- How to watch live broadcast playback records on Douyin (tutorial)
- What should I do if Win10 keeps getting stuck on the Ready to Repair page when I start it?