
Home >System Tutorial >Windows Series >Win11 laptop disk partition guide
Win11 laptop disk partition guide

- 王林forward
- 2023-12-22 09:15:51864browse
After purchasing a laptop, many users install the win11 system first, and the first thing to do is partition. For this reason, we have brought you a laptop win11 disk partition method. Friends who don’t know how to operate it, please hurry up. Come and learn.
How to partition a notebook win11 disk:
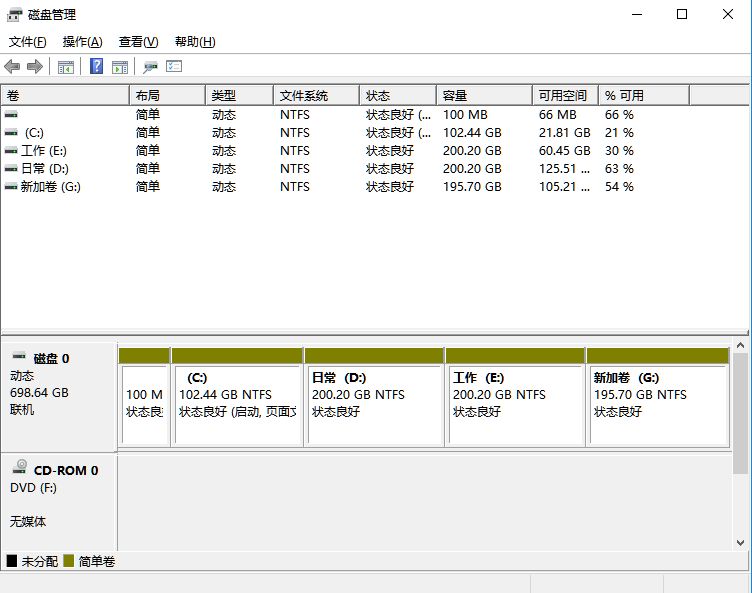
1. First, right-click "This PC", select "Manage", and then select "Disk Management" in the list on the left side of the "Computer Management" window.
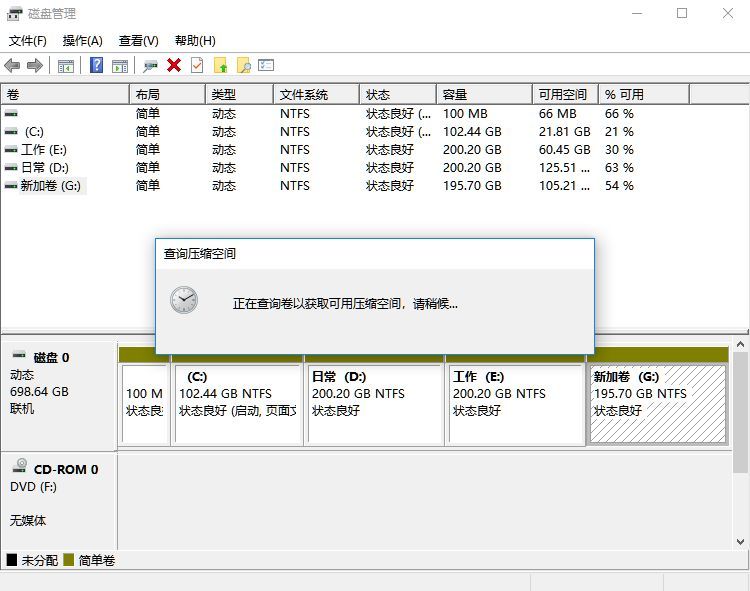
2. Then in the partition list, right-click the partition and select "Compress Volume".
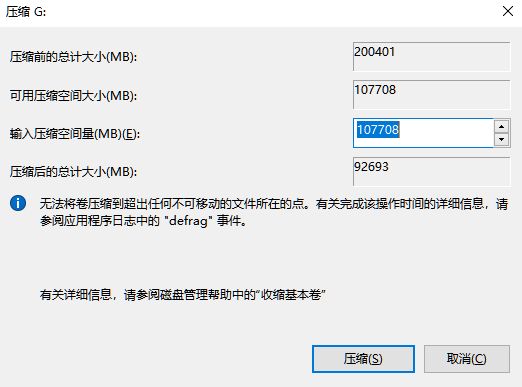
3. Enter the size of the space you want to separate. Be sure to leave at least 50GB of capacity. After determining the capacity, click "Compress". Can.
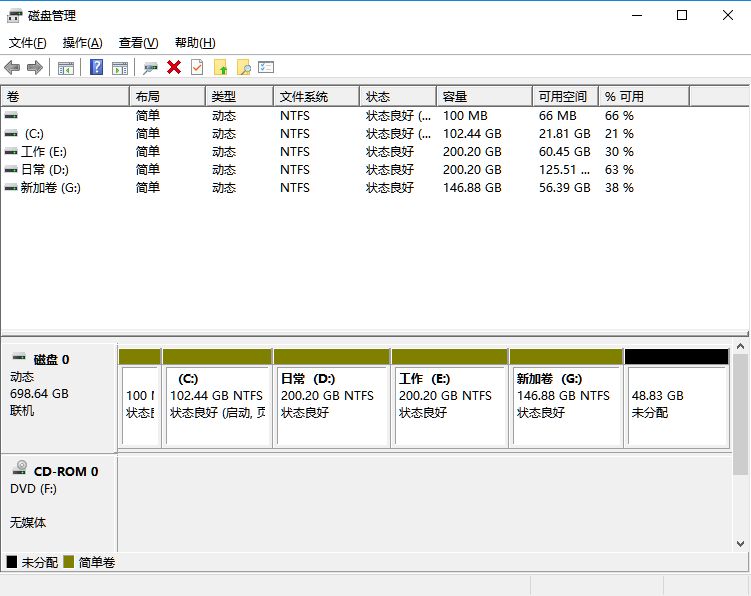
4. Then right-click the space, select "New Simple Volume", and click "Next".

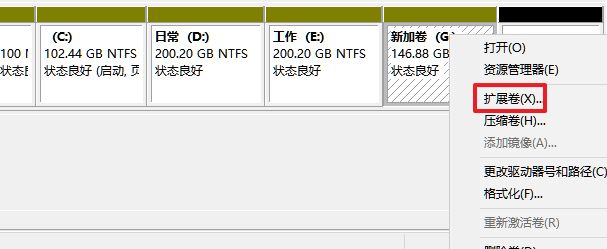
5. For unallocated space, you can also select it and partition it. Right-click on the selected partition and select "Extend Volume".
The above is the detailed content of Win11 laptop disk partition guide. For more information, please follow other related articles on the PHP Chinese website!