
Home >System Tutorial >Windows Series >Black Shark win7 system installation steps
Black Shark win7 system installation steps

- WBOYWBOYWBOYWBOYWBOYWBOYWBOYWBOYWBOYWBOYWBOYWBOYWBforward
- 2023-12-21 17:38:47873browse
If our computer needs to install and reinstall the operating system, some friends want to install the Black Shark win7 system but don’t know how to do it specifically. For this problem, the editor thinks we can download the operating system first. Download from this site. Then use the relevant software to complete a series of steps for reinstallation. Let’s take a look at the specific steps to see how the editor did it~
How to install the Black Shark win7 system
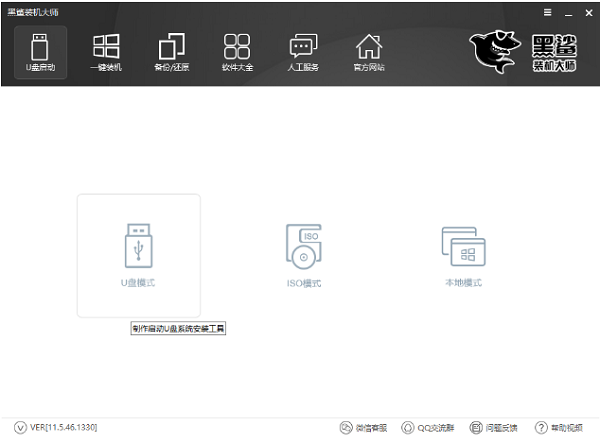
1. Insert the U disk into the USB interface, and then download the Black Shark Installation Master , because the downloaded version is a local version, it can be opened and run directly.
2. In the Black Shark Installation Master software interface, click the U disk boot option to turn on the U disk mode.
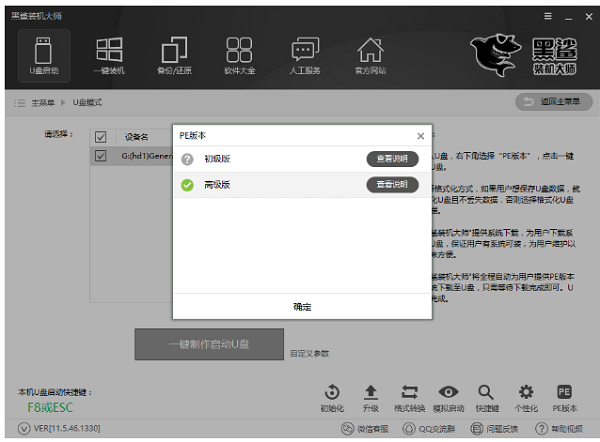
#3. Click the PE version in the lower right corner and select the PE system in the U disk boot disk to be created.
4. Black Shark provides two versions: junior version and advanced version. General installed users can choose the junior version.
5. After the PE version selection is completed, select the U disk and click "One-click creation of boot U disk".
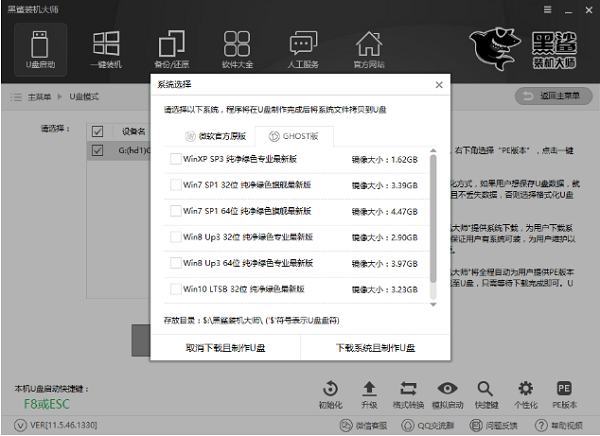
#6. After selecting the system to be downloaded, Black Shark will download it for us and make it into a USB boot disk.
#7. After the USB boot disk is successfully created, restart the computer.
8. The U disk startup shortcut keys can be viewed through Black Shark one-click reinstallation.
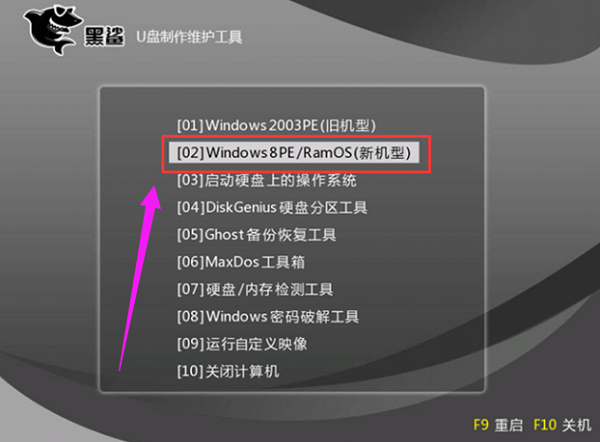
#8. After entering the PE system, the Black Shark installation tool will automatically pop up. If it does not pop up, you can also open the Black Shark installation tool from the desktop.
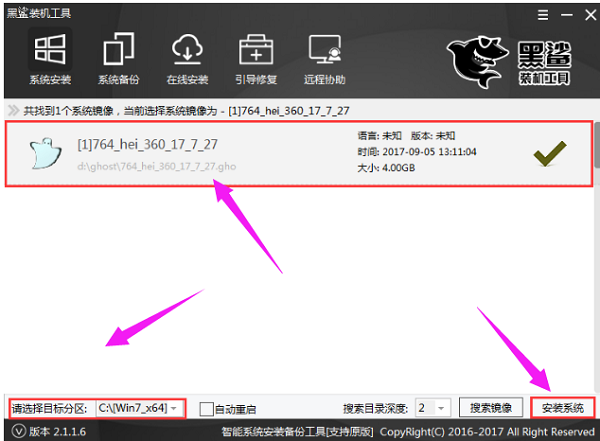
9. In the Black Shark installation tool, select the system in the U disk, select the partition to be installed, and click Install System to start the system installation.
#10. After the system installation is completed, remember to unplug the USB flash drive and then restart the computer.
11. When entering the reinstalled system for the first time, Black Shark will deploy the environment and install the corresponding drivers.
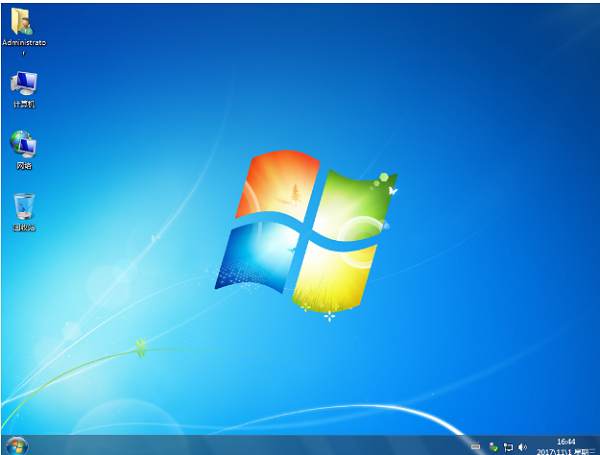
12. After the deployment is completed, you can enter the new win7 system.
The above is the detailed content of Black Shark win7 system installation steps. For more information, please follow other related articles on the PHP Chinese website!