

 Backend DevelopmentPHP TutorialChatGPT PHP development practice: creating intelligent marketing chat assistant function

ChatGPT PHP development practice: creating intelligent marketing chat assistant function
In today's digital business environment, providing customer satisfaction service experience has become one of the key factors for enterprise competition. one. With the continuous development of artificial intelligence technology, intelligent chat assistants are playing an increasingly important role in enhancing customer communication and improving sales performance. This article will introduce how to use PHP and OpenAI's ChatGPT API to develop intelligent marketing chat assistant functions, and provide specific code examples.
- Preparation
Before starting development, you need to meet the following requirements: - An OpenAI account and API key. For details, please refer to the OpenAI official documentation;
- Server environment for PHP 7.4 and above;
- Planned chat scenarios and question collections.
- Install the OpenAI API client library
First, use Composer to install the OpenAI API client library in your PHP project. Create a composer.json file in the project root directory and add the following content:
{
  "require": {
    "openai/api": "0.2.*"
  }
}
Then, run the composer install command in the terminal to install the library.
- Writing PHP Code
Create a file namedChatGPT.phpand write the following code:
<?php

use OpenAIApiDefaultApi;
use OpenAIConfiguration;
use OpenAIModelChatCompletionRequest;
use OpenAIModelChatCompletionResponse;

class ChatGPT {
  private DefaultApi $api;

  public function __construct(string $apiKey) {
    $config = Configuration::getDefaultConfiguration()->setApiKey('Authorization', 'Bearer ' . $apiKey);
    $this->api = new DefaultApi($config);
  }

  public function generateResponse(string $message): string {
    $request = new ChatCompletionRequest([
      'messages' => [['role' => 'system', 'content' => 'You are a helpful assistant.']],
      'messages' => [['role' => 'user', 'content' => $message]],
      'model' => 'gpt-3.5-turbo',
      'maxTokens' => 100,
      'temperature' => 0.6,
      'n' => 1,
      'stop' => ['
']
    ]);

    $response = $this->api->createCompletion($request);
    $choices = $response->getChoices();
    if (!empty($choices)) {
      /** @var ChatCompletionResponse $choice */
      $choice = $choices[0];
      $responseMessage = $choice->getMessages()[0]['content'];
      return $responseMessage;
    }

    return '';
  }
}
In this code , we first initialize the client library using the OpenAI API key. Then, we define a generateResponse method that receives the message from the user and uses the ChatGPT API to generate and return a smart reply.
- Using ChatGPT
In your PHP project, use the following code to initialize ChatGPT and handle user requests:
<?php

require 'ChatGPT.php';

$apiKey = 'YOUR_OPENAI_API_KEY'; // 替换为您的OpenAI API密钥
$chatBot = new ChatGPT($apiKey);

// 处理用户请求
if ($_SERVER['REQUEST_METHOD'] === 'POST') {
  $message = $_POST['message'];

  $response = $chatBot->generateResponse($message);

  // 返回JSON响应
  header('Content-Type: application/json');
  echo json_encode(['response' => $response]);
}
The above code initializes ChatGPT and handles user requests when receiving When the POST request is made, the user's message is read and a reply is generated using ChatGPT, and finally the reply is returned to the client in JSON format.
- Front-end integration
In order to interact with users in real time, you can use HTML and JavaScript to integrate the front-end interface. Create a file namedindex.htmland add the following content:
<!DOCTYPE html>
<html>
<head>
  <title>ChatGPT</title>
</head>
<body>
  <h1 id="ChatGPT-智能营销聊天助手">ChatGPT - 智能营销聊天助手</h1>
  <div id="chat">
    <div id="messages"></div>
    <div id="input-container">
      <input type="text" id="input" placeholder="请输入消息..." autocomplete="off">
      <button id="send">发送</button>
    </div>
  </div>

  <script>
    const messagesContainer = document.getElementById('messages');
    const input = document.getElementById('input');
    const sendButton = document.getElementById('send');

    sendButton.addEventListener('click', () => sendMessage());
    input.addEventListener('keydown', (event) => {
      if (event.key === 'Enter') {
        sendMessage();
      }
    });

    function sendMessage() {
      const message = input.value.trim();
      if (message.length === 0) {
        return;
      }

      addMessage(message, 'user');
      input.value = '';

      fetch('/chat.php', {
        method: 'POST',
        headers: { 'Content-Type': 'application/x-www-form-urlencoded' },
        body: `message=${encodeURIComponent(message)}`
      })
        .then(response => response.json())
        .then(data => handleResponse(data.response))
        .catch(error => console.error(error));
    }

    function addMessage(content, role) {
      const messageContainer = document.createElement('div');
      messageContainer.className = `message ${role}`;
      messageContainer.textContent = content;
      messagesContainer.appendChild(messageContainer);
      messagesContainer.scrollTop = messagesContainer.scrollHeight;
    }

    function handleResponse(response) {
      addMessage(response, 'bot');
    }
  </script>
</body>
</html>
The above code creates a simple chat interface where users can enter messages in the input box, and click the send button. Send user messages to the PHP server through JavaScript, then receive the reply returned by the server and display it on the interface.
- Run the Application
Deploy your PHP files and front-end files to your PHP server. Make sure the server supports PHP and has the required extensions and dependencies installed.
Access the deployed application and you can interact with the intelligent marketing chat assistant in real time!
Conclusion
This article introduces how to use PHP and OpenAI’s ChatGPT API to develop intelligent marketing chat assistant functions. By leveraging ChatGPT, you can provide more intelligent and personalized services, improving customer satisfaction and sales performance. The above code examples are for reference only and can be customized and extended according to actual needs.
I hope this article will be helpful to you in developing intelligent chat assistants!
The above is the detailed content of ChatGPT PHP development practice: creating intelligent marketing chat assistant function. For more information, please follow other related articles on the PHP Chinese website!

 11 Best PHP URL Shortener Scripts (Free and Premium)Mar 03, 2025 am 10:49 AM
Long URLs, often cluttered with keywords and tracking parameters, can deter visitors. A URL shortening script offers a solution, creating concise links ideal for social media and other platforms. These scripts are valuable for individual websites a
 Working with Flash Session Data in LaravelMar 12, 2025 pm 05:08 PM
Laravel simplifies handling temporary session data using its intuitive flash methods. This is perfect for displaying brief messages, alerts, or notifications within your application. Data persists only for the subsequent request by default: $request-
 Build a React App With a Laravel Back End: Part 2, ReactMar 04, 2025 am 09:33 AM
This is the second and final part of the series on building a React application with a Laravel back-end. In the first part of the series, we created a RESTful API using Laravel for a basic product-listing application. In this tutorial, we will be dev
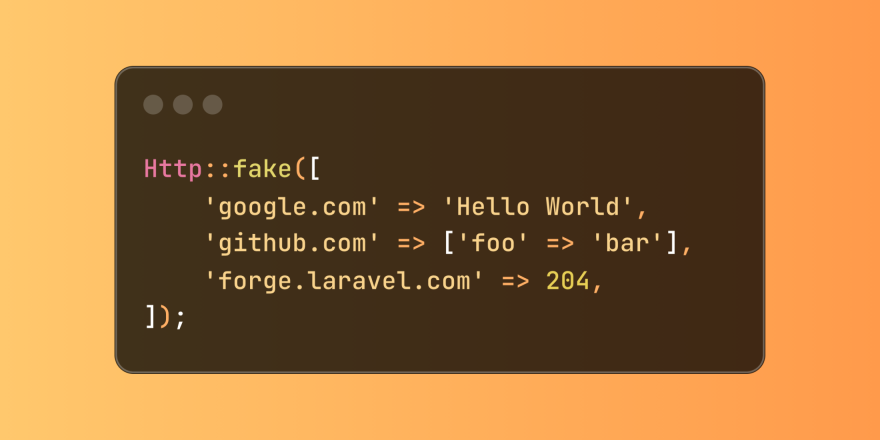 Simplified HTTP Response Mocking in Laravel TestsMar 12, 2025 pm 05:09 PM
Laravel provides concise HTTP response simulation syntax, simplifying HTTP interaction testing. This approach significantly reduces code redundancy while making your test simulation more intuitive. The basic implementation provides a variety of response type shortcuts: use Illuminate\Support\Facades\Http; Http::fake([ 'google.com' => 'Hello World', 'github.com' => ['foo' => 'bar'], 'forge.laravel.com' =>
 cURL in PHP: How to Use the PHP cURL Extension in REST APIsMar 14, 2025 am 11:42 AM
The PHP Client URL (cURL) extension is a powerful tool for developers, enabling seamless interaction with remote servers and REST APIs. By leveraging libcurl, a well-respected multi-protocol file transfer library, PHP cURL facilitates efficient execution of various network protocols, including HTTP, HTTPS, and FTP. This extension offers granular control over HTTP requests, supports multiple concurrent operations, and provides built-in security features.
 12 Best PHP Chat Scripts on CodeCanyonMar 13, 2025 pm 12:08 PM
Do you want to provide real-time, instant solutions to your customers' most pressing problems? Live chat lets you have real-time conversations with customers and resolve their problems instantly. It allows you to provide faster service to your custom
 Announcement of 2025 PHP Situation SurveyMar 03, 2025 pm 04:20 PM
The 2025 PHP Landscape Survey investigates current PHP development trends. It explores framework usage, deployment methods, and challenges, aiming to provide insights for developers and businesses. The survey anticipates growth in modern PHP versio
 Notifications in LaravelMar 04, 2025 am 09:22 AM
In this article, we're going to explore the notification system in the Laravel web framework. The notification system in Laravel allows you to send notifications to users over different channels. Today, we'll discuss how you can send notifications ov


Hot AI Tools

Undresser.AI Undress
AI-powered app for creating realistic nude photos

AI Clothes Remover
Online AI tool for removing clothes from photos.

Undress AI Tool
Undress images for free

Clothoff.io
AI clothes remover

AI Hentai Generator
Generate AI Hentai for free.

Hot Article
Hot Tools

mPDF
mPDF is a PHP library that can generate PDF files from UTF-8 encoded HTML. The original author, Ian Back, wrote mPDF to output PDF files "on the fly" from his website and handle different languages. It is slower than original scripts like HTML2FPDF and produces larger files when using Unicode fonts, but supports CSS styles etc. and has a lot of enhancements. Supports almost all languages, including RTL (Arabic and Hebrew) and CJK (Chinese, Japanese and Korean). Supports nested block-level elements (such as P, DIV),

Notepad++7.3.1
Easy-to-use and free code editor

MinGW - Minimalist GNU for Windows
This project is in the process of being migrated to osdn.net/projects/mingw, you can continue to follow us there. MinGW: A native Windows port of the GNU Compiler Collection (GCC), freely distributable import libraries and header files for building native Windows applications; includes extensions to the MSVC runtime to support C99 functionality. All MinGW software can run on 64-bit Windows platforms.

Atom editor mac version download
The most popular open source editor

SublimeText3 Linux new version
SublimeText3 Linux latest version

