 Backend Development
 Python Tutorial
 ChatGPT Python Plugin Development Guide: Secrets to Personalized Chat Experience
ChatGPT Python plug-in development guide: The secret to personalized chat experience
Introduction:
With the continuous development of artificial intelligence technology, natural language processing is in practical application plays an increasingly important role. As a dialogue model based on deep learning, ChatGPT has great potential in automated customer service, chat robots, etc. This article will introduce how to use Python to develop a ChatGPT plug-in to improve the user's chat experience by adding personalized functions. The article will be combined with code examples to help readers better understand and apply.
Directory:
- ChatGPT Introduction
- Plug-in Development Overview
- Install ChatGPT Python Plug-in
- Develop Plug-in: Personalized Response Logic
- Test plug-in: Dialogue with ChatGPT
- Summary and outlook
- Introduction to ChatGPT
ChatGPT is a GPT (generative pre-training model) developed by OpenAI. Chatbot. It is pre-trained on massive amounts of text data and is able to generate realistic conversational responses. The core advantage of ChatGPT is its ability to handle open-ended questions without the need to pre-define a specific number of conversation turns or limits. - Plug-in Development Overview
ChatGPT plug-in is a way to extend the functionality of ChatGPT. By developing plug-ins, we can add custom logic to achieve personalized responses and responses. The plug-in consists of a trigger and processing logic. When the trigger conditions are met, ChatGPT will call the plug-in's processing logic to respond. -
Install ChatGPT Python plug-in
Before starting plug-in development, we need to install the Python library of ChatGPT and execute the following command in the command line:pip install openai
-
Develop plug-in: personalized response logic
First, we need to define the trigger conditions of the plug-in. For example, we can trigger plug-ins based on keywords entered by the user or specific conversation context. Here is a simple code example that demonstrates how to define a trigger condition:def trigger_condition(user_input, context): # 用户输入包含关键词"问候" return "问候" in user_input # 注册插件触发器 def setup_plugins(): chatgpt.add_plugin(trigger_condition, my_plugin_handler)
Next, we need to define the processing logic. The plug-in processing function receives the user input and conversation context passed by ChatGPT, and returns the response generated by the plug-in. Here is a sample function that demonstrates how to write a processing logic:
def my_plugin_handler(user_input, context):
    # 判断用户是否提问候
    if "你好" in user_input:
        return "你好!有什么可以帮助你的吗?"
    elif "天气" in user_input:
        # 调用天气API获取实时天气
        response = requests.get("https://api.weather.com/getWeather")
        weather_data = response.json()
        return f"当前天气:{weather_data['temperature']}℃"
    else:
        # 默认回答
        return "抱歉,我还无法回答您的问题"

# 注册插件处理逻辑
def setup_plugins():
chatgpt.add_plugin(trigger_condition, my_plugin_handler)-
Testing the plugin: Talking to ChatGPT
Now, we can test the functionality of the ChatGPT plugin. By using the ChatGPT Python library, we can talk to ChatGPT. The following is a simple code example that demonstrates how to have a conversation with ChatGPT and use a plug-in to provide a personalized response:import openai # 设置API密钥 openai.api_key = 'YOUR_API_KEY' # 创建ChatGPT实例 chatgpt = openai.ChatCompletion.create( model="gpt-3.5-turbo", messages=[ {"role": "system", "content": "You are a helpful assistant."}, ] ) # 添加插件 setup_plugins() # 进行对话 while True: user_input = input("User: ") chatgpt.messages.append({"role": "user", "content": user_input}) response = chatgpt.choices[0].message["content"] print("ChatGPT: " + response) - Summary and Outlook
This article introduces how to use Python to develop a plug-in for ChatGPT, through Add personalized response logic to improve users' chat experience. I hope this article can help readers better understand and apply the process of ChatGPT plug-in development. With the continuous advancement of technology, we can look forward to more functions and application scenarios of the ChatGPT plug-in. Happy development!
Total number of words: 799
Note: Due to word limit, this article can only provide some code examples, and readers can improve them according to the actual situation. For complete code examples and more detailed development guides, please refer to OpenAI’s official documentation and sample code.
The above is the detailed content of ChatGPT Python Plugin Development Guide: Secrets to Personalized Chat Experience. For more information, please follow other related articles on the PHP Chinese website!
 令人惊艳的4个ChatGPT项目,开源了!Mar 30, 2023 pm 02:11 PM
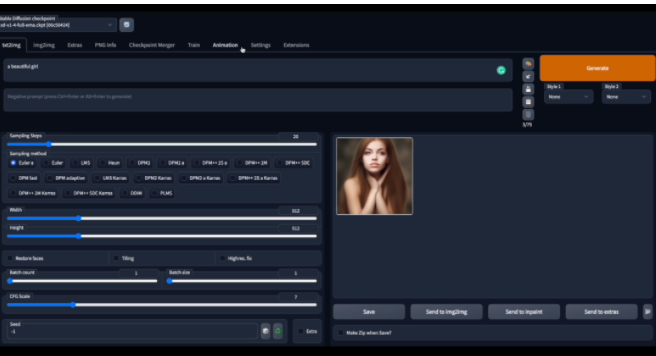
自从 ChatGPT、Stable Diffusion 发布以来,各种相关开源项目百花齐放,着实让人应接不暇。今天,着重挑选几个优质的开源项目分享给大家,对我们的日常工作、学习生活,都会有很大的帮助。
 Word文档拆分后的子文档字体格式变了怎么办Feb 07, 2023 am 11:40 AM
Word文档拆分后的子文档字体格式变了的解决办法:1、在大纲模式拆分文档前,先选中正文内容创建一个新的样式,给样式取一个与众不同的名字;2、选中第二段正文内容,通过选择相似文本的功能将剩余正文内容全部设置为新建样式格式;3、进入大纲模式进行文档拆分,操作完成后打开子文档,正文字体格式就是拆分前新建的样式内容。
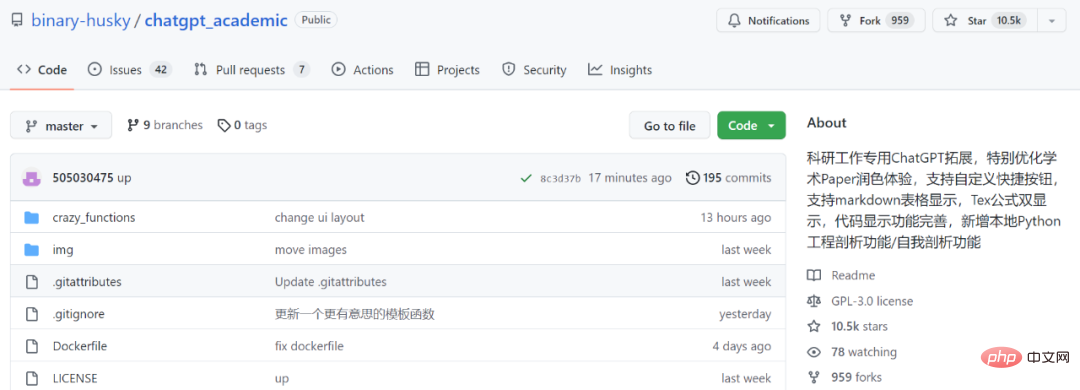
 学术专用版ChatGPT火了,一键完成论文润色、代码解释、报告生成Apr 04, 2023 pm 01:05 PM
用 ChatGPT 辅助写论文这件事,越来越靠谱了。 ChatGPT 发布以来,各个领域的从业者都在探索 ChatGPT 的应用前景,挖掘它的潜力。其中,学术文本的理解与编辑是一种极具挑战性的应用场景,因为学术文本需要较高的专业性、严谨性等,有时还需要处理公式、代码、图谱等特殊的内容格式。现在,一个名为「ChatGPT 学术优化(chatgpt_academic)」的新项目在 GitHub 上爆火,上线几天就在 GitHub 上狂揽上万 Star。项目地址:https://github.com/
 30行Python代码就可以调用ChatGPT API总结论文的主要内容Apr 04, 2023 pm 12:05 PM
阅读论文可以说是我们的日常工作之一,论文的数量太多,我们如何快速阅读归纳呢?自从ChatGPT出现以后,有很多阅读论文的服务可以使用。其实使用ChatGPT API非常简单,我们只用30行python代码就可以在本地搭建一个自己的应用。 阅读论文可以说是我们的日常工作之一,论文的数量太多,我们如何快速阅读归纳呢?自从ChatGPT出现以后,有很多阅读论文的服务可以使用。其实使用ChatGPT API非常简单,我们只用30行python代码就可以在本地搭建一个自己的应用。使用 Python 和 C
 vscode配置中文插件,带你无需注册体验ChatGPT!Dec 16, 2022 pm 07:51 PM
面对一夜爆火的 ChatGPT ,我最终也没抵得住诱惑,决定体验一下,不过这玩意要注册需要外国手机号以及科学上网,将许多人拦在门外,本篇博客将体验当下爆火的 ChatGPT 以及无需注册和科学上网,拿来即用的 ChatGPT 使用攻略,快来试试吧!
 用ChatGPT秒建大模型!OpenAI全新插件杀疯了,接入代码解释器一键getApr 04, 2023 am 11:30 AM
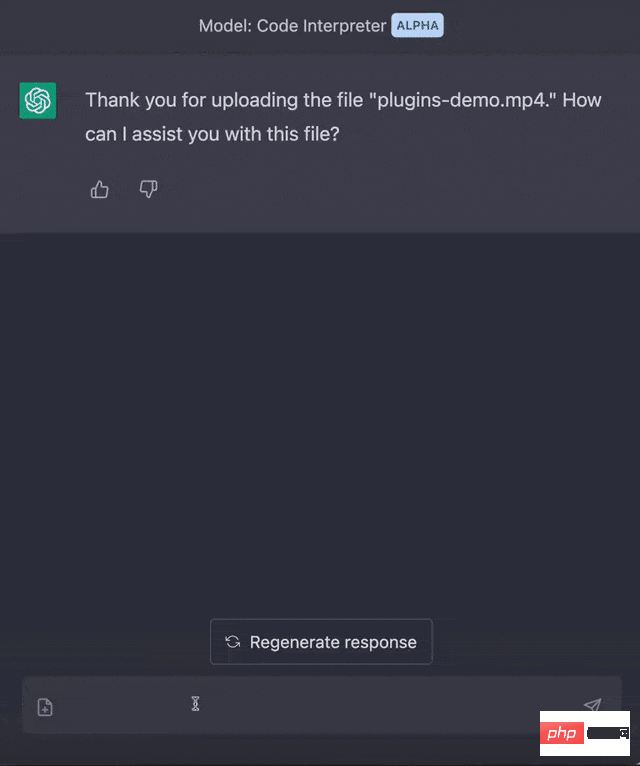
ChatGPT可以联网后,OpenAI还火速介绍了一款代码生成器,在这个插件的加持下,ChatGPT甚至可以自己生成机器学习模型了。 上周五,OpenAI刚刚宣布了惊爆的消息,ChatGPT可以联网,接入第三方插件了!而除了第三方插件,OpenAI也介绍了一款自家的插件「代码解释器」,并给出了几个特别的用例:解决定量和定性的数学问题;进行数据分析和可视化;快速转换文件格式。此外,Greg Brockman演示了ChatGPT还可以对上传视频文件进行处理。而一位叫Andrew Mayne的畅销作
 ChatGPT教我学习PHP中AOP的实现(附代码)Mar 30, 2023 am 10:45 AM
本篇文章给大家带来了关于php的相关知识,其中主要介绍了我是怎么用ChatGPT学习PHP中AOP的实现,感兴趣的朋友下面一起来看一下吧,希望对大家有帮助。


Hot AI Tools

Undresser.AI Undress
AI-powered app for creating realistic nude photos

AI Clothes Remover
Online AI tool for removing clothes from photos.

Undress AI Tool
Undress images for free

Clothoff.io
AI clothes remover

AI Hentai Generator
Generate AI Hentai for free.

Hot Article

Hot Tools

EditPlus Chinese cracked version
Small size, syntax highlighting, does not support code prompt function

Safe Exam Browser
Safe Exam Browser is a secure browser environment for taking online exams securely. This software turns any computer into a secure workstation. It controls access to any utility and prevents students from using unauthorized resources.

Dreamweaver CS6
Visual web development tools

SublimeText3 Linux new version
SublimeText3 Linux latest version

mPDF
mPDF is a PHP library that can generate PDF files from UTF-8 encoded HTML. The original author, Ian Back, wrote mPDF to output PDF files "on the fly" from his website and handle different languages. It is slower than original scripts like HTML2FPDF and produces larger files when using Unicode fonts, but supports CSS styles etc. and has a lot of enhancements. Supports almost all languages, including RTL (Arabic and Hebrew) and CJK (Chinese, Japanese and Korean). Supports nested block-level elements (such as P, DIV),


