Microsoft releases Windows 11 2023 update with many AI-centric features. You can download and install the Windows 11 2023 update on the Stable channel now without waiting for the full rollout. The new update brings native AI-powered Copilot and more. However, it is not enabled by default. Therefore, you need to adjust some system values to access the new unified Copilot on Windows 11 PC. Continue to follow our tutorial to enable Copilot on Windows 11 now.
1. Continue to download ViveTool from the link here.

2. Next, unzip the ZIP file into a folder.
3. Right-click on the extracted folder and select "Copy as path" from the context menu.

4. After that, press the Window key and search for cmd. Now, click on Run as administrator.

5. In the command line window, type , add a space, and paste the path below . Just copy the path and right click in CMD to paste the folder path. cd
cd "C:\Users\Arjun Sha\Downloads\ViVeTool-v0.3.3"

6. Now, Run the following command to enable Copilot on Windows 11.
vivetool /enable /id:44774629,44776738,44850061,42105254,41655236

7. Next, Restart your Windows 11 PC. A new Copilot icon should now appear on the taskbar, right next to the search bar. Make sure you are logged in with a Microsoft account on your computer.
##8. If the icon does not appear, Please right-click on the taskbar and open "Taskbar Settings".

Co-Pilot (Preview)" toggle to see the AI assistant in the taskbar.

The above is the detailed content of Windows 11 Copilot Enablement Guide: A Simple Tutorial. For more information, please follow other related articles on the PHP Chinese website!
 如何在 Mac 上轻松使用 Microsoft CopilotFeb 19, 2024 am 10:40 AM
虽然在Mac上无法像Windows那样与操作系统深度集成,但可以将MicrosoftCopilot作为应用程序使用,让你体验其功能。在macOS上使用MicrosoftCopilot方法1:通过AppStore安装MicrosoftCopilot应用对于搭载了AppleSilicon的Mac用户,得益于内置的ARM架构,我们可以在Mac上原生运行为iPad和iPhone开发的应用程序,包括MicrosoftCopilot。在Mac上登录你的Apple账户并下载MicrosoftCopilot应用
 Windows 中的 Microsoft 365 Copilot、Bing Chat Enterprise 和 Copilot 之间的主要区别Sep 23, 2023 pm 03:57 PM
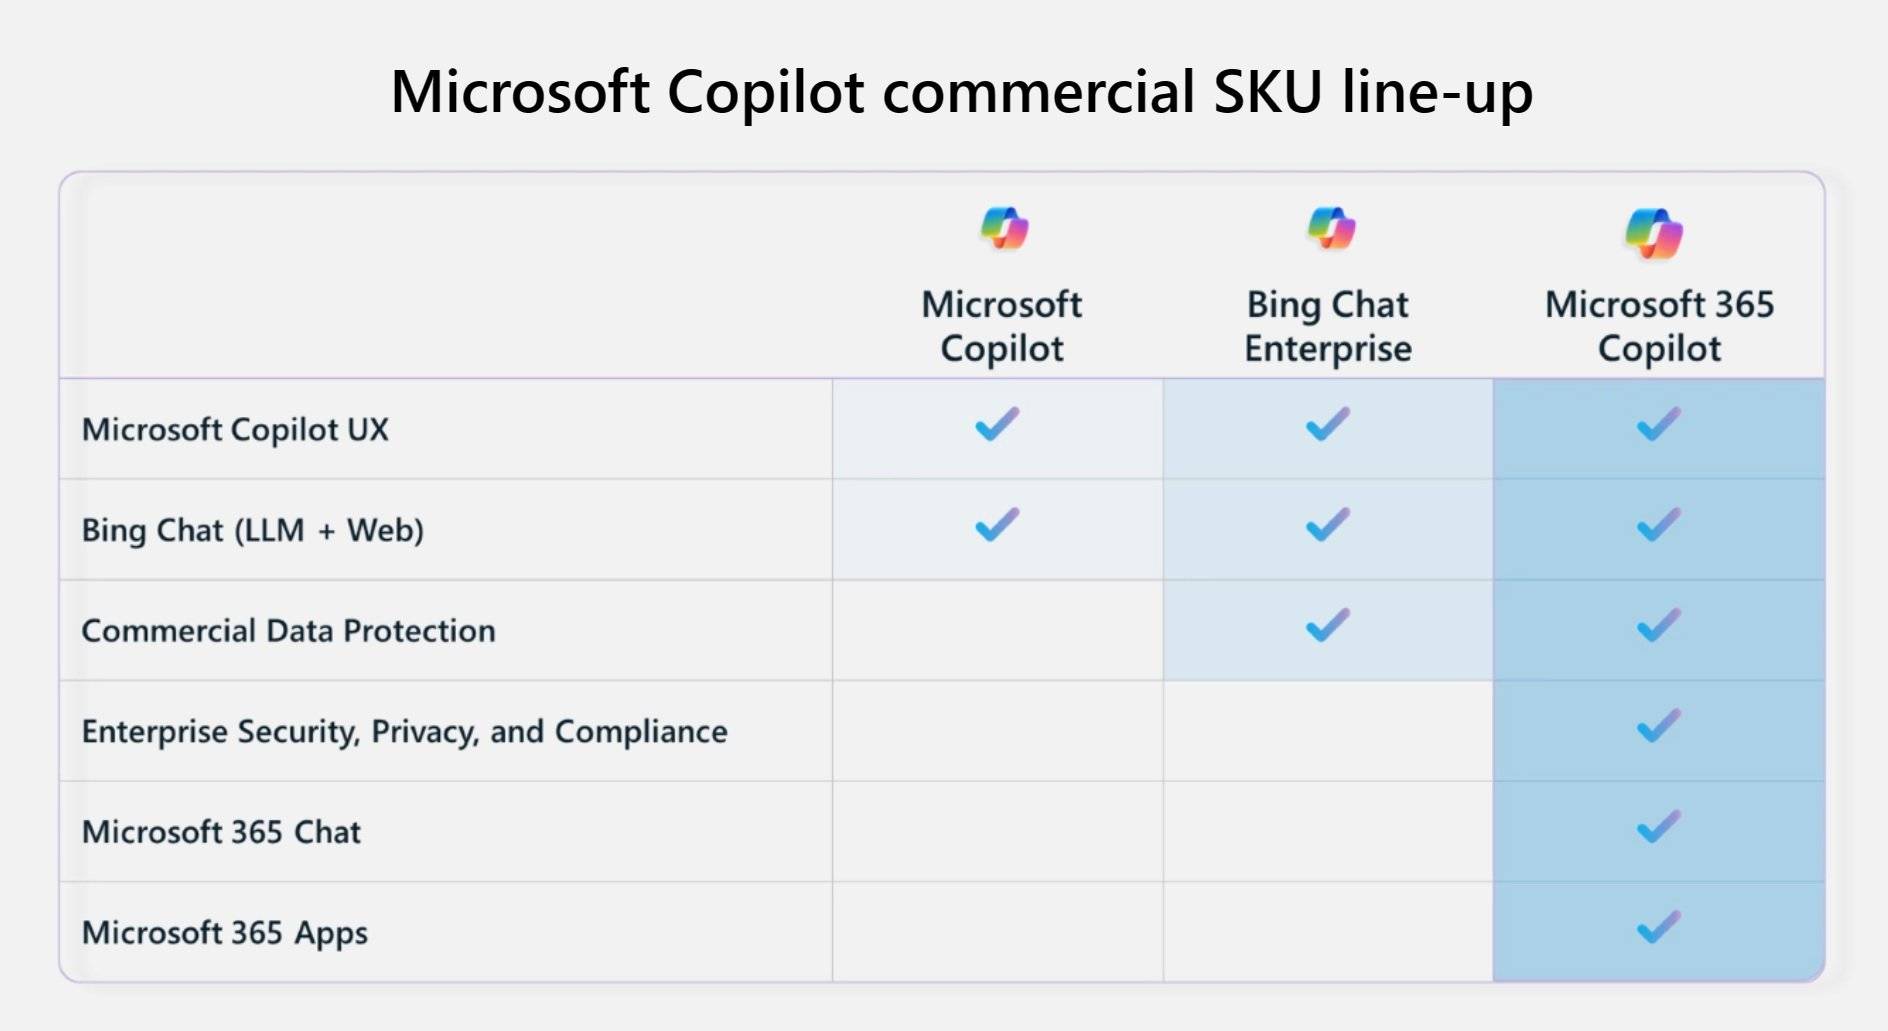
目前,Microsoft为企业客户提供三种不同的AI助手:Microsoft365Copilot,BingChatEnterprise和Windows中的Copilot。我们想解释一下这三个选项之间的区别。CopilotinWindows:Windows中的Copilot是一个功能强大的工具,可帮助您更快,轻松地完成任务。您可以从任务栏或按Win+C无缝访问Copilot,它将在您使用的任何应用程序旁边提供帮助。Windows中的Copilot具有新图标,新的用户体验和BingChat。它将于2
 如何使用 Windows Copilot 打开暗模式、免打扰、管理蓝牙设备等Aug 01, 2023 pm 09:58 PM
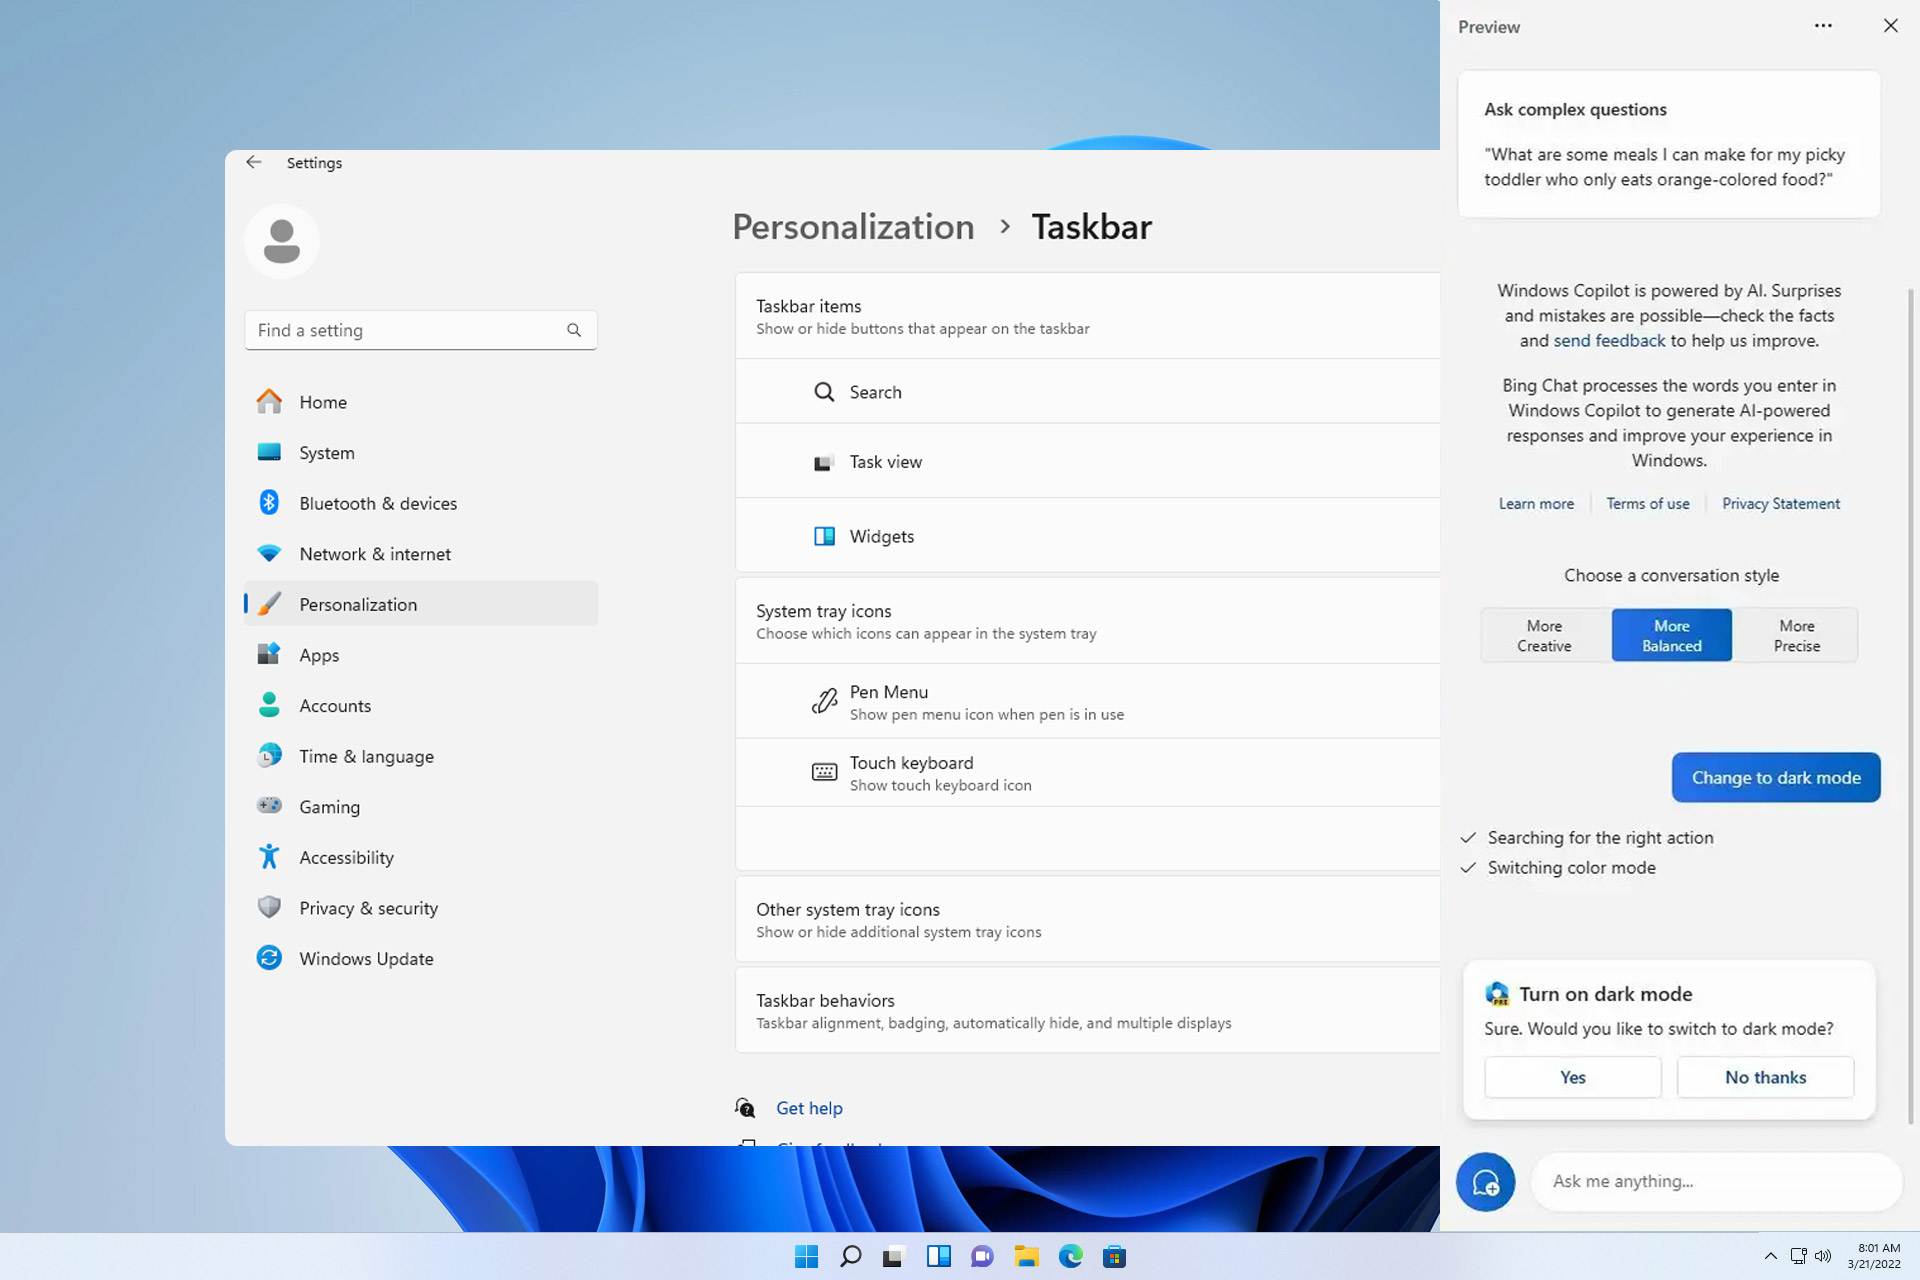
任何想要尽早了解Windows上AI未来的人都不需要再看Copilot预览。Copilot的功能很少,似乎只不过是侧面的BingAI任务栏,无疑是朝着正确方向前进的推动。即使是现在,用户也可以在浅色和深色主题之间切换,打开和关闭免打扰和蓝牙,并直接跳转到蓝牙设备设置页面来管理连接–所有这些都可以通过Copilot实现。以下是获取Windows11Copilot并完成所有这些操作的方法。如何在Windows11上启用Copilot要在Windows11上开始使用Copilot,
 如何在Android上设置Copilot为默认助手Mar 17, 2024 am 10:30 AM
Copilot是微软开发的聊天机器人,可以帮助你完成各种任务。CoPilot也可以在Android上使用。如果你想知道如何将Copilot设置为Android的默认助手,那么这篇文章是为你准备的。如何将Copilot设置为Android的默认助手使用以下说明将Copilot设置为Android上的默认助手:从GooglePlay商店安装MicrosoftCopilot将Copilot设置为Android设备上的默认助手开始吧1]从GooglePlay商店安装MicrosoftCopilot使用以
 win11 copilot 中国国内怎么使用Nov 08, 2023 pm 01:37 PM
使用方法:1、修改地区语言:将Windows系统地区语言设置为美国,然后下载并安装Win11 Copilot;2、使用VPN或代理:通过VPN或代理服务器的方式绕过地区限制,然后下载并安装Win11 Copilot;3、关注微软官方更新:关注微软的官方更新,等待Win11 Copilot正式进入国内市场后,第一时间进行下载和体验。
 修复:在 Windows 11 23H2 上无法使用的 CopilotNov 08, 2023 pm 03:09 PM
Windows11的最新功能更新就在这里,它带来了各种应用程序更新和改进,但是,许多人报告说Windows1123H2没有Copilot。这是不幸的,特别是如果你期待尝试新的人工智能助手。我们在WindowsReport遇到了同样的问题,在今天的指南中,我们将向您展示一些潜在的解决方案,如果缺少Windows11Copilot,这些解决方案可能会有所帮助。如何在23H2上启用Copilot?我们如何测试、审查和评分?在过去的6个月里,我们一直在努力建立一个关于我们如何制作内容的新审查系统。使用它
 微软十大副驾驶人工智能提示你每天都必须使用Mar 05, 2024 pm 04:13 PM
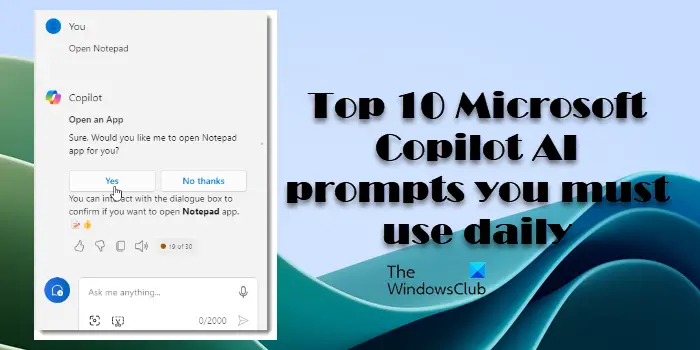
在这篇文章中,我们将分享你每天必须使用的10个最有用的微软CopilotAI提示。Copilot是微软的人工智能聊天机器人,它提供实时帮助,使我们的日常计算任务自动化。它与必应、MicrosoftEdge、Windows11和Microsoft365应用程序(如Word和Outlook)的无缝集成改变了我们与计算机交互的方式,使我们的生活比以前轻松得多。微软的Copilot可以做哪些很酷的事情?Copilot是一个强大的工具,它可以帮助您在各种Microsoft产品中更高效地工作。无论是总结网页
 如何使用Copilot在Windows 11上创建PowerPoint演示文稿Mar 16, 2024 am 10:28 AM
Copilot是Windows11操作系统中的一款人工智能助手,旨在协助用户完成各种任务。在Windows11中,您可以轻松找到Copilot,它位于任务栏的右侧,就在通知区域的旁边。下面将简要介绍如何利用Copilot在Windows11上创建PowerPoint演示文稿。如何使用Copilot在Windows11上创建PowerPoint演示文稿如果您订阅了Microsoft365,则可以将Copilot添加到MicrosoftPowerPoint和其他Microsoft365应用程序。将M

Hot AI Tools

Undresser.AI Undress
AI-powered app for creating realistic nude photos

AI Clothes Remover
Online AI tool for removing clothes from photos.

Undress AI Tool
Undress images for free

Clothoff.io
AI clothes remover

AI Hentai Generator
Generate AI Hentai for free.

Hot Article

Hot Tools

mPDF
mPDF is a PHP library that can generate PDF files from UTF-8 encoded HTML. The original author, Ian Back, wrote mPDF to output PDF files "on the fly" from his website and handle different languages. It is slower than original scripts like HTML2FPDF and produces larger files when using Unicode fonts, but supports CSS styles etc. and has a lot of enhancements. Supports almost all languages, including RTL (Arabic and Hebrew) and CJK (Chinese, Japanese and Korean). Supports nested block-level elements (such as P, DIV),

SublimeText3 Linux new version
SublimeText3 Linux latest version

Notepad++7.3.1
Easy-to-use and free code editor

PhpStorm Mac version
The latest (2018.2.1) professional PHP integrated development tool

Dreamweaver CS6
Visual web development tools


