
Home >Java >javaTutorial >JavaFX development using Eclipse
JavaFX development using Eclipse

- WBOYWBOYWBOYWBOYWBOYWBOYWBOYWBOYWBOYWBOYWBOYWBOYWBforward
- 2023-09-12 21:53:011157browse
To set up JavaFx in eclipse, first make sure you have successfully installed eclipse and Java.
Maven dependency
To set up a JavaFX environment with maven dependencies, create a Java project in eclipse and convert it to a maven project as follows:
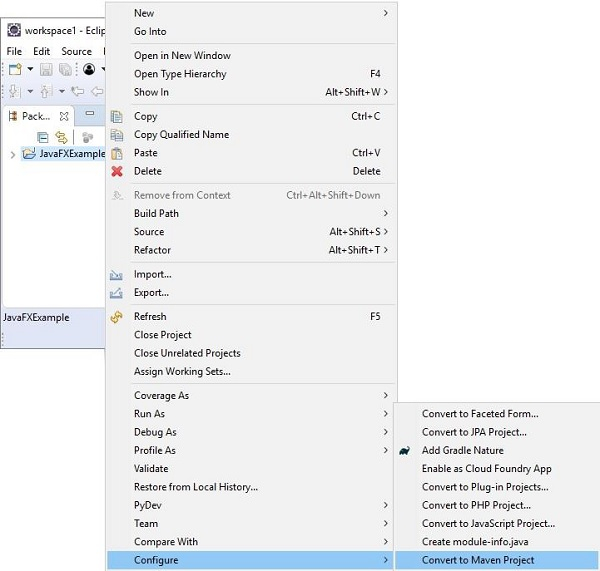
Then add the following JavaFX dependencies in the pom.xml file and refresh the project.
<dependency>
   <groupId>org.openjfx</groupId>
   <artifactId>javafx-controls</artifactId>
   <version>14</version>
</dependency>
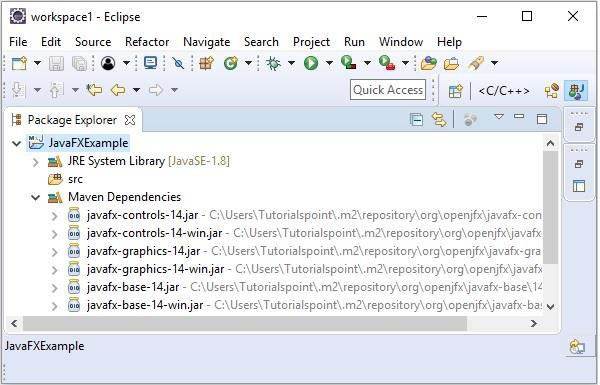
If you observe the Maven dependency directory, you can find the installed Jar files as shown below -
Add the required Jar files manually
You can also add the required JAR files manually
Visit the JavaFX homepage and click the Download button.
You will be redirected to the page containing the JavaFX SDKs, choose the one compatible with your environment and install it.
Now, right click on the Java project and open the Java Build Path window as shown below -
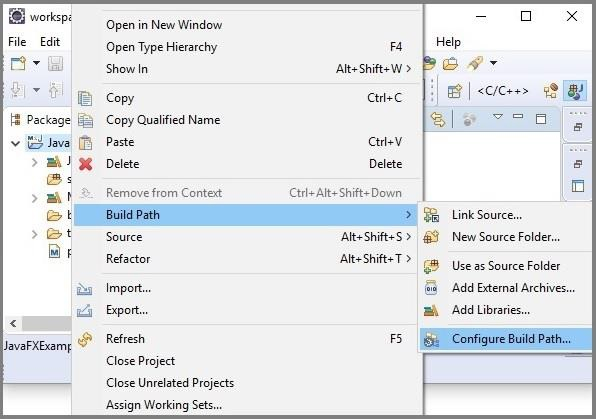
Add External JAR... button and add the javafx-sdk-14 folder# from the download ##lib folder.
 Then click the "Apply and Close" button and you can observe the downloaded JAR file in the project's
directory.
The above is the detailed content of JavaFX development using Eclipse. For more information, please follow other related articles on the PHP Chinese website!
Related articles
See more- Recommended video tutorials for the 5 most popular PHP development frameworks in 2023
- Detailed explanation of how to configure the php environment and run php code in eclipse
- How to turn eclipse into Chinese version?
- Java Error: JavaFX Tree Error, How to Handle and Avoid
- Java Error: JavaFX Keyboard Event Error, How to Handle and Avoid