Home >CMS Tutorial >WordPress >WooCommerce Tax Guide: A Guide for Beginners
WooCommerce Tax Guide: A Guide for Beginners
- WBOYWBOYWBOYWBOYWBOYWBOYWBOYWBOYWBOYWBOYWBOYWBOYWBOriginal
- 2023-09-04 08:25:111020browse
Now that we’ve learned about WooCommerce products and their related settings, let’s take a look at WooCommerce’s tax configuration options.
Tax Settings
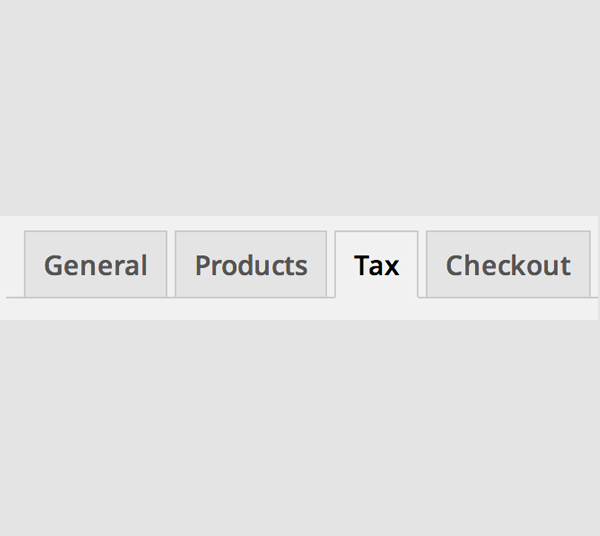
As an online store owner, you never want to mess with tax rules and issues. WooCommerce helps you with this, offering multiple options to address all tax settings, which may vary depending on your country and individual store requirements.
These options can be found in: WooCommerce -> Settings ->Tax. Once you enter the Tax Settings tab, you will see a main Tax settings section with three different tax brackets. these are:
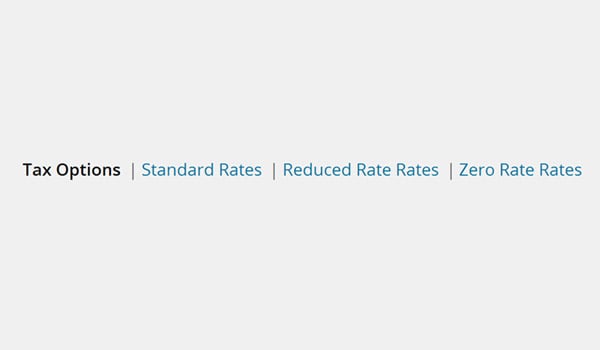
- Tax Options
- Standard Rate
- Lower interest rates
- Zero interest rate
Tax Options
Enable tax
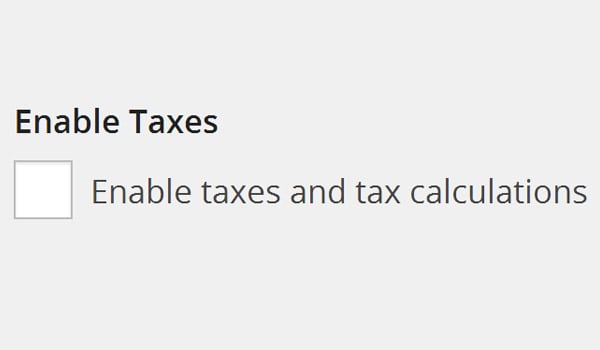
If you enable this option, WooCommerce will start calculating taxes for you. If you don't want this to happen, there is no need to configure additional options in this section, you need to keep this option.
Enter price including tax
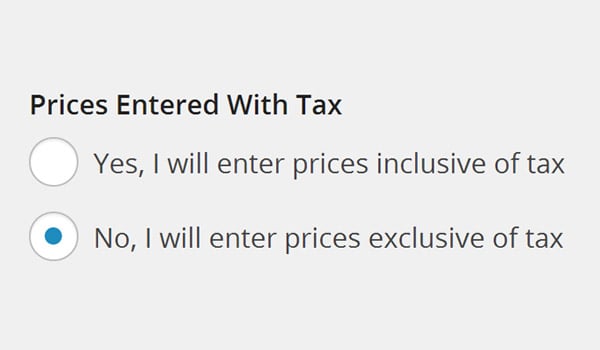
If you enter a price including tax, please select Yes. If you don't do this and want WooCommerce to calculate taxes on your behalf, then select No. it This is a very common phenomenon for customers whenever they purchase something The price tag shows the total price (including tax) or the net price (excluding tax).
WooCommerce offers two different checkboxes in this regard.
- Yes, I will enter the price Tax included. This option means all entered prices There is a certain amount of basic tax rate included in it.
- No, I will enter the price Excluding tax. This option means that all prices entered are exclusive of tax This does not include basic rate amounts. In this case, the customer will If you choose to display a product price excluding tax, you will pay a slightly higher amount than the displayed price. (Wait! Where can we select this? We’ll discuss that later in this article).
Tax Calculation
No matter which option you choose, WooCommerce provides a complete algorithm to calculate the price or Excluding tax. The method is as follows:
- The tax calculation method for the total price (including tax) is:
tax_amount = Price - ( Price / ( (tax_rate_% / 100 ) 1 ) ) - Tax calculation of net price (excluding
Tax) is:
tax_amount
= price * (tax_rate_% / 100)
Calculate tax based on...
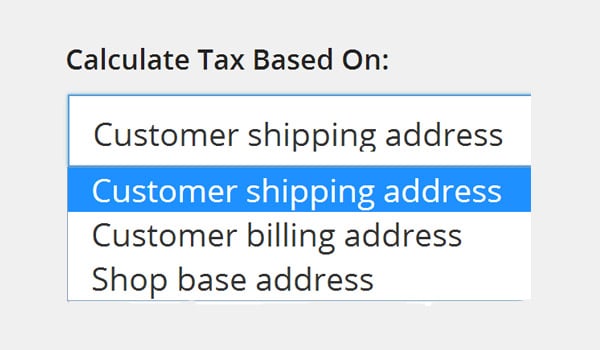
If the customer is placing an order from another country, then the taxation process depends on the taxation of the country where he is located speed. In this case, WooCommerce offers a “Calculate tax based on” option Tax calculation for which three different types of addresses are available.
The following address is Available: "Customer Shipping Address", "Customer Billing Address", or "Store" Base address". I think they are easy to understand.
Default customer address
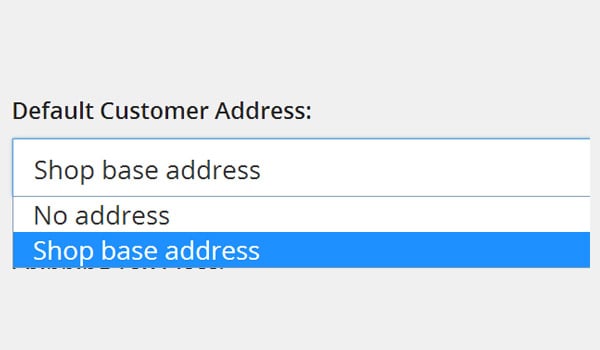
The online store owner is completely unaware Regarding the location of any new customers visiting the store. calculate Then it becomes quite difficult to pay taxes. This option allows store owners to display Prices are determined by assuming a default location before any customer enters their actual location address. Here you will select "Store Base Address" (instead of "No Address") Automatic tax corrections are applied once the customer enters their country as the base address.
Shipping tax level
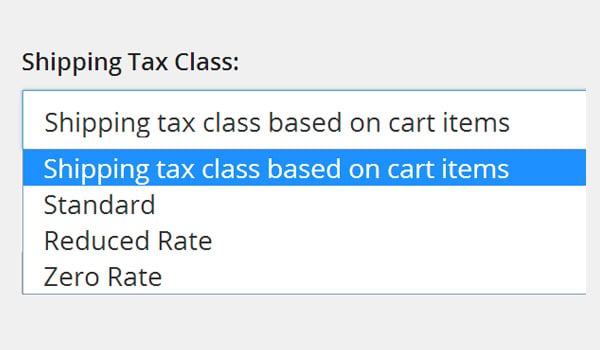
Shipping tax level option will determine which tax level is used for shipping. In most online settings, "Cart item-based shipping tax level" is considered the default setting, depending on the product tax rate. In addition to this, "standard rates, discounted rates and zero rates" can also be applied.
If you select "Shipping tax level based on cart items" and your cart contains items with different tax rates, the shipping fee will be taxed at a higher rate based on the defined tax Target specific products and consider other factors such as the customer's country.
rounding
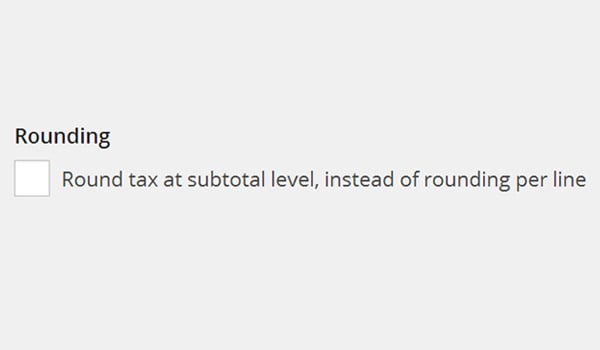
This is another checkbox that means the tax will be rounded to the nearest number whenever calculating subdivisions, rather than at every step.
Additional taxes
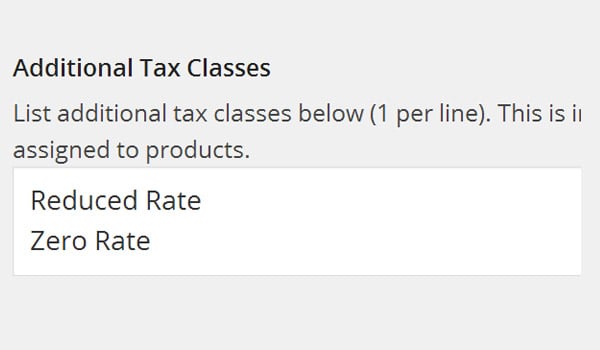
WooCommerce allows you to assign various default standard tax classes to your products. However, it also provides the opportunity to add some custom tax classes with the help of this setting. Other Tax Classes Allows you to create new tax classes with their own tax rates.
All you need to do is add a new line with the name of the new tax bracket in the text box and save the changes.
Show price in store
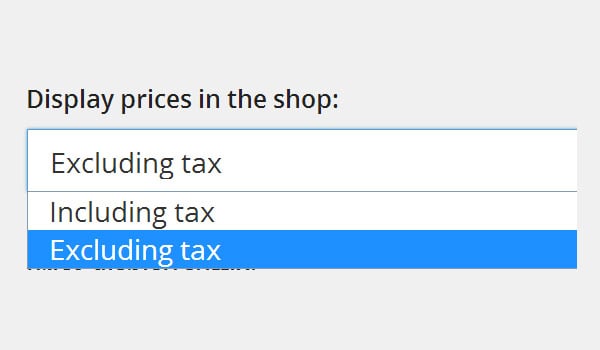
We have discussed the difference between gross price and net price. Store owners can decide the price format displayed on their online store and can control this using this option. There are two options: excluding tax and including tax. That’s pretty much what this particular setup is all about.
Price display suffix
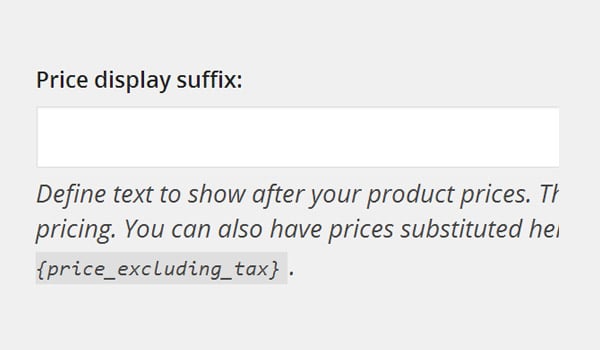
WooCommerce not only allows you to display the price of your product, but also allows you to add certain text after the product price. This option allows you to add some additional information, for example you can add text such as "Inc." Value Added Tax (Inclusive of Value Added Tax)” or “Exc. Value-added tax (excluding value-added tax)".
Show price at checkout
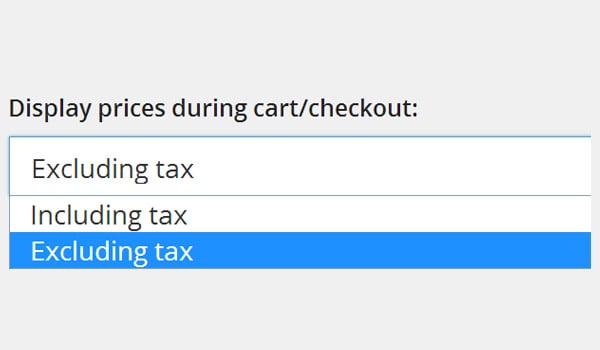
This option is very similar to the previously discussed setting, which is "Show price in store". The only difference here is that the store owner can decide the format of the price displayed on the shopping cart and checkout page.
There are also the same two options: tax-exclusive and tax-included. My suggestion is to choose the Tax Included option so that your customer knows how much he/she paid for the product.
Display total tax amount
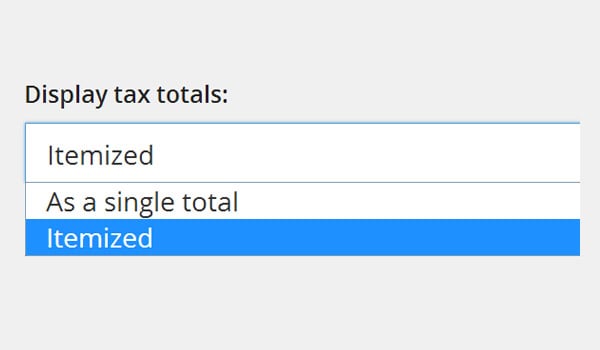
Here you can configure how the total tax amount is displayed on the front end
- as a whole. Tax shown as total for a group of items
- Itemize. Show tax separately for each item
After configuring these settings Save changes.
That’s all for today. In the next article, we will complete the configuration of tax options. If you have any questions or feedback, please let me know using the comments section.
The above is the detailed content of WooCommerce Tax Guide: A Guide for Beginners. For more information, please follow other related articles on the PHP Chinese website!

