Home >Common Problem >How to use wirelesskeyview
How to use wirelesskeyview
- zbtOriginal
- 2023-09-01 10:39:101744browse
wirelesskeyview usage tutorial: 1. After downloading and unzipping, double-click the exe file to run the software; 2. After the software is opened, the WiFi and password you have connected to will be automatically displayed. Contains WiFi name, password type and other information; 3. Right-click on a piece of information to copy the password, or double-click to view the WiFi information and copy it.

#I think everyone should have this experience. The wifi connected to the computer will automatically connect the next time it is used, without a password. Over time, the password may be forgotten. If you have friends who also need to connect to wifi, you may not be able to remember them for a while.
In fact, the previously connected wifi passwords are saved on the computer in some way. Today, the editor brings you a tool that allows you to check the password of the WiFi you have connected to with one click. It is very simple and convenient.
wirelesskeyview
Let’s take a look at the introduction of the software first:
WirelessKeyView allows you to recover wireless network keys (WEP/WPA) stored in Windows operating systems (non-third-party products) ). The software uses hexadecimal and Ascii (if provided) code displays the key with the adapter name and graphical user interface. This information can be copied to the clipboard or exported to Text/HTML/xml file format.
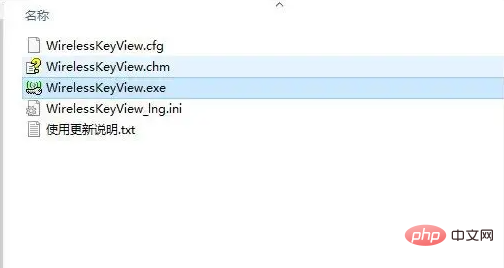
1. After downloading and decompressing, double-click the exe file to run the software.

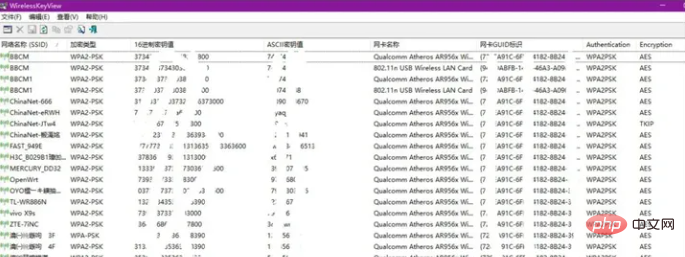
#2. After the software is opened, the WiFi and password you have connected to will be automatically displayed. Contains information such as WiFi name, password type, etc.

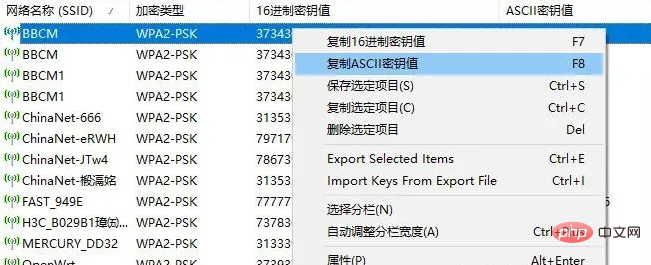
#3. Right-click on a piece of information to copy the password and other operations.

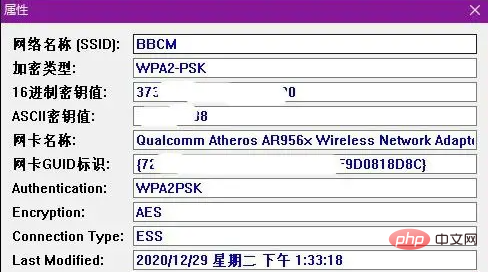
Or you can also double-click to view the wifi information and copy it.

The overall operation is very simple and practical, very easy to use, so you no longer have to worry about forgetting your wifi password!
The above is the detailed content of How to use wirelesskeyview. For more information, please follow other related articles on the PHP Chinese website!

