


As a module developer, you often need to create custom schemas in your daily OpenCart custom module development. Like other frameworks, it has been configured in the form of different hooks in the OpenCart module architecture.
Before we continue exploring the above hooks, let’s explore the concept of extensions in OpenCart. Looking from top to bottom, it is an extension in OpenCart that allows you to enrich the core functions of OpenCart. By installing it, you can add functionality to your front-end store, whether it's a simple image gallery or some fancy-looking drag-and-drop functionality.
Additionally, extensions are categorized into logical groups based on the functionality they provide. As a simple example, the Payments extension adds new payment methods to the front-end checkout, while it is an anti-fraud extension that allows you to detect spam activity in your store. Go to the backend and look at the list under the Extensions menu, which shows the different types of extensions OpenCart supports.
You will be surprised to know that Modules are also just another extension in OpenCart. Each extension is built around a common workflow of how things should work in the OpenCart ecosystem. Hooks allow you to perform certain actions based on specific events, whether that's running an installation hook during module activation or cleaning up garbage during uninstallation.
This article will discuss these installation and uninstallation hooks. While they will be discussed in the context of modules, I don't see anything that prevents you from applying the same approach to other types of extensions as well, so feel free to explore these files on your own.
This is the latest version of OpenCart that provides the snippets in this tutorial. As of this writing, it is the 2.1.0.2 stable version.
Step through installation hook
In this section, we will explore the specific uses of installation hooks. Go ahead and open admin/controller/extension/module.php in your favorite text editor and find the install method. It should look like this:
<?php
  ...
  public function install() {
    $this->load->language('extension/module');

    $this->document->setTitle($this->language->get('heading_title'));

    $this->load->model('extension/extension');

    $this->load->model('extension/module');

    if ($this->validate()) {
      $this->model_extension_extension->install('module', $this->request->get['extension']);

      $this->load->model('user/user_group');

      $this->model_user_user_group->addPermission($this->user->getGroupId(), 'access', 'module/' . $this->request->get['extension']);
      $this->model_user_user_group->addPermission($this->user->getGroupId(), 'modify', 'module/' . $this->request->get['extension']);

      // Call install method if it exists
      $this->load->controller('module/' . $this->request->get['extension'] . '/install');

      $this->session->data['success'] = $this->language->get('text_success');

      $this->response->redirect($this->url->link('extension/module', 'token=' . $this->session->data['token'], 'SSL'));
    }

    $this->getList();
  }
  ...
?>
This is the universal installation hook for modules, this hook will be called whenever you try to install any module from the backend. Let's look at the important parts of this method.
First, it loads the model files required for subsequent activities. The $this->model_extension_extension->install method call ensures that an entry for this specific module is added to the database.
Next is some ACL content, which is done by calling the addPermission method. It ensures that the current user admin should be able to access module specific settings and change them.
Finally, it calls the install method of the module being installed. Not to be confused with the install method we've already used - it calls the module-specific install method if one exists.
For example, if you try to install the Login with PayPal module, it will call the installation method defined in the file admin/controller/module/pp_login.php as shown below.
<?php
  ...
  public function install() {
    $this->load->model('extension/event');

    $this->model_extension_event->addEvent('pp_login', 'post.customer.logout', 'module/pp_login/logout');
  }
  ...
?>
Since its launch, OpenCart 2.x has included some exciting features, and event observers are one of them. It allows you to add a module-specific event for which other modules can set observers so that they can run some arbitrary code when that specific event is triggered. This is exactly what is demonstrated in the installation method above, which adds a post.customer.logout custom event!
As far as the Login with PayPal module goes, it's pretty simple stuff, but sometimes you're going to need more if you wish to inject a custom schema or something like that. Let’s bring in our installation method from the PayPal Express Checkout payment extension. Continue to open admin/controller/ payment/pp_express.php.
<?php
  ...
  public function install() {
    $this->load->model('payment/pp_express');
    $this->model_payment_pp_express->install();
  }
  ...
?>
First, it loads the corresponding model file and uses that file to call the model's install method. As a rule of thumb, whenever you want to operate a mode, you should implement that code in the model's mount method rather than putting it directly into the controller's mount method.
Now, let’s quickly pull in the install method defined in the model file admin/model/ payment/pp_express.php.
<?php
  ...
  public function install() {
    $this->db->query("
      CREATE TABLE IF NOT EXISTS `" . DB_PREFIX . "paypal_order` (
        `paypal_order_id` int(11) NOT NULL AUTO_INCREMENT,
        `order_id` int(11) NOT NULL,
        `date_added` DATETIME NOT NULL,
        `date_modified` DATETIME NOT NULL,
        `capture_status` ENUM('Complete','NotComplete') DEFAULT NULL,
        `currency_code` CHAR(3) NOT NULL,
        `authorization_id` VARCHAR(30) NOT NULL,
        `total` DECIMAL( 10, 2 ) NOT NULL,
        PRIMARY KEY (`paypal_order_id`)
      ) ENGINE=MyISAM DEFAULT COLLATE=utf8_general_ci;");

    $this->db->query("
      CREATE TABLE IF NOT EXISTS `" . DB_PREFIX . "paypal_order_transaction` (
        `paypal_order_transaction_id` int(11) NOT NULL AUTO_INCREMENT,
        `paypal_order_id` int(11) NOT NULL,
        `transaction_id` CHAR(20) NOT NULL,
        `parent_transaction_id` CHAR(20) NOT NULL,
        `date_added` DATETIME NOT NULL,
        `note` VARCHAR(255) NOT NULL,
        `msgsubid` CHAR(38) NOT NULL,
        `receipt_id` CHAR(20) NOT NULL,
        `payment_type` ENUM('none','echeck','instant', 'refund', 'void') DEFAULT NULL,
        `payment_status` CHAR(20) NOT NULL,
        `pending_reason` CHAR(50) NOT NULL,
        `transaction_entity` CHAR(50) NOT NULL,
        `amount` DECIMAL( 10, 2 ) NOT NULL,
        `debug_data` TEXT NOT NULL,
        `call_data` TEXT NOT NULL,
        PRIMARY KEY (`paypal_order_transaction_id`)
      ) ENGINE=MyISAM DEFAULT COLLATE=utf8_general_ci;");
  }
  ...
?>
Finally something to be thankful for! As you can see, several custom MySQL tables were created using OpenCart's database API. So, here's how to apply database related changes using the model's install method.
So, as far as installing hooks go, this is it. I hope it's not as complicated as it seems at first glance. Let's put it this way. The process begins by triggering an extension-specific install method, which in turn calls the install method of the extension being installed, if one exists. Finally, if the extension requires any database operations, the model's install method is called from the controller's install method.
浏览卸载挂钩
本节与上一节相对应,重点介绍卸载挂钩中发生的情况。我们将按照与上一节中的 install 方法相同的方式进行操作,因此让我们立即从文件 admin/ 中获取 <code class="inline">uninstall 挂钩的代码控制器/扩展/module.php。
<?php
  ...
  public function uninstall() {
    $this->load->language('extension/module');

    $this->document->setTitle($this->language->get('heading_title'));

    $this->load->model('extension/extension');

    $this->load->model('extension/module');

    if ($this->validate()) {
      $this->model_extension_extension->uninstall('module', $this->request->get['extension']);

      $this->model_extension_module->deleteModulesByCode($this->request->get['extension']);

      $this->load->model('setting/setting');

      $this->model_setting_setting->deleteSetting($this->request->get['extension']);

      // Call uninstall method if it exists
      $this->load->controller('module/' . $this->request->get['extension'] . '/uninstall');

      $this->session->data['success'] = $this->language->get('text_success');

      $this->response->redirect($this->url->link('extension/module', 'token=' . $this->session->data['token'], 'SSL'));
    }

    $this->getList();
  }
  ...
?>
同样,它看起来应该有点熟悉,因为其中大部分是样板代码。首先的重要代码片段是调用 uninstall 方法,该方法从 扩展 MySQL 表中删除当前正在卸载的扩展的条目。
接下来,它调用 deleteModulesByCode,这会删除与扩展关联的模块。这是一种特殊方法,只能在这种模块类型的扩展中找到 - 您不会在其他扩展中找到它,例如付款、运输、欺诈等。
原因是您可以复制每个模块来创建多个实例。例如,您可以在不同的页面上显示不同的横幅模块。另一方面,复制其他类型的扩展没有任何意义。再次举个例子,前端的 PayPal 付款扩展只需要一个实例。
接下来,它通过调用 deleteSetting 方法删除与该模块相关的配置变量。最后,它调用正在卸载的模块的 uninstall 方法。
让我们打开 admin/controller/module/pp_login.php 看看卸载方法是什么样的。
<?php
  ...
  public function uninstall() {
    $this->load->model('extension/event');

    $this->model_extension_event->deleteEvent('pp_login');
  }
  ...
?>
很简单吧?它只是撤消注入到使用 PayPal 登录模块的安装方法中的内容。回想一下,我们在安装过程中创建了一个新事件 post.customer.logout,因此显然我们需要在卸载过程中删除它,以确保我们不会留下任何特定于模块的垃圾。 p>
此外,我们还可以快速了解一下 PayPal Express Checkout 付款扩展程序的卸载方法,就像我们在前面部分中介绍的安装方法一样。获取 admin/controller/ payment/pp_express. 的以下片段。
<?php
  ...
  public function uninstall() {
    $this->load->model('payment/pp_express');
    $this->model_payment_pp_express->uninstall();
  }
  ...
?>
完全符合预期——它加载模型并调用卸载方法。这也给了我们打开模型文件 admin/model/ payment/pp_express.php 并探索卸载方法的充分理由。
<?php
  ...
  public function uninstall() {
    $this->db->query("DROP TABLE IF EXISTS `" . DB_PREFIX . "paypal_order_transaction`;");
    $this->db->query("DROP TABLE IF EXISTS `" . DB_PREFIX . "paypal_order`;");
  }
  ...
?>
我们只是删除之前创建的 MySQL 表,因为我们不希望有人问我们,“你怎么能留下这些垃圾?”
所以,这就是 OpenCart 中安装和卸载挂钩的故事,希望不错。下一部分也是最后一部分快速总结了迄今为止在一个简单但有效的自定义模块中学到的概念,因为这在你的小猫后理论课程中是一件很好的事情。
使用安装/卸载挂钩创建/删除自定义架构
在本节中,我们将创建一个管理模块演示,除了在安装期间创建新架构并在卸载期间删除它之外,该模块不会做太多事情。
首先,让我们创建一个语言文件,以便在后端拾取该模块。继续创建一个包含以下内容的文件 admin/language/english/module/demo.php 。
<?php
// Heading
$_['heading_title']    = 'Demo Module';
接下来,我们需要创建一个模型文件来保存自定义模块的实际且有趣的代码。模型文件应放置在 admin/model/module/demo.php。它在 install 方法中创建一个演示 MySQL 表,并将其放入 uninstall 方法中。
<?php
class ModelModuleDemo extends Model {
  public function install() {
    $this->db->query("
      CREATE TABLE IF NOT EXISTS `" . DB_PREFIX . "demo` (
        `demo_id` int(11) NOT NULL AUTO_INCREMENT,
        `name` VARCHAR(100) NOT NULL,
        PRIMARY KEY (`demo_id`)
      ) ENGINE=MyISAM DEFAULT COLLATE=utf8_general_ci;");
  }

  public function uninstall() {
    $this->db->query("DROP TABLE IF EXISTS `" . DB_PREFIX . "demo`;");
  }
}
最后,继续创建一个包含以下内容的控制器文件 admin/controller/module/demo.php 。
<?php
class ControllerModuleDemo extends Controller {
  public function install() {
    $this->load->model('module/demo');
    $this->model_module_demo->install();
  }

  public function uninstall() {
    $this->load->model('module/demo');
    $this->model_module_demo->uninstall();
  }
}
它应该很简单 - 它加载模型并根据正在执行的操作调用相应的方法。
来吧,尝试一下。它应该在扩展 > 模块下列为演示模块。安装它,你应该会看到后端创建的 demo MySQL 表,当然不要忘记卸载它以删除该表。
结论
今天,我们讨论了 OpenCart 安装过程的一个重要方面,即安装和卸载挂钩。我们详细介绍了这些挂钩,并在本文的后面部分构建了一个简单的模块作为概念证明。
当然,欢迎提问和评论!
The above is the detailed content of OpenCart: How to set up and remove hooks. For more information, please follow other related articles on the PHP Chinese website!

 Working with Flash Session Data in LaravelMar 12, 2025 pm 05:08 PM
Laravel simplifies handling temporary session data using its intuitive flash methods. This is perfect for displaying brief messages, alerts, or notifications within your application. Data persists only for the subsequent request by default: $request-
 cURL in PHP: How to Use the PHP cURL Extension in REST APIsMar 14, 2025 am 11:42 AM
The PHP Client URL (cURL) extension is a powerful tool for developers, enabling seamless interaction with remote servers and REST APIs. By leveraging libcurl, a well-respected multi-protocol file transfer library, PHP cURL facilitates efficient execution of various network protocols, including HTTP, HTTPS, and FTP. This extension offers granular control over HTTP requests, supports multiple concurrent operations, and provides built-in security features.
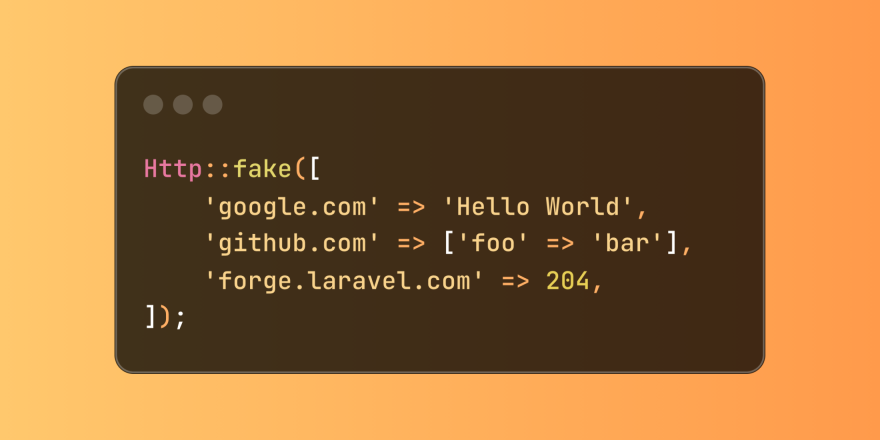 Simplified HTTP Response Mocking in Laravel TestsMar 12, 2025 pm 05:09 PM
Laravel provides concise HTTP response simulation syntax, simplifying HTTP interaction testing. This approach significantly reduces code redundancy while making your test simulation more intuitive. The basic implementation provides a variety of response type shortcuts: use Illuminate\Support\Facades\Http; Http::fake([ 'google.com' => 'Hello World', 'github.com' => ['foo' => 'bar'], 'forge.laravel.com' =>
 12 Best PHP Chat Scripts on CodeCanyonMar 13, 2025 pm 12:08 PM
Do you want to provide real-time, instant solutions to your customers' most pressing problems? Live chat lets you have real-time conversations with customers and resolve their problems instantly. It allows you to provide faster service to your custom
 Explain the concept of late static binding in PHP.Mar 21, 2025 pm 01:33 PM
Article discusses late static binding (LSB) in PHP, introduced in PHP 5.3, allowing runtime resolution of static method calls for more flexible inheritance.Main issue: LSB vs. traditional polymorphism; LSB's practical applications and potential perfo
 PHP Logging: Best Practices for PHP Log AnalysisMar 10, 2025 pm 02:32 PM
PHP logging is essential for monitoring and debugging web applications, as well as capturing critical events, errors, and runtime behavior. It provides valuable insights into system performance, helps identify issues, and supports faster troubleshoot
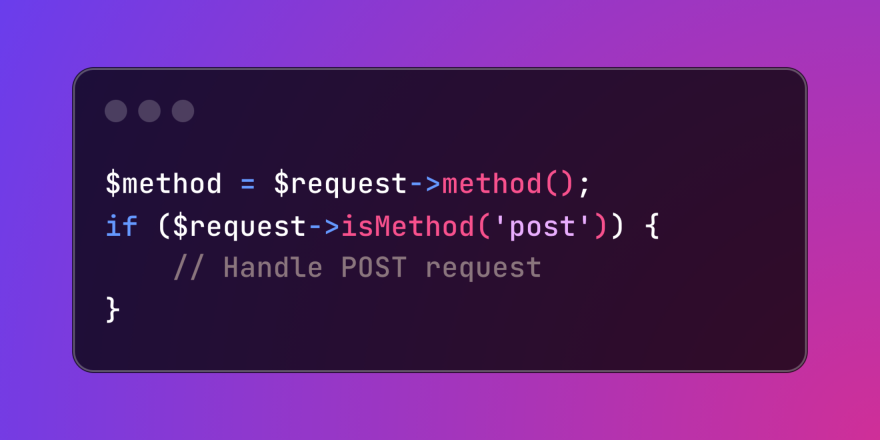 HTTP Method Verification in LaravelMar 05, 2025 pm 04:14 PM
Laravel simplifies HTTP verb handling in incoming requests, streamlining diverse operation management within your applications. The method() and isMethod() methods efficiently identify and validate request types. This feature is crucial for building
 Discover File Downloads in Laravel with Storage::downloadMar 06, 2025 am 02:22 AM
The Storage::download method of the Laravel framework provides a concise API for safely handling file downloads while managing abstractions of file storage. Here is an example of using Storage::download() in the example controller:


Hot AI Tools

Undresser.AI Undress
AI-powered app for creating realistic nude photos

AI Clothes Remover
Online AI tool for removing clothes from photos.

Undress AI Tool
Undress images for free

Clothoff.io
AI clothes remover

AI Hentai Generator
Generate AI Hentai for free.

Hot Article
Hot Tools

Dreamweaver CS6
Visual web development tools

DVWA
Damn Vulnerable Web App (DVWA) is a PHP/MySQL web application that is very vulnerable. Its main goals are to be an aid for security professionals to test their skills and tools in a legal environment, to help web developers better understand the process of securing web applications, and to help teachers/students teach/learn in a classroom environment Web application security. The goal of DVWA is to practice some of the most common web vulnerabilities through a simple and straightforward interface, with varying degrees of difficulty. Please note that this software

WebStorm Mac version
Useful JavaScript development tools

Atom editor mac version download
The most popular open source editor

MinGW - Minimalist GNU for Windows
This project is in the process of being migrated to osdn.net/projects/mingw, you can continue to follow us there. MinGW: A native Windows port of the GNU Compiler Collection (GCC), freely distributable import libraries and header files for building native Windows applications; includes extensions to the MSVC runtime to support C99 functionality. All MinGW software can run on 64-bit Windows platforms.

