


Upimages.class.php php上传类
复制代码 代码如下:
class UpImages {
var $annexFolder = "upload";//附件存放点,默认为:annex
var $smallFolder = "small";//缩略图存放路径,注:必须是放在 $annexFolder下的子目录,默认为:smallimg
var $markFolder = "mark";//水印图片存放处
var $upFileType = "jpg gif png";//上传的类型,默认为:jpg gif png rar zip
var $upFileMax = 1024;//上传大小限制,单位是“KB”,默认为:1024KB
var $fontType;//字体
var $maxWidth = 500; //图片最大宽度
var $maxHeight = 600; //图片最大高度
function UpImages($annexFolder,$smallFolder,$includeFolder) {
$this->annexFolder = $annexFolder;
$this->smallFolder = $smallFolder;
$this->fontType = $includeFolder."/04B_08__.TTF";
}
function upLoad($inputName) {
$imageName = time();//设定当前时间为图片名称
if(@empty($_FILES[$inputName]["name"])) die("没有上传图片信息,请确认");
$name = explode(".",$_FILES[$inputName]["name"]);//将上传前的文件以“.”分开取得文件类型
$imgCount = count($name);//获得截取的数量
$imgType = $name[$imgCount-1];//取得文件的类型
if(strpos($this->upFileType,$imgType) === false) die(error("上传文件类型仅支持 ".$this->upFileType." 不支持 ".$imgType));
$photo = $imageName.".".$imgType;//写入数据库的文件名
$uploadFile = $this->annexFolder."/".$photo;//上传后的文件名称
$upFileok = move_uploaded_file($_FILES[$inputName]["tmp_name"],$uploadFile);
if($upFileok) {
$imgSize = $_FILES[$inputName]["size"];
$kSize = round($imgSize/1024);
if($kSize > ($this->upFileMax*1024)) {
@unlink($uploadFile);
die(error("上传文件超过 ".$this->upFileMax."KB"));
}
} else {
die(error("上传图片失败,请确认你的上传文件不超过 $upFileMax KB 或上传时间超时"));
}
return $photo;
}
function getInfo($photo) {
$photo = $this->annexFolder."/".$photo;
$imageInfo = getimagesize($photo);
$imgInfo["width"] = $imageInfo[0];
$imgInfo["height"] = $imageInfo[1];
$imgInfo["type"] = $imageInfo[2];
$imgInfo["name"] = basename($photo);
return $imgInfo;
}
function smallImg($photo,$width=128,$height=128) {
$imgInfo = $this->getInfo($photo);
$photo = $this->annexFolder."/".$photo;//获得图片源
$newName = substr($imgInfo["name"],0,strrpos($imgInfo["name"], "."))."_thumb.jpg";//新图片名称
if($imgInfo["type"] == 1) {
$img = imagecreatefromgif($photo);
} elseif($imgInfo["type"] == 2) {
$img = imagecreatefromjpeg($photo);
} elseif($imgInfo["type"] == 3) {
$img = imagecreatefrompng($photo);
} else {
$img = "";
}
if(empty($img)) return False;
$width = ($width > $imgInfo["width"]) ? $imgInfo["width"] : $width;
$height = ($height > $imgInfo["height"]) ? $imgInfo["height"] : $height;
$srcW = $imgInfo["width"];
$srcH = $imgInfo["height"];
if ($srcW * $width > $srcH * $height) {
$height = round($srcH * $width / $srcW);
} else {
$width = round($srcW * $height / $srcH);
}
if (function_exists("imagecreatetruecolor")) {
$newImg = imagecreatetruecolor($width, $height);
ImageCopyResampled($newImg, $img, 0, 0, 0, 0, $width, $height, $imgInfo["width"], $imgInfo["height"]);
} else {
$newImg = imagecreate($width, $height);
ImageCopyResized($newImg, $img, 0, 0, 0, 0, $width, $height, $imgInfo["width"], $imgInfo["height"]);
}
if ($this->toFile) {
if (file_exists($this->annexFolder."/".$this->smallFolder."/".$newName)) @unlink($this->annexFolder."/".$this->smallFolder."/".$newName);
ImageJPEG($newImg,$this->annexFolder."/".$this->smallFolder."/".$newName);
return $this->annexFolder."/".$this->smallFolder."/".$newName;
} else {
ImageJPEG($newImg);
}
ImageDestroy($newImg);
ImageDestroy($img);
return $newName;
}
function waterMark($photo,$text) {
$imgInfo = $this->getInfo($photo);
$photo = $this->annexFolder."/".$photo;
$newName = substr($imgInfo["name"], 0, strrpos($imgInfo["name"], ".")) . "_mark.jpg";
switch ($imgInfo["type"]) {
case 1:
$img = imagecreatefromgif($photo);
break;
case 2:
$img = imagecreatefromjpeg($photo);
break;
case 3:
$img = imagecreatefrompng($photo);
break;
default:
return False;
}
if (empty($img)) return False;
$width = ($this->maxWidth > $imgInfo["width"]) ? $imgInfo["width"] : $this->maxWidth;
$height = ($this->maxHeight > $imgInfo["height"]) ? $imgInfo["height"] : $this->maxHeight;
$srcW = $imgInfo["width"];
$srcH = $imgInfo["height"];
if ($srcW * $width > $srcH * $height) {
$height = round($srcH * $width / $srcW);
} else {
$width = round($srcW * $height / $srcH);
}
if (function_exists("imagecreatetruecolor")) {
$newImg = imagecreatetruecolor($width, $height);
ImageCopyResampled($newImg, $img, 0, 0, 0, 0, $width, $height, $imgInfo["width"], $imgInfo["height"]);
} else {
$newImg = imagecreate($width, $height);
ImageCopyResized($newImg, $img, 0, 0, 0, 0, $width, $height, $imgInfo["width"], $imgInfo["height"]);
}
$white = imageColorAllocate($newImg, 255, 255, 255);
$black = imageColorAllocate($newImg, 0, 0, 0);
$alpha = imageColorAllocateAlpha($newImg, 230, 230, 230, 40);
ImageFilledRectangle($newImg, 0, $height-26, $width, $height, $alpha);
ImageFilledRectangle($newImg, 13, $height-20, 15, $height-7, $black);
ImageTTFText($newImg, 4.9, 0, 20, $height-14, $black, $this->fontType, $text[0]);
ImageTTFText($newImg, 4.9, 0, 20, $height-6, $black, $this->fontType, $text[1]);
if($this->toFile) {
if (file_exists($this->annexFolder."/".$this->markFolder."/".$newName)) @unlink($this->annexFolder."/".$this->markFolder."/".$newName);
ImageJPEG($newImg,$this->annexFolder."/".$this->markFolder."/".$newName);
return $this->annexFolder."/".$this->markFolder."/".$newName;
} else {
ImageJPEG($newImg);
}
ImageDestroy($newImg);
ImageDestroy($img);
return $newName;
}
}
?>
使用方法
复制代码 代码如下:
include 'Upimages.class.php';
$max="upload"; //文件上传路径
$mix="small"; //缩略图路径(必须在upload下建立)
$mark="mark"; //加水引的图片存放路径
$text = array("oktang","2012"); //水印内容
$img= new UpImages($max,$mix,$max); //实例化类文件
$photo = $img->upLoad("file"); //上传的文件域
$img->maxWidth = $img->maxHeight = 600; //设置高,和宽
$img->toFile = true;
$newSmallImg = $img->smallImg($photo);
$newMark = $img->waterMark($photo,$text);
echo $newSmallImg;
echo $newMark;
echo "
";
echo "
";
注意里面有个字体文件,大家可以从网上下载。

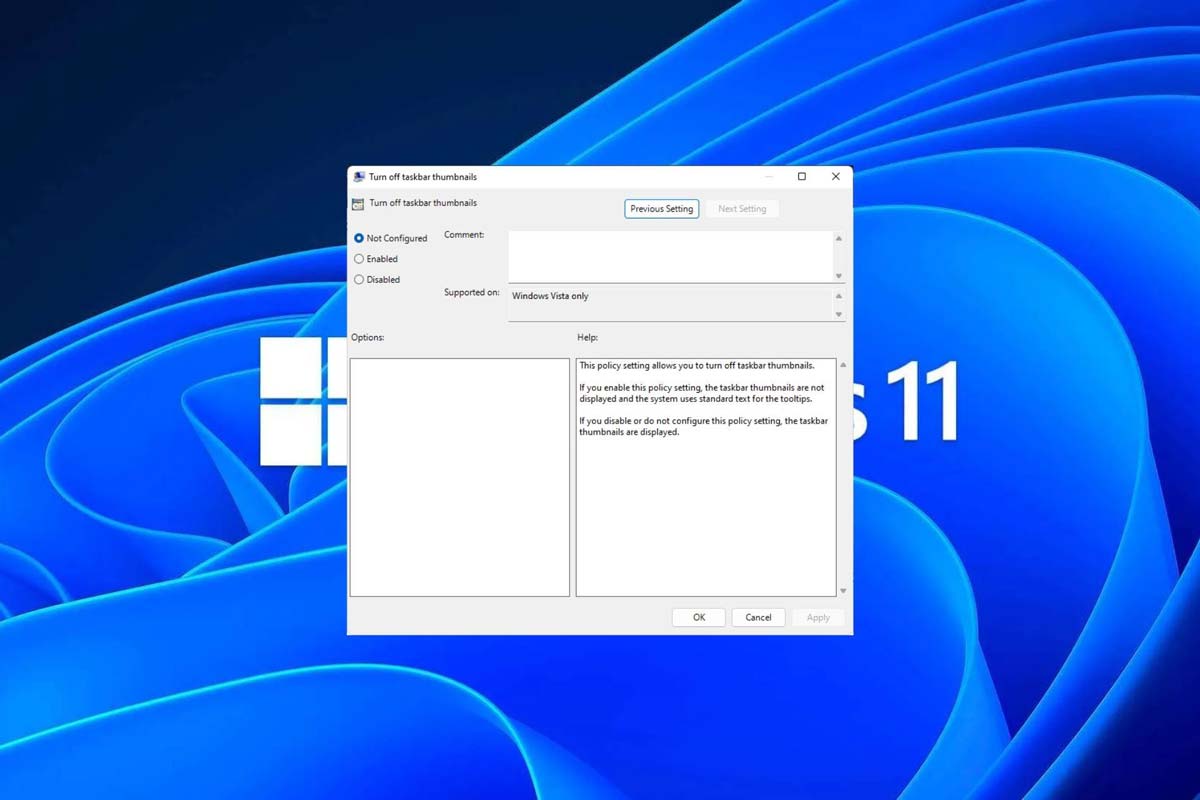 Win11怎么禁用任务栏缩略图预览? 关闭鼠标移动任务栏图标显示缩略图技巧Feb 29, 2024 pm 03:20 PM
本文将介绍如何在Win11系统中关闭鼠标移动任务栏图标时显示的缩略图功能。这一功能在默认情况下是开启的,当用户将鼠标指针悬停在任务栏上的应用程序图标上时,会显示该应用程序的当前窗口缩略图。然而,有些用户可能觉得这个功能不太实用或者会干扰到他们的使用体验,因此想要关闭它。任务栏缩略图可能很有趣,但它们也可能分散注意力或烦人。考虑到您将鼠标悬停在该区域的频率,您可能无意中关闭了重要窗口几次。另一个缺点是它使用更多的系统资源,因此,如果您一直在寻找一种提高资源效率的方法,我们将向您展示如何禁用它。不过
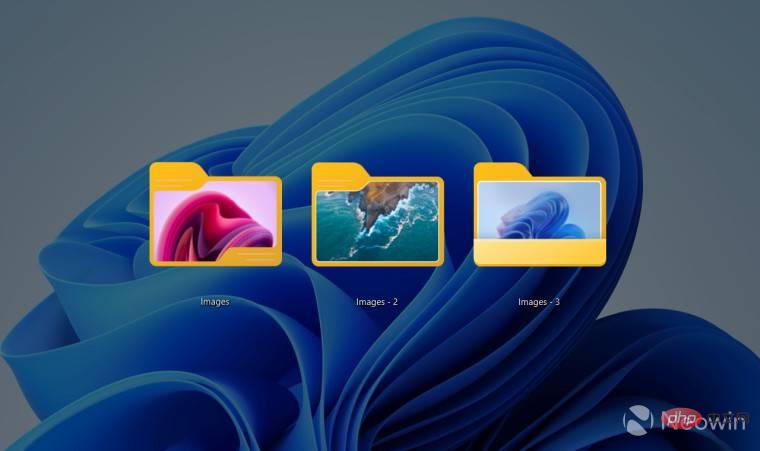 如何在 Windows 11 22H2 中自定义文件夹缩略图Apr 30, 2023 pm 04:52 PM
Windows1122H2是Windows11的第一个功能更新,应该会带来大量新功能和急需的改进。其中一项改进是允许预览文件夹内文件的文件夹缩略图。如果您不喜欢Windows11中文件夹缩略图的外观,可以通过以下方式更改它。Windows11中文件夹缩略图的一组自定义图标(由Reddit的LEXX911提供)可让您放大预览并更改文件夹图标样式。您仍然需要处理单个文件预览(例如,在Windows7中,文件夹缩略图可以同时显示多个图像),但您可以将其做得更大更方便。重要提示:
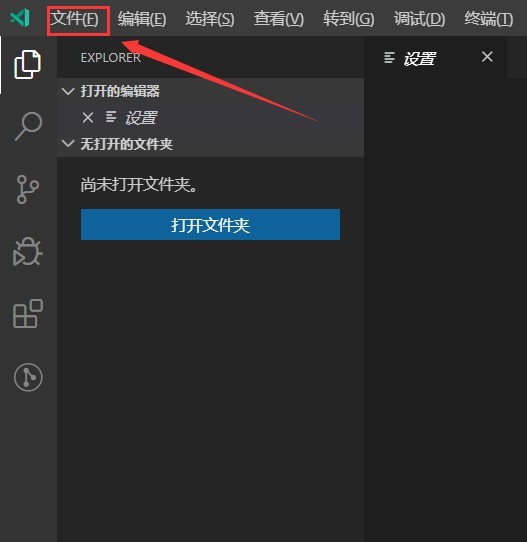 Vscode怎么显示缩略图_Vscode显示缩略图方法Apr 02, 2024 pm 02:43 PM
1、首先进入VisualStudioCode后,点击左上角【文件】。2、然后点击【首选项】。3、点击【设置】项。4、接着点击【文本编辑器-缩略图】。5、最后在缩略图项,开启【控制是否显示缩略图】。
 使用JavaScript实现自动缩略图生成Jun 16, 2023 pm 12:51 PM
随着互联网的发展,图片已经成为网页中不可或缺的一部分。但是随着图片数量的增多,图片的加载速度成为了一个很重要的问题。为了解决这个问题,许多网站都采用了缩略图的方式展示图片,但是为了生成缩略图,我们需要使用专业的图片处理工具,对于一些非专业人士来说,这是一个很麻烦的事情。那么,使用JavaScript实现自动缩略图生成就成为了一个不错的选择。如何使用JavaS
 在u盘里怎样显示缩略图Feb 12, 2024 pm 08:36 PM
经常遇到客户说的,几个电脑的小问题,关键时候非常麻烦。总结下有下面几种。文件无法复制到U盘可能是因为U盘的分区格式是FAT32而不是NTFS。你可以尝试将U盘的分区格式改为NTFS,这样就可以复制大文件了。第二种,图片显示不是缩略图,找图非得一张张点开看。第三种,页面突然变大变小。这三种情况不知道,简单的几个操作就可以解决。一、把U盘分区改成NTFS新购的U盘默认分区格式一般是FAT32,一般情况下使用是没有问题的。但是当需要复制大于4G的文件时,会出现无法复制的提示,这给使用带来了一些麻烦。为
 PHP生成缩略图的步骤详解Sep 13, 2023 am 08:40 AM
PHP生成缩略图的步骤详解,需要具体代码示例在现今互联网高速发展的时代,图片是网页中不可或缺的一部分,但是高分辨率的图片不仅会占用大量的带宽,还会影响用户的网页加载速度。因此,我们常常需要将原始图片生成缩略图,以减小图片尺寸和文件大小。PHP作为一种流行的服务器端脚本语言,它提供了丰富的图像处理功能,可以用来生成缩略图。下面将详细介绍PHP生成缩略图的步骤,
 美图秀秀怎么加水印Apr 08, 2024 pm 03:52 PM
1、在美图秀秀的【图片美化】功能中,上传或选择要添加水印的图片。2、在底部工具栏点击【文字】选项,输入水印内容并调整其颜色、大小和透明度。3、调整水印的尺寸和位置,确认满意后点击【完成】确认编辑。4、最后点击右上角的【保存】按钮,即可保存带有水印的图片。
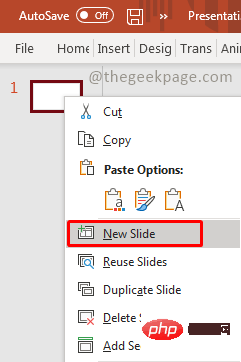 如何在 Powerpoint 演示文稿中插入表格Apr 13, 2023 pm 10:37 PM
PowerPoint 演示文稿中的表格有助于在您演示时以结构化格式显示数据。表格中显示的数字对观众有更好的影响。Microsoft Powerpoint 有多种方法可以将表格添加到您的演示文稿中。您可以选择在 Excel 或 Word 等其他应用程序中添加新表或从现有表中复制。方法一:通过选择网格上的行和列来插入表格步骤 1:在 PowerPoint 缩略图上,右键单击 主幻灯片并选择 新建幻灯片。第 2 步:转到 插入 并单击 表格。第 3 步:从下拉菜单中,选择表格所需的总行数和总列数。注意


Hot AI Tools

Undresser.AI Undress
AI-powered app for creating realistic nude photos

AI Clothes Remover
Online AI tool for removing clothes from photos.

Undress AI Tool
Undress images for free

Clothoff.io
AI clothes remover

AI Hentai Generator
Generate AI Hentai for free.

Hot Article
Hot Tools

MinGW - Minimalist GNU for Windows
This project is in the process of being migrated to osdn.net/projects/mingw, you can continue to follow us there. MinGW: A native Windows port of the GNU Compiler Collection (GCC), freely distributable import libraries and header files for building native Windows applications; includes extensions to the MSVC runtime to support C99 functionality. All MinGW software can run on 64-bit Windows platforms.

Safe Exam Browser
Safe Exam Browser is a secure browser environment for taking online exams securely. This software turns any computer into a secure workstation. It controls access to any utility and prevents students from using unauthorized resources.

SAP NetWeaver Server Adapter for Eclipse
Integrate Eclipse with SAP NetWeaver application server.

SublimeText3 English version
Recommended: Win version, supports code prompts!

mPDF
mPDF is a PHP library that can generate PDF files from UTF-8 encoded HTML. The original author, Ian Back, wrote mPDF to output PDF files "on the fly" from his website and handle different languages. It is slower than original scripts like HTML2FPDF and produces larger files when using Unicode fonts, but supports CSS styles etc. and has a lot of enhancements. Supports almost all languages, including RTL (Arabic and Hebrew) and CJK (Chinese, Japanese and Korean). Supports nested block-level elements (such as P, DIV),

