
Home >Common Problem >Illustrated step-by-step tutorial for recording screen in Windows 7
Illustrated step-by-step tutorial for recording screen in Windows 7

- WBOYWBOYWBOYWBOYWBOYWBOYWBOYWBOYWBOYWBOYWBOYWBOYWBforward
- 2023-07-19 18:49:163215browse
How to record screen in Windows 7? There are still many users using the Windows 7 Ultimate system, and sometimes they need to use screen recording when using it. For people who are not very familiar with computers, the operation may be difficult. What should we do? . Don’t worry, the editor will introduce how to use the screen recording function that comes with Windows 7.
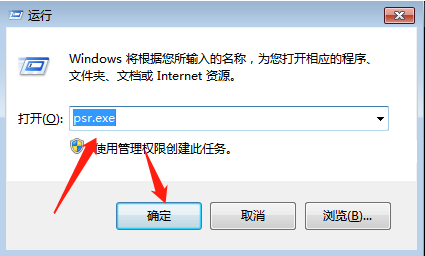
1. First, we turn on the computer, press the win r key combination, open the run window, and enter psr.exe.
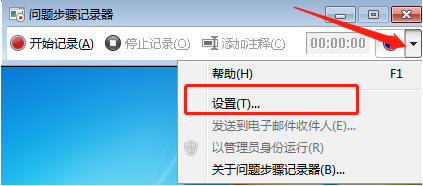
#2. After opening a software called step recorder, a problem will appear. We click on the inverted triangle symbol on the far right and find the settings to open it.
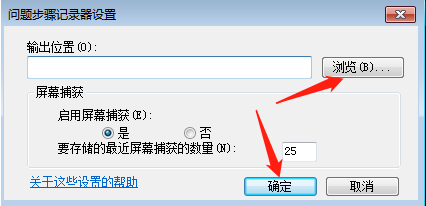
#3. Next, after I open it, I select the location where I want to save it, enter the file name, and click OK.
#4. After the video recording is completed, we can see a compressed file in the location where it was saved. We can open it to get the admitted video.

#The above is the step-by-step tutorial for recording screen in win7. I hope it can help everyone.
The above is the detailed content of Illustrated step-by-step tutorial for recording screen in Windows 7. For more information, please follow other related articles on the PHP Chinese website!