Home >Common Problem >How to change win7 computer font back to default font
How to change win7 computer font back to default font
- PHPzforward
- 2023-07-16 10:45:114661browse
Many friends think that computer fonts are constantly being changed and updated, but they still feel that the “default” one is more standard and looks more comfortable. If you are currently using an alternative font but want to restore it to the original default font, then follow the editor to see how to change the win7 computer font back to the default font.
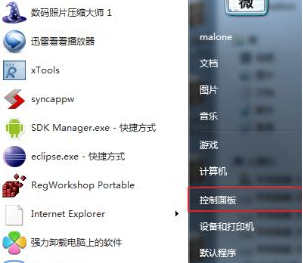
1. In the win7 system, click to open "Start--Control Panel";
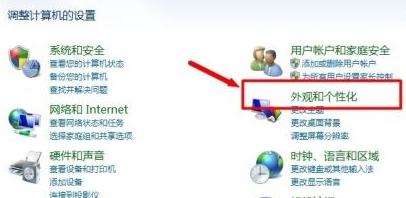
2. Then click "Appearance and Personalization";
3. After entering "Appearance and Personalization", find "Change Font Settings" and click to enter;

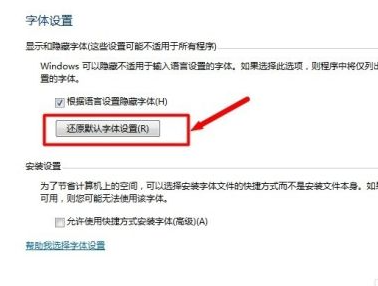
4. After entering, click "Restore default font settings", then "OK", save and exit;
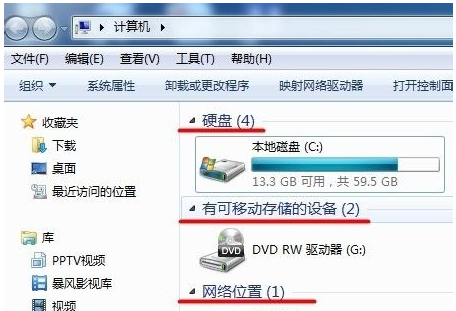
5. Restart the computer and find that the system Has the font returned to the way it used to look comfortable?
This is the end of how to change the win7 computer font back to the default font. If you also want to restore the original font, you can follow the above tutorial. Just try to restore it, it's quick and easy.
The above is the detailed content of How to change win7 computer font back to default font. For more information, please follow other related articles on the PHP Chinese website!

