Home >Common Problem >Graphic tutorial for installing win7 dual system on win10
Graphic tutorial for installing win7 dual system on win10
- PHPzforward
- 2023-07-15 14:09:133538browse
Win10 system is deeply loved by users, but sometimes Win10 cannot run some software, which causes users a headache. At this time, users can solve this problem by installing win7 dual system. Recently, many users want to know how to install win7 dual system from win10, so today I will share with you how to install win7 dual system from win10.
Picture and text tutorial for installing win7 dual system on win10:
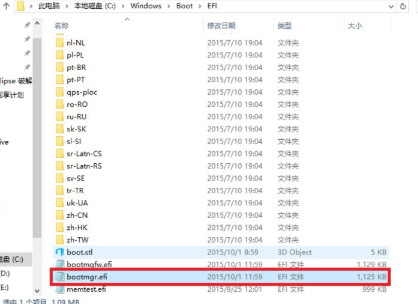
1. First open the Win10 system and prepare your Win7 installation package, and then go to the system directory in the Win10 system (that is, you C drive) According to: local disk C→windows→Boot→EFI→find the bootmgr.efi file and copy it.
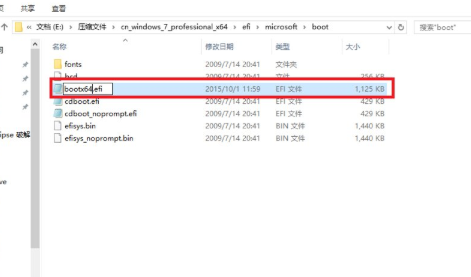
#2. Open the Win7 installation package, click to open efi→microsoft→boot, copy bootmgr.efi to this directory, and then change the name to bootx64.efi.
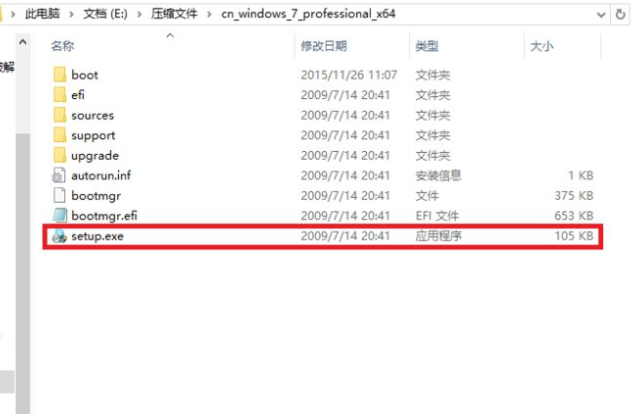
#3. Click setup.exe in the Win7 directory to install.
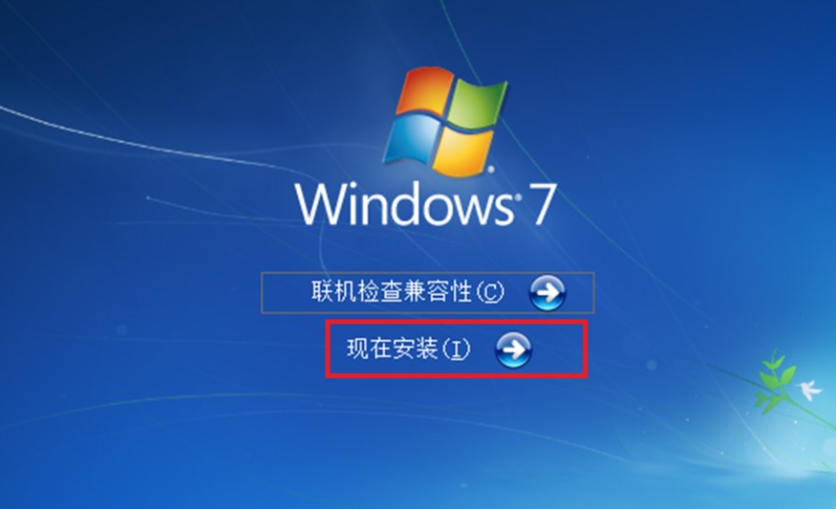
#4. Install step by step according to the wizard. Finally, the settings are completed and you enter the win7 system.
#5. Finally, when we restart the computer, we can choose dual systems!
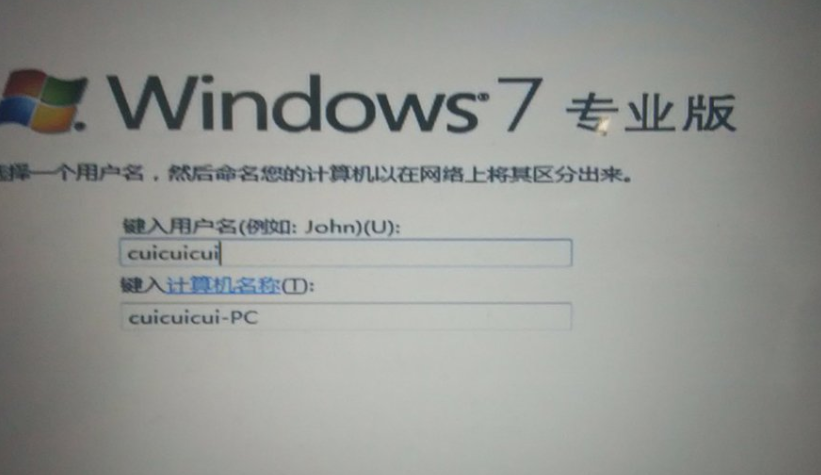
The above is a detailed tutorial on how to install win7 dual system from win10! Hope it helps everyone!
The above is the detailed content of Graphic tutorial for installing win7 dual system on win10. For more information, please follow other related articles on the PHP Chinese website!

