The win7 system is still used by many friends, so when there is a problem with the computer, it is often necessary to reinstall the system to solve the problem. So how to install the win7 system? Because many friends don’t know much about how to download the win7 USB disk installation system, let’s take a look at the tutorial for installing the win7 system on a USB disk.
Win7 U disk installation system download and installation tutorial is as follows:
1. Download and open the Kaka installation software, select the U disk to reinstall the system.

#2. Select U disk mode and click "Start Production" to next step.

#3. Check the operating system you want to install and click "Start Production".

#4. After waiting for the Kaka installation prompt "Start USB disk creation successful", we can click "Preview" first.

#5. After checking the computer startup shortcut key, directly pull out the USB disk and insert it into the computer where the system needs to be installed.

#6. After plugging in the USB flash drive and booting, use the up and down keys on the keyboard to select and then press the Enter key to enter.

#7. Enter the pe installation system interface and select a system we need to install.

#8. Change the target partition to "Disk C" and click "Start Installation".

#9. After the system image installation is completed, unplug the USB flash drive and restart the computer to enter the system desktop.

The above is the entire content of the win7 u disk installation system download and installation tutorial brought by the editor. I hope it can be helpful.
The above is the detailed content of win7 u disk installation system download and installation tutorial. For more information, please follow other related articles on the PHP Chinese website!
 Win10系统安装指南Dec 24, 2023 am 09:04 AM
最近有小伙伴反应自己下载了win10镜像文件,但是却不知道该如何安装,这可怎么办呢?其实我们可以制作一个U盘启动盘,使用U盘进行安装,今天小编带来了详细的解决步骤,具体的一起来看看吧。win10镜像安装教程1、制作U盘启动盘2、下载好的Win10系统镜像文件,拷贝到U盘启动盘中3、做好U盘启动盘之后,开机快速按下F12(某些机型是F8)选择U盘启动,进入PE系统,选择第2选项回车进入如下图所示:4、几分钟后进入PE系统,点击桌面上PE装机工具,然后在工具主窗口中点击“浏览”按钮,如下图所示:5、
 图文演示win10正式版下载安装教程Jul 12, 2023 am 11:25 AM
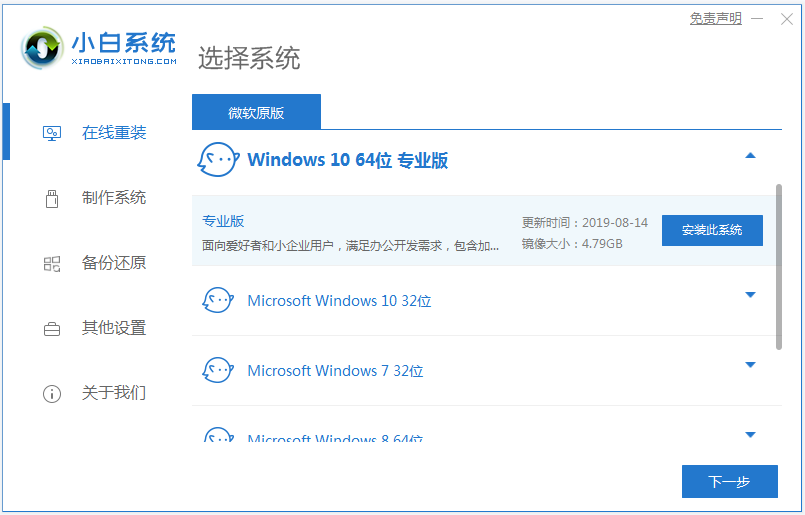
win10系统是现在主流的操作系统,很多人都选择下载安装win10系统使用。不过网上很多的win10系统版本,想要找到win10正式版不容易。那么如何下载安装win10正式版系统?下面小编就教下大家win10正式版下载安装教程。我们可以先借助工具安装win10原版系统,然后在用正版密钥激活就是win10正式版系统啦。具体的win10原版系统安装教程参照:1、在电脑上下载安装好小白一键重装系统工具并打开,选择需要安装的win10原版系统,点击安装此系统。(注意在安装前备份好c盘重要资料,关掉电脑上
 详细说明官方网原版win10安装教程流程Jul 11, 2023 pm 07:17 PM
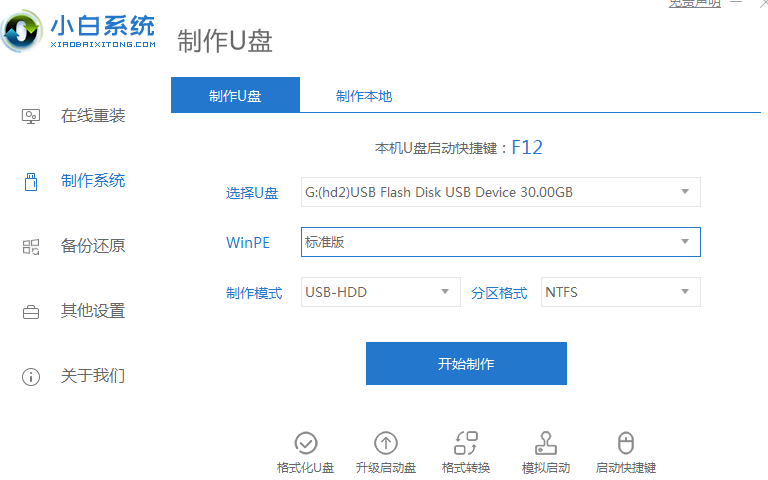
要想给电脑运行win10系统应用,可是自身不清楚如何安装win10该怎么办?最先win10安装教程有很多,非常简单的便是一键重装或是u盘重装,下边就给大伙儿演试一个简洁的官方网原版win10安装教程.1.将U盘插进电脑上,开启小白一键再次装进系统,在应用前关掉杀毒工具,等候新手检验自然环境进行,点击制做系统软件,点击逐渐制做。2.选择大家必须的系统软件,这儿能够选择win10系统,点击逐渐制做。3.弹出来提醒备份数据U盘材料,点击明确,等候系统软件进行,等候U盘启动盘制作取得成功后,拔下U盘。4
 win7家庭高级版安装教程Jul 15, 2023 pm 02:41 PM
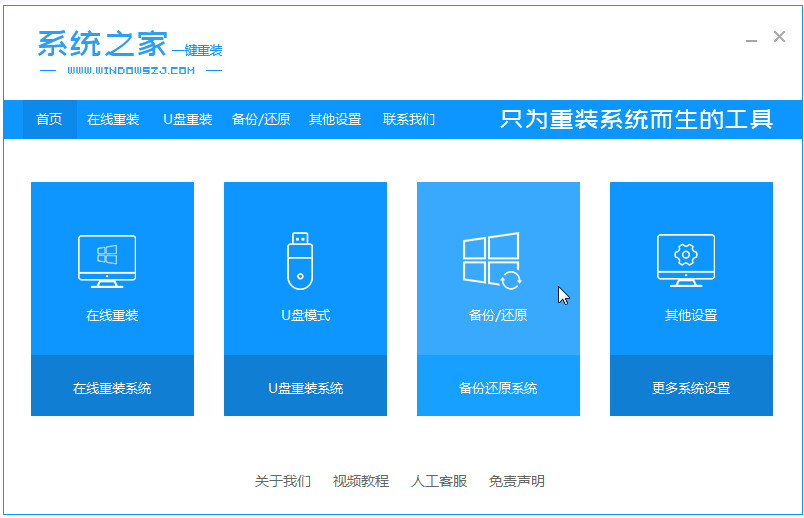
win7家庭高级版系统是一款非常好用的经典系统,有着全面丰富功能等,有不少小伙伴都想要安装使用。那么如何下载安装win7家庭高级版系统呢?下面小编给大家分享下win7家庭高级版安装教程。首先我们先去下载win7家庭高级版系统镜像,具体的下载可以在windows7en官网中找。然后具体安装步骤如下:1、把win7家庭高级版系统镜像解压到非系统盘,下载安装系统之家一键重装系统软件并打开,单击[备份和还原]。安装之前注意备份好系统盘上面重要的数据。2、选择“ghost备份和还原”,软件将自动检测下载的
 win7专业版64位原版系统下载安装教程Jul 13, 2023 pm 03:21 PM
win764位专业版系统如何安装?有用户下载了win7旗舰版64位,但是不知道怎么安装,下面就和大家介绍一下电脑安装64位win7专业版的详细步骤吧。1、首先我们打开电脑浏览器搜索魔法猪一键重装系统官网,下载下来并打开它。2、下载好之后我们打开它,点击在线重装即可。3、接下来我们耐心等待它安装完后就可以了。4、安装完成,接下来我们需要点击立即重启电脑。5、重启完电脑之后我们还需要返回主界面继续完成安装,接下来我们的安装就完成了。专业版win7系统一键安装具体步骤就到这里了,大家可以根据步骤一步一
 windows7旗舰版64位安装教程的介绍Jul 14, 2023 pm 07:25 PM
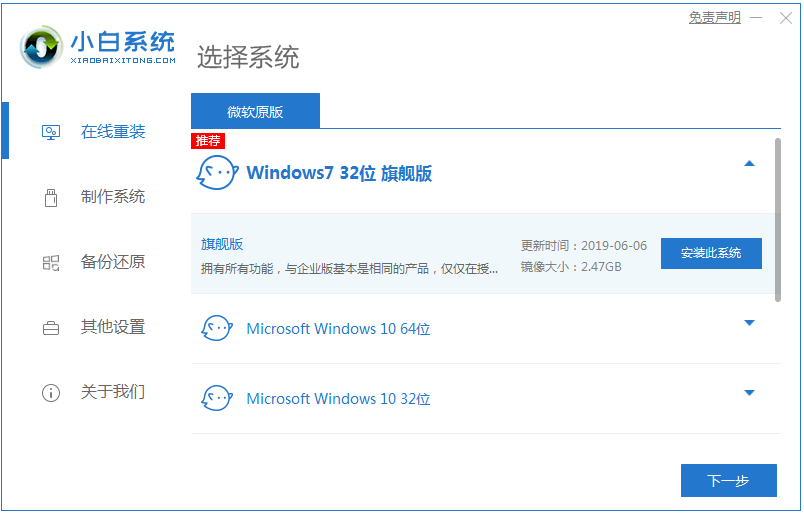
装win7旗舰版64位系统需要注意什么,其实一键安装win7旗舰版64位系统非常的简单,接下来小编就以小白一键重装系统为例教你们安装win7旗舰版64位系统方法吧.还不清楚的朋友们快点看过来吧。1、我们下载一个小白软件,然后选择了安装win7系统,往下滑找到64位的。2、在下载界面,下载速度取决于您的网络您只需要耐心等待即可。3、软件下载完成后会自动部署,完成后会提示选择立即重启。4、重启电脑后,在启动菜单中我们选择第二个XiaoBai-MSDNOnlineInstallMode菜单,按回车进。
 笔记本电脑win732位系统安装教程Jul 08, 2023 am 09:45 AM
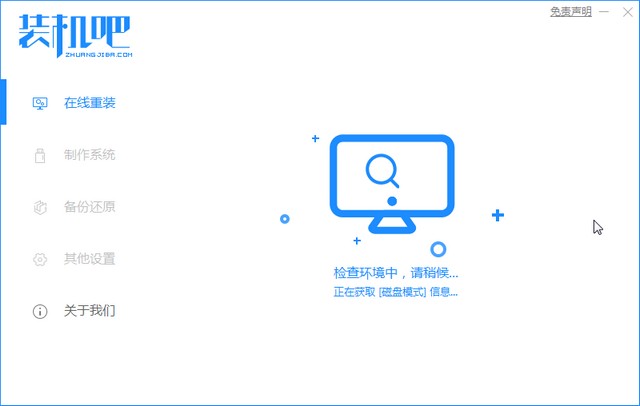
新手小白想要在笔记本上安装win732位系统却不知该如何下手?不要急,不要慌,这里有笔记本win732位安装最全教程,快来跟着我一起学习win732位系统的安装吧。win732位系统安装教程:1、首先关闭电脑上面的杀毒软件,接着打开下载好的装机吧重装工具。2、选中我们要安装的系统win732位,然后点击安装此系统,下图所示:3、接着选择需要安装的软件,如果不需要请去掉勾选,然后点击下一步。4、进入下载系统镜像的环节,在此不要操作电脑或者断电哦,只需要耐心等候自动安装进系统,下图所示:5、电脑自动
 win7系统下载64位安装教程Jul 09, 2023 am 10:41 AM
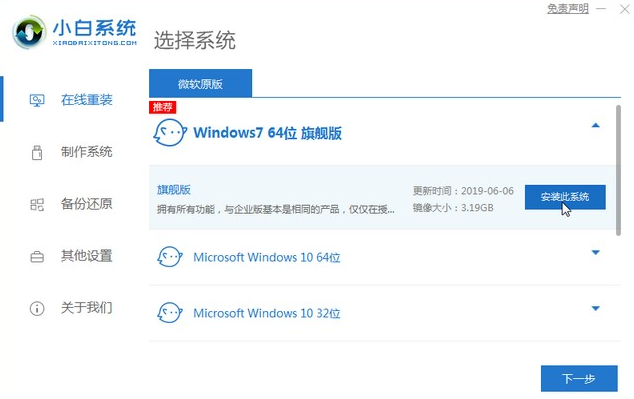
今天主要是和大家分享一个安装win764位系统的方法,步骤简单操作易懂,当然如果想要安装其它版本系统也可以用这个方法,选择不同系统几款。1、首先我们需要先百度搜索小白一键重装系统,进入官网下载安装好,然后打开软件选择自己想要的win764位系统。2、接着我们耐心等待软件自动下载完成后,重启即可。3、接着我们按下快捷键来到启动管理页面,选择第二选项。4、接着我们来到pe系统后,软件会自动安装系统,耐心等待安装完成重启即可。5、接着我们等待进入系统桌面,代表系统已经安装完成了。以上就是电脑下载win

Hot AI Tools

Undresser.AI Undress
AI-powered app for creating realistic nude photos

AI Clothes Remover
Online AI tool for removing clothes from photos.

Undress AI Tool
Undress images for free

Clothoff.io
AI clothes remover

AI Hentai Generator
Generate AI Hentai for free.

Hot Article

Hot Tools

SAP NetWeaver Server Adapter for Eclipse
Integrate Eclipse with SAP NetWeaver application server.

Dreamweaver Mac version
Visual web development tools

ZendStudio 13.5.1 Mac
Powerful PHP integrated development environment

Atom editor mac version download
The most popular open source editor

SublimeText3 Linux new version
SublimeText3 Linux latest version


