Home >Common Problem >Step-by-step tutorial for installing win7 system on Dell laptop with one click
Step-by-step tutorial for installing win7 system on Dell laptop with one click
- 王林forward
- 2023-07-10 13:05:283251browse
It has been 10 years since the win7 system was released, but it remains fresh and popular among everyone. Many gamers have consulted the editor about how to reinstall the win7 system, because it has significant advantages in terms of operating interface and compatibility. Today, the editor will use Dell computers as an example to show you the step-by-step tutorial on how to install win7 on Dell laptops with one click. Please come and learn about it.
1. Download an installation bar to install the system software on your computer, and open the software as shown below.

#2. We chose the win7 system to download and install.
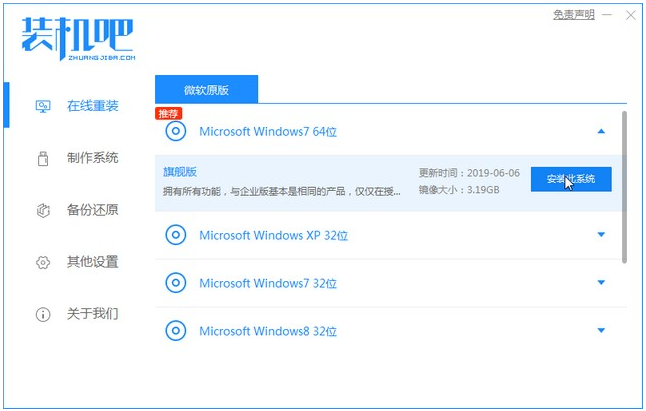
#3. Wait for the system image download to complete.
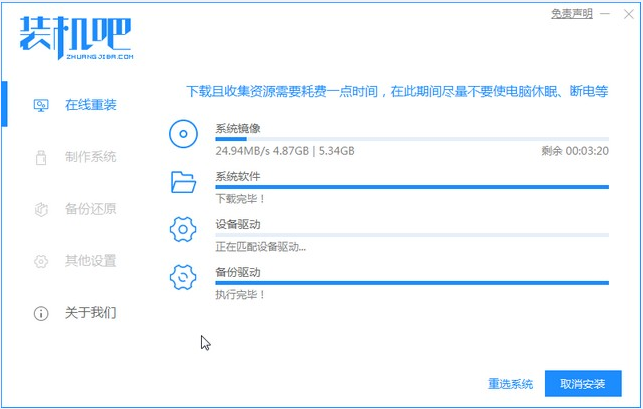
#4. After downloading, deploy the environment. After the environment is deployed, we need to restart the computer for installation.
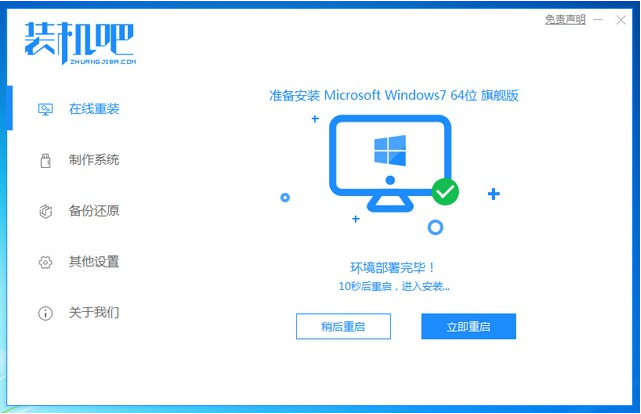
#5. After restarting the computer, enter the windows startup manager interface. We choose the second one to enter the computer's pe installation system.
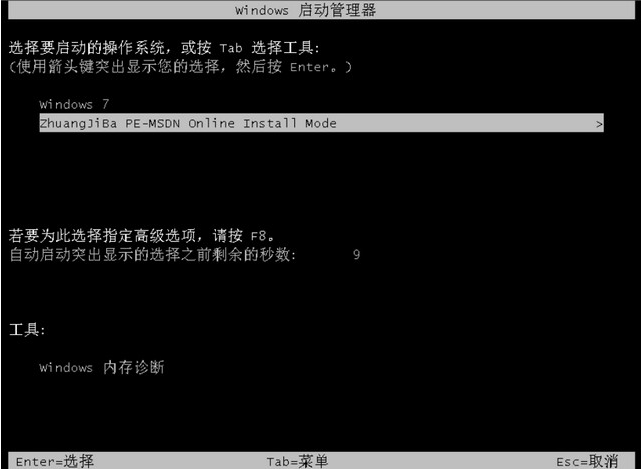
#6. Open the installation tool in the computer's pe interface and continue the system installation.
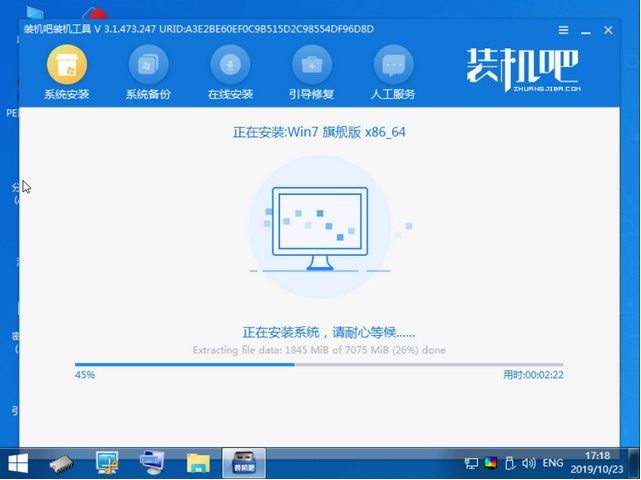
#7. After the installation is completed, we click to restart the computer immediately.
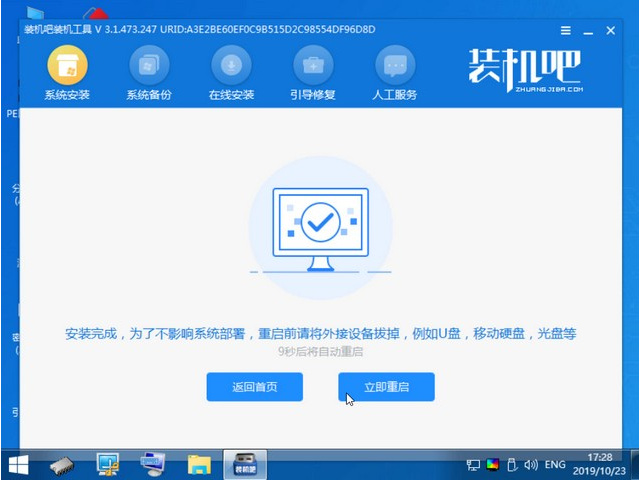
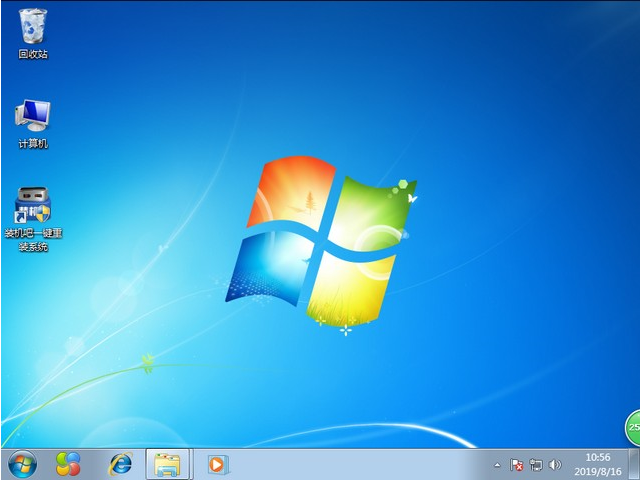
#8. After restarting, it will be our win7 desktop, as shown below.
The above is the step-by-step tutorial for Dell to install the win7 system. I hope it can help everyone.
The above is the detailed content of Step-by-step tutorial for installing win7 system on Dell laptop with one click. For more information, please follow other related articles on the PHP Chinese website!

