
Home >Common Problem >How to fill the whole screen with Win10 projector
How to fill the whole screen with Win10 projector

- WBOYWBOYWBOYWBOYWBOYWBOYWBOYWBOYWBOYWBOYWBOYWBOYWBforward
- 2023-06-29 14:57:591627browse
How to fill the whole screen with Win10 projector? In many cases, we need to use projection when working in the office, so that everyone can watch easily. However, some users report that the projector fills the entire screen on the computer. However, it is not completely covered in the picture, there are gaps above and below. So how to solve this situation? Let’s take a look at the setting guide for a full-screen Win10 projector with the editor.

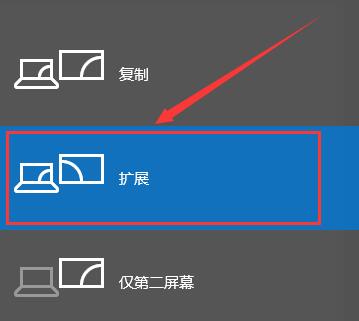
1. Press [Win] [P] to open the projection settings, and select the [Extended] option.
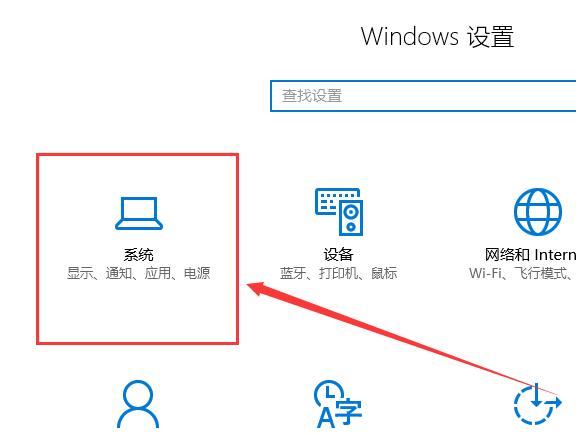
2. If the screen is still not full, we enter settings from the start menu and select [System].
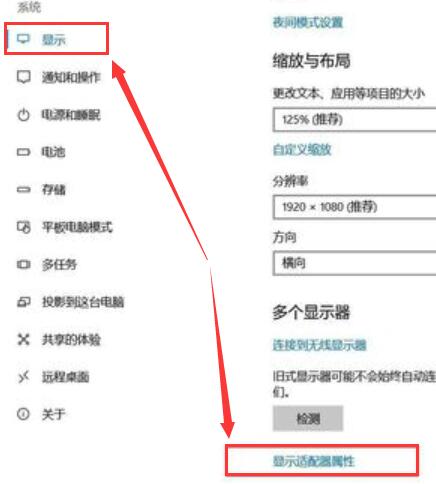
3. Then we can find [Display Adapter Properties] at the bottom of the display options and click to enter.
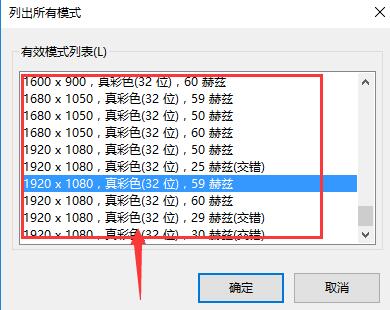
4. Then in the pop-up properties window, we select this item [List all modes].
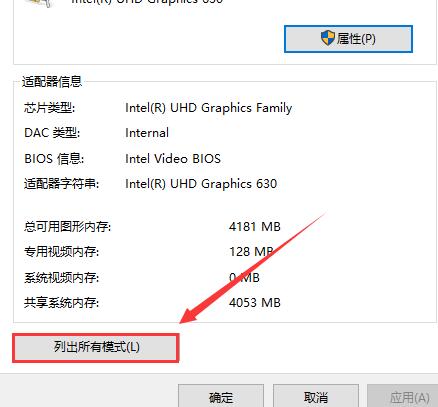
5. Then we can debug one by one. After debugging is completed, select [OK].
The above is the entire content of [How to fill the full screen with Win10 projector - Setting guide for filling the full screen with Win10 projector]. More exciting tutorials are on this site!
The above is the detailed content of How to fill the whole screen with Win10 projector. For more information, please follow other related articles on the PHP Chinese website!