Home >Common Problem >How to solve the win11 blue screen prompt nvlddmkmsys
How to solve the win11 blue screen prompt nvlddmkmsys
- 王林forward
- 2023-06-29 13:23:155263browse
How to solve the win11 blue screen prompt nvlddmkmsys? Recently, a Windows 11 user suddenly encountered a blue screen when turning on the computer or during normal use. Win11 system prompts: Failed operation, nvlddmkmsys. When this prompt appears, it is usually caused by a file being lost while the system is running. Many friends don’t know how to operate in detail. The editor below has compiled an introduction to the repair of the win11 blue screen error code nvlddmkmsys. If you are interested, follow the editor to read below!
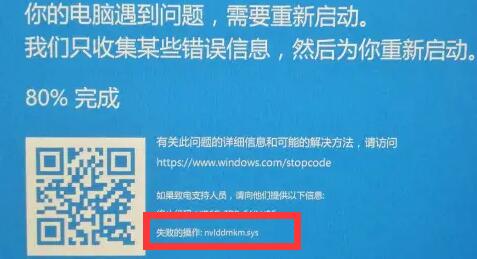
win11 blue screen error code nvlddmkmsys repair introduction
1. First, if we are still in the blue screen interface, long press the "power button" to restart the computer.
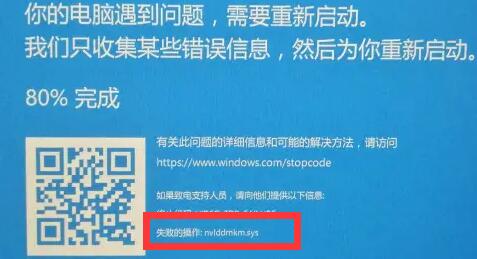
#2. After restarting, you should be able to enter the system normally. At this time, we go to the "C:WindowsSystem32drivers" folder.
(Be sure to open them in sequence, do not copy them directly)

3. After opening, find the "nvlddmkm.sys" file and rename it For "nvlddmkm.sys.old"
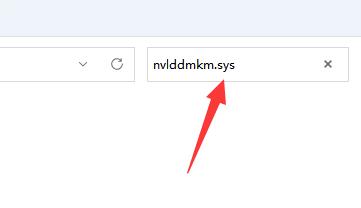
4, then go to the nvidia directory, usually "C:Nvidia" or "C:drvvganVidia"

5. Then find the "nvlddmkm.sy_" file, put it in a random location on the c drive and remember the location.

6. Then right-click the start menu and open "windows terminal (administrator)"
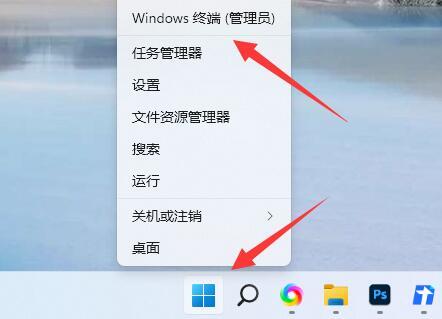
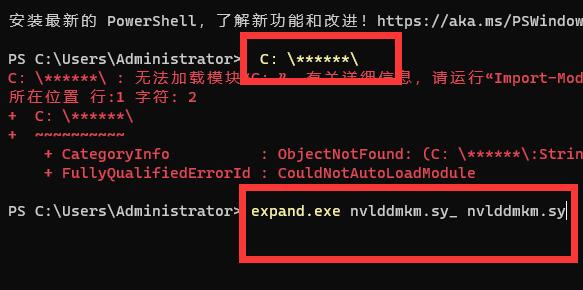
7. After opening Enter "C:******" (enter the file location just recorded here)
Enter "expand.exe nvlddmkm.sy_ nvlddmkm.sys" and press the Enter key.
9. After the operation is completed, find the "nvlddmkm.sys" file just now and move it to the "C:WindowsSystem32drivers" location.
The above is the entire content of [How to solve the win11 blue screen prompt nvlddmkmsys - win11 blue screen error code nvlddmkmsys repair introduction], more exciting tutorials are on this site!
The above is the detailed content of How to solve the win11 blue screen prompt nvlddmkmsys. For more information, please follow other related articles on the PHP Chinese website!

