Thanks to YouTube, vlogging has become increasingly popular among internet celebrities. Maybe you've watched the many episodes hosted by famous fashion vloggers and wish you could too, uploading videos that might end up getting millions of views. But you don’t know anything about video editing and your budget doesn’t allow you to buy a top-notch video editor. wait! Your dreams don’t have to be given up for stupid reasons. YouTube Video Editor is free to use and works great. Of course, the world's second largest search engine makes things easier for amateurs.
What is YouTube Video Editor?
You may be surprised to know that YouTube has an online video editor. What may surprise you even more is that YouTube Video Editor App was launched in September 2011. At the time of its release, the editor was limited in terms of features and specifications. However, as the years have passed, YouTube's video editor has evolved into a more versatile editor that includes professional features. It works on different machines, including Macs, PCs, and Chromebooks. However, problems may arise when working on mobile devices. So, if you want to edit YouTube videos on your Android phone or iPad, the idea probably won't pay off.
Why use YouTube Video Editor?YouTube Video Editor
is not the best editor you are likely to come across. However, it's free. Additionally, it includes all the necessary editing tools needed to create professional videos. Since it is an online editing software, you have the right to use the same software anywhere in the world. An internet connection and a computer are the two tools you need. So, you have every reason to use this special feature of YouTube. YouTube Video Editor is much easier to use than you think. You don’t need much skills to operate the video editing tools provided by YouTube. It also offers some great built-in sharing options for your videos. So today it's easy to create and publish videos without spending a penny. We believe these are the reasons why you need to use YouTube Video Editor.
How to edit videos on YouTube?
- After the login process is complete, you can upload the video clip you want to edit. Just click the upload button located in the upper right corner of the website. Or you can use this link: http://youtube.com/upload.
- The next step in the process is optional; however, it is a worthwhile thought. Once you upload your original video clip, YouTube will give you the option to mark it as "Private." Selecting this option will ensure that no one can find your footage. But why might you want to mark your footage as "private"? The original source material likely didn't make much sense overall. You will certainly need to edit some parts of it so your audience can see what you want to show them. Unless your video is ready to be uploaded, setting your video to private mode is the best way to make it unsearchable.
- Once you have finished uploading your video, you can now navigate to the YouTube video editor. Now you can click on the upload button. Once completed, an option “Video Editor” will appear on the screen. In addition to the previously mentioned process, you can access the editor directly by placing the following link on the address bar and clicking to http://youtube.com/editor.
To add a video clip to the editor's timeline, you need to click on the "Media Library" option in the upper right corner of the screen. Now find the video you want to edit. You can preview each clip to decide which video to upload. You can do this by clicking the red "Play" button. You should now drag the video you want to edit onto the editor's timeline, once found. You can also place your cursor on the thumbnail option and click the " " sign. To make things easier, YouTube lets you drag each clip within the timeline to rearrange their order.
- YouTube allows adding up to 50 video clips and 500 images at a time. However, adding so much media for editing can make your timeline look busy and the entire task become cluttered, which you certainly want to avoid. Regardless, if you still need to work with multiple clips at once without getting confused, the following tips should help you out.
- To view all items you have uploaded for editing, you can utilize the slider option within the app. This option is located next to the microphone icon in the lower right corner of the portal. You can use this option or scroll the mouse to zoom in or out of the editor.
- Now that you have uploaded your clip, you may now want to trim the beginning or end of the clip. To edit a clip, you first need to select it. Just click on the desired clip to achieve it. After selecting a clip, the preferred video will be highlighted. A thick blue bar will be added to the beginning and end of the clip. Now move your cursor over the middle part of this blue bar. Click and drag it to trim the beginning or end of the footage.
How to add photos to videos?
YouTube also offers a photo slideshow tool. But you're not trying to create a photo-only slideshow. You wish you could add some images to your video to make it attractive. If you're looking to add photos to your videos, YouTube has got you covered. Now you can do the same thing with the best YouTube video editor. Let's see how.
- Adding photos to your videos is a very simple trick. All you need to do is click on the camera option in the edit menu.
- Now you can click on the “Add Photo” option. You can upload photos from your desktop or your Google account. For those who are used to uploading photos on Facebook, the process will be less of a headache.
- Adding images to the YouTube Video Editor app is similar to uploading videos. All you need to do is drag the images to where you want them to appear. You can also decide how long the photo appears on the screen by dragging the bar next to it.
Creative Commons: Everything You Need to Know to Avoid Copyright Issues
YouTube has proven to be extremely protective of the content posted by its users . This is truly one of the best features of the site and it has helped it attract many creative people. Now, if you want to use some material that doesn't belong to you, YouTube gives you certain options. You can search deep into YouTube's video library. However, you must select only those videos that have a Creative Commons license. A Creative Commons license is usually a license granted by the original owner of a video so that anyone can use the video to create new content.
The same goes for the music used in YouTube videos. To this end, YouTube creators have launched an extensive audio library that collects all information about musical works and their authors, whose rights are protected by law. As an alternative, you can use license-free music from paid stock platforms.
How to set up a license?
When uploading a video, you can select the license settings according to your needs. Your videos will automatically be covered by the standard YouTube license by default. However, you can opt out of the Creative Commons license if you wish. According to a statement released by YouTube, you have the right to tag your video with a Creative Commons License. Once you do this, you will allow the YouTube community to reuse and edit the same video in the future. Funny thing is, you don't even get credit for your original work. If you want your videos to be available to more people on the web, consider using the Creative Commons option.The above is the detailed content of How to use YouTube video editor?. For more information, please follow other related articles on the PHP Chinese website!
 什么是 idp 通用恶意软件?它是病毒还是假阳性?May 14, 2023 pm 01:04 PM
这是周日下午,您正在PC上享受您最喜欢的游戏。你的游戏快要结束了,但突然被一个弹出窗口打断了。当您看到来自防病毒程序的警告消息“检测到IDP.Generic威胁”时,您会同时感到恼火和担心。它是病毒还是只是一个警告?很困惑,您以某种方式设法在互联网上访问了此页面。不用担心,我们会立即解决您的疑虑。IDP是什么意思?IDP是防病毒程序的身份检测保护机制,可防止计算机被木马或病毒窃取与您的身份相关的个人数据,例如您的银行凭证、重要文件、身份证。当防病毒程序未能检测到文件类型并因此引发警告时,通常会
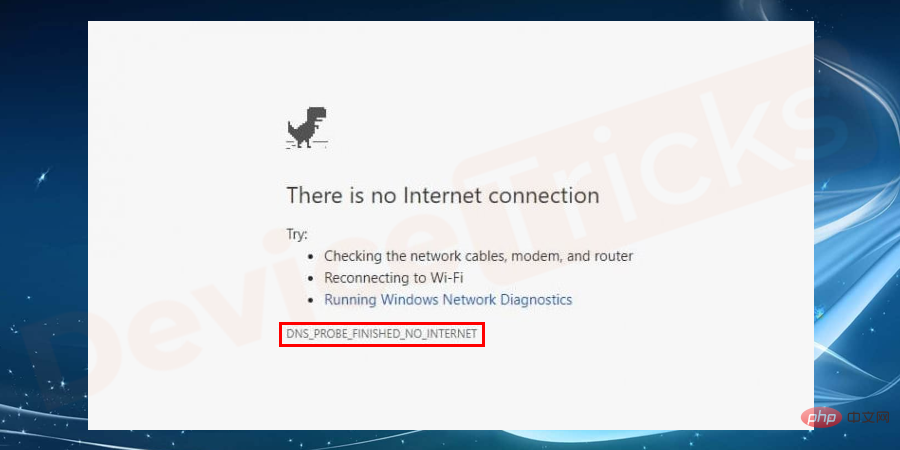 Google Chrome 中的“DNS Probe Finished No Internet”错误 - 如何修复?Apr 18, 2023 pm 09:31 PM
想象一下,您正在研究明天到期的演示文稿,并且您找到了一个完美的网页,其中包含您搜索了几个小时的所有统计数据。打开它后,您看到的不是网页,而是一个小型T-Rex,其下方写有DNS_PROBE_FINISHED_NO_INTERNET小错误。当DNS探测开始没有互联网时,会有多令人沮丧?像消防员一样,我将尝试快速解决您与此错误相关的所有紧迫问题。什么是DNS_Probe_Finished_No_Internet错误?DNS_PROBE错误对于GoogleChrome用户来说很常见,这主要是
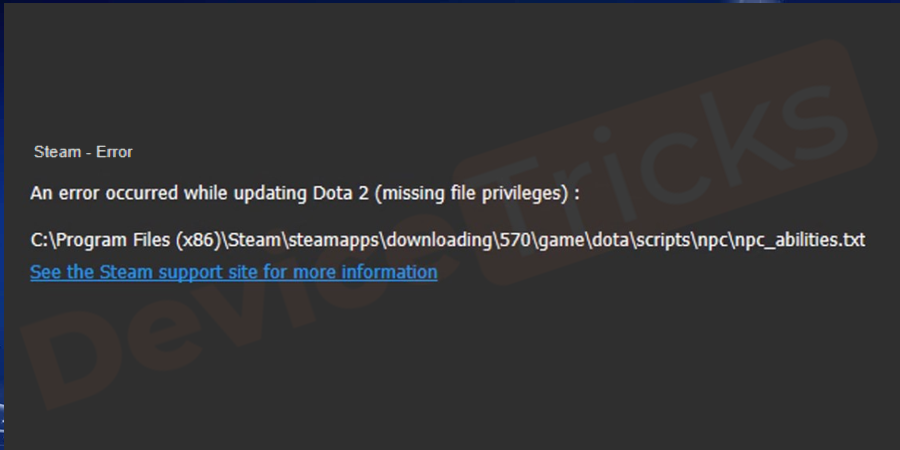 如何修复 Steam 缺少文件权限错误?May 19, 2023 pm 04:03 PM
Steam是一个游戏平台,提供动感十足的游戏、冒险游戏等等。简而言之,它是游戏玩家的理想中心,在这里他们可以找到所有类型的游戏。毫无疑问,Steam是一款出色的应用程序,但一些用户未能有效地访问该平台,其背后的原因是一个问题,即“Steam缺少文件权限”。因此,如果您在同一个列表中,请不要担心,因为问题很常见,并且通过一些快速解决方案,您可以在短时间内解决它。但在进一步进入解决方案部分之前,让我们弄清楚“Steam更新缺少文件权限”问题背后的原因是什么。一旦我们弄清楚了原因,那么我们就很容易解决
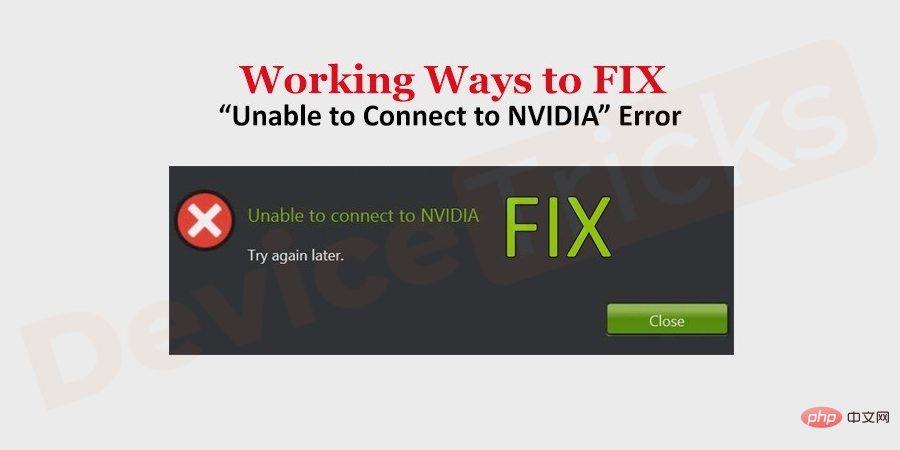 如何修复 Windows 中的无法连接到 NVIDIA 错误?May 04, 2023 am 08:40 AM
屏幕上显示“无法连接到NVIDIA,稍后重试”错误意味着GeForceExperience应用程序无法连接到NVIDIA,因此导致了此类问题。大多数时候错误通知看起来像无法连接到NVIDIA请稍后再试或者无法连接到NVIDIA检查您的Internet连接许多用户都面临这个问题,而且您并不是唯一一个报告GeForceExperience无法打开的错误。因此,为了解决同样的问题,有一些富有成效的解决方案可以帮助您克服这个问题。在继续解决方案部分之前,让我们讨论一下为什么会发生此错误。继续
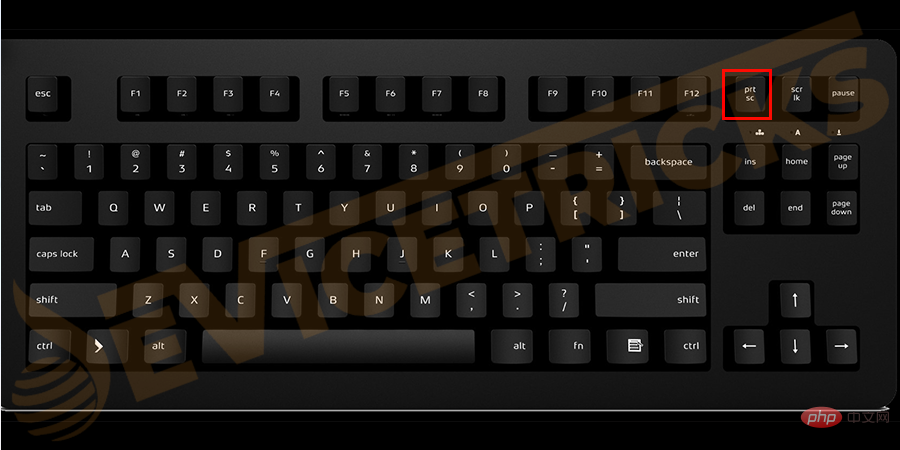 如何修复打印屏幕在 Windows 10 上不起作用?Apr 14, 2023 am 08:37 AM
您是否在尝试通过 Print Screen (PrtSc) 键在 Windows 10 上捕获屏幕截图时遇到“ Print Screen not working ”?那么请放心,因为您并不孤单,许多 Windows 10 用户都遇到了 Print Screen 功能突然停止工作,并在论坛线程上抱怨错误。好吧,这确实非常令人不安,但却是一个常见问题,如果您还在处理 Windows 10 屏幕捕获不工作问题或 Print Screen 键不再工作,那么幸运的是,您来对地方了。在本文中,您将学习如何修
 如何在没有遥控器的情况下使用 LG 智能电视?Apr 16, 2023 pm 03:07 PM
目前,大多数人的家庭和办公区域都拥有LED智能电视,这种升级后的电视可以帮助他们实现数字化。此外,这些智能电视充当计算机设备和智能手机设备。智能电视只不过是一种向您播放本地频道的设备,您还可以在单个设备上查看社交媒体和其他媒体平台网站。这些设备通过Wi-Fi连接,因此您可以从计算机设备或智能手机访问电视。通过遥控器设置,您可以访问LG电视中可用的所有类型的服务,例如,当您必须在没有遥控器的情况下将LG电视连接到Wi-Fi时,您将需要使用USB鼠标将您的电视连接到无线网络。如何在
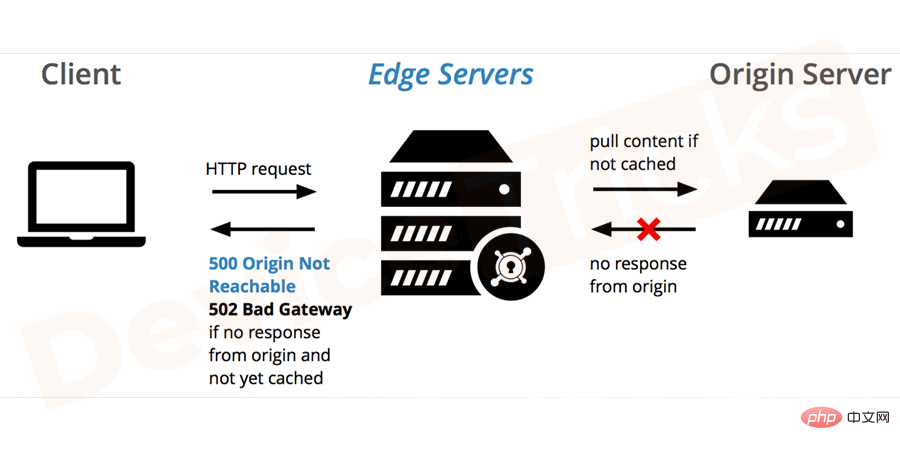 如何修复 502 Bad Gateway 错误?Apr 14, 2023 am 09:07 AM
我们必须感谢技术让我们的生活更轻松,但同样的技术经常成为技术故障的牺牲品。502 Bad Gateway就是您可能遇到的此类技术故障之一。它表明一台服务器无法从另一台服务器获得一些有效的响应。如果您想知道502 Bad Gateway错误到底是什么,请继续阅读。502 Bad Gateway 是什么意思?它只是一个 HTTP 状态码,类似于特定服务器无法接收来自另一台服务器的响应。502 Bad Gateway错误完全取决于您的特定设置。您最终可能会在任何给定时间跨任何操作系统在任何浏览器中体验
 如何修复 ShadowPlay 无法录制/无法正常工作的问题?Apr 14, 2023 pm 05:10 PM
NVIDIAShadowplay是GeForceExperience不可或缺的一部分,可让您录制游戏过程。相同的抽搐功能将帮助您播放游戏的直播。Shadowplay的功能令人惊叹,但有时NVIDIAShadowplay无法正常工作的问题会让用户感到烦恼,因此他们无法录制游戏过程。由于某些原因,在NvidiaGeforce体验中,shadowplay安装和shadowplay下载失败。在本教程中,我将向您展示如何安装shadowplay以及解决shadowplay下载/

Hot AI Tools

Undresser.AI Undress
AI-powered app for creating realistic nude photos

AI Clothes Remover
Online AI tool for removing clothes from photos.

Undress AI Tool
Undress images for free

Clothoff.io
AI clothes remover

AI Hentai Generator
Generate AI Hentai for free.

Hot Article

Hot Tools

Atom editor mac version download
The most popular open source editor

Dreamweaver Mac version
Visual web development tools

VSCode Windows 64-bit Download
A free and powerful IDE editor launched by Microsoft

SAP NetWeaver Server Adapter for Eclipse
Integrate Eclipse with SAP NetWeaver application server.

EditPlus Chinese cracked version
Small size, syntax highlighting, does not support code prompt function


