
Home >Common Problem >NSIS error on Windows 11: How to get rid of it
NSIS error on Windows 11: How to get rid of it

- PHPzforward
- 2023-05-18 13:23:542701browse
Third-party programs are an important part of our work or student life. You'll need to install a variety of software, including editing software, learning applications, and data collection and storage tools. However, users have encountered NSIS errors while using Windows 11.
NSIS (Nullsoft Scriptable Install System) is an open source tool that helps create Windows installers. If you encounter an error, there is a problem with the installer or an adverse condition is preventing it from running.
If you ignore NSIS errors and continue running the installer, the installed software may be damaged and no longer function properly. To prevent this, you should identify the issues that are causing the problem and eliminate them.
There are many reasons behind NSIS errors in Windows 11, and each reason has specific fixes. We discuss them in the following sections so you can understand and solve the problem.
Why do I get NSIS errors?
The following is a list of issues that cause NSIS errors in Windows, including installer settings and system:
- Some files for the program to be installed are missing – When important program documents are missing, any future program activity will be hampered.
- The downloaded file is modified – Modified data means modified system information, which will lead to poor communication throughout the program.
- System Infection Malware – By performing a system scan, you can eliminate any existing malware.
- Corrupted System Files – Corrupted system files can cause many Windows errors, including this one.
- Corrupted Installation Media – For those trying to figure out what’s causing the NSIS error, a corrupted installation media could be the root cause.
Now that you have an overview of the error and its root cause, let us walk you through ways to eliminate it.
How to fix NSIS errors in Windows 11?
Before we start making complex changes, here are some quick things to check:
- Restart your computer
- If you set up a RAM disk or drive (RAM space used as storage drive), make sure Temp is not full. One user pointed this out and reported that when an NSIS error occurred when launching the installer upon uninstallation, clearing certain files there fixed the problem.
If these don't work, move on to the fixes listed below.
1. Rename Installer Settings
- Locate the program's download file, right-click Installer Settings, and select Rename icon from the context menu. Alternatively, you can select the installation file and click .F2

- #Change the name to one word and try to keep it simple. Also, avoid using special characters or non-English letters as they are known to cause problems when running the installer. After that the NSIS error will be resolved to start the installer.
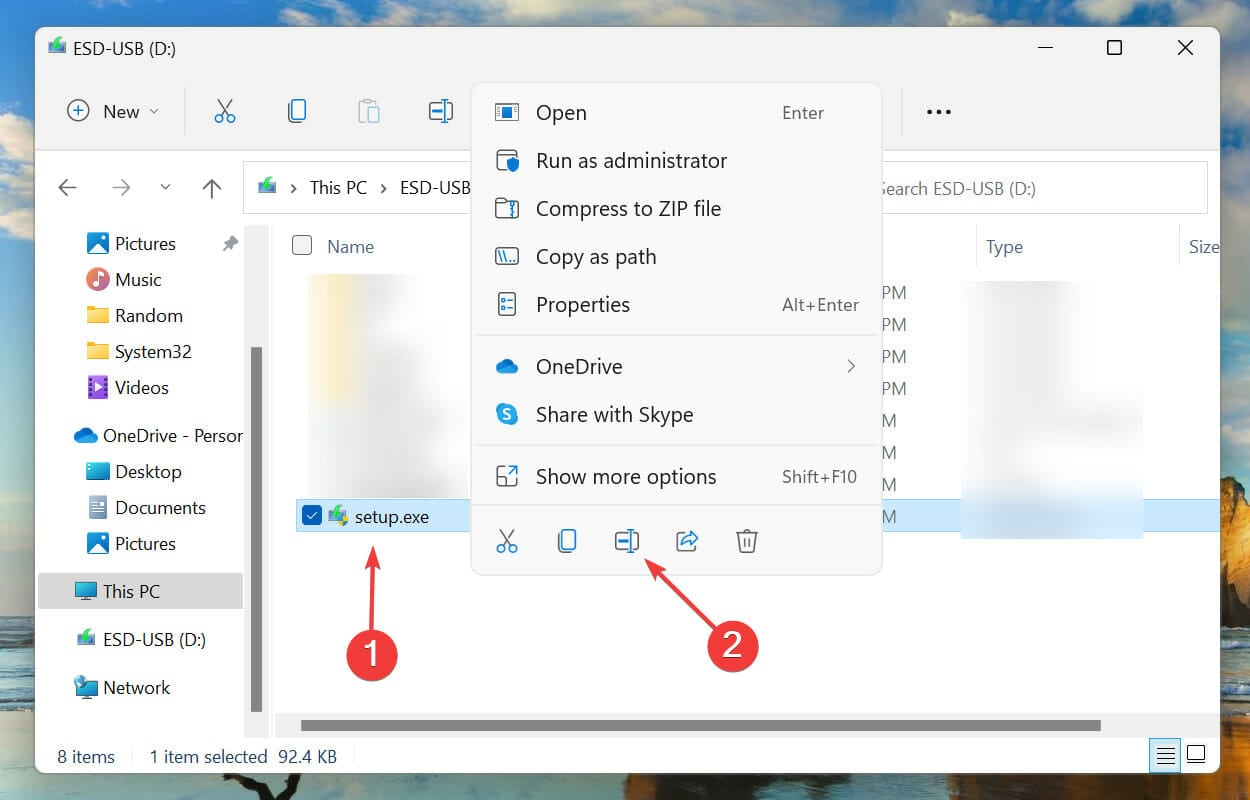
Without a doubt, this is the easiest and fastest way to fix NSIS errors in Windows 11. You may have problems running a program if its file name is too long or contains special characters that your operating system does not recognize. Therefore, it is recommended that you use a simple name for it.
2. Move the installer settings to another folder
- Locate the program installer, right-click and select the copy icon from the context menu.
- Now, go to the desktop, right-click on the empty part and select the Paste icon from the context menu. NSIS error when uninstalling the program will be fixed.
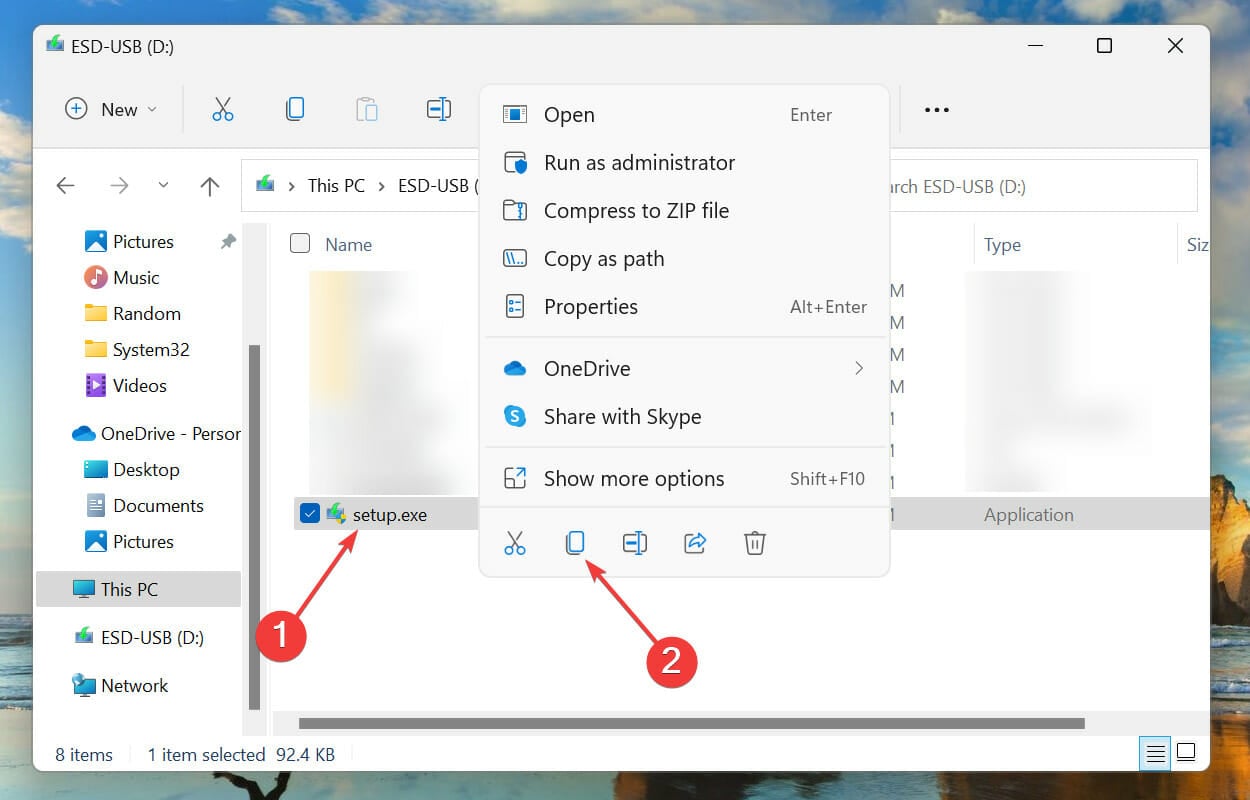

In some cases, NSIS errors in Windows 11 are caused by file paths. So, we recommend you to adjust the file location and check if the NSIS error disappears during uninstallation or installation.
3. Use third-party repair software

#To resolve TeamViewer NSIS errors in Windows 11 and other versions, you may need to search for damaged or damaged Windows document. You don’t have to sweat it out because automated solutions can handle the best parts of all these features and more.
To repair corrupted system files efficiently, you can use Restoro and automatically detect and replace problematic files causing this error type.
Restoro is easy to use for computer repair because the software uses reliable technology - it has a remote database of authentic and up-to-date Windows system files that can replace corrupted files on the checked system.
4. Run a malware scan
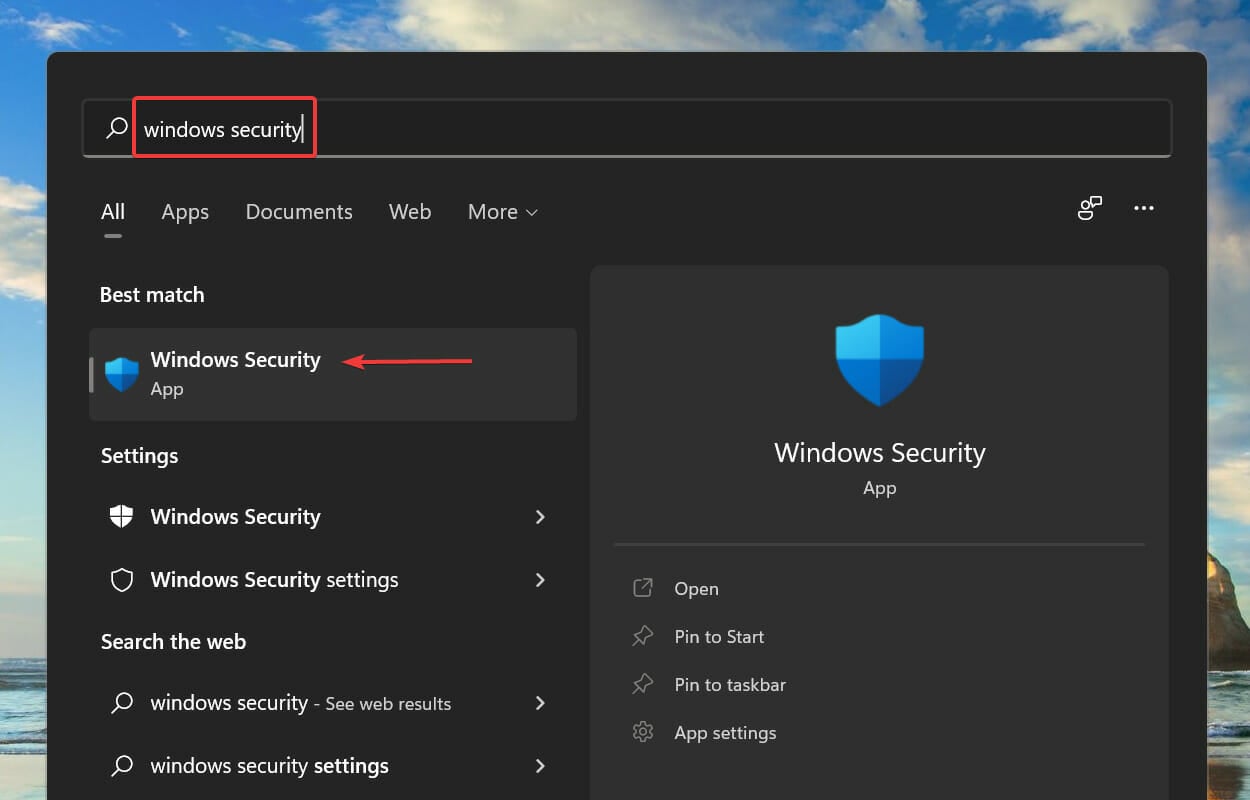
- Press to launch the search menu. Enter Windows Security Center in the text field at the top and click the relevant search result. WindowsS
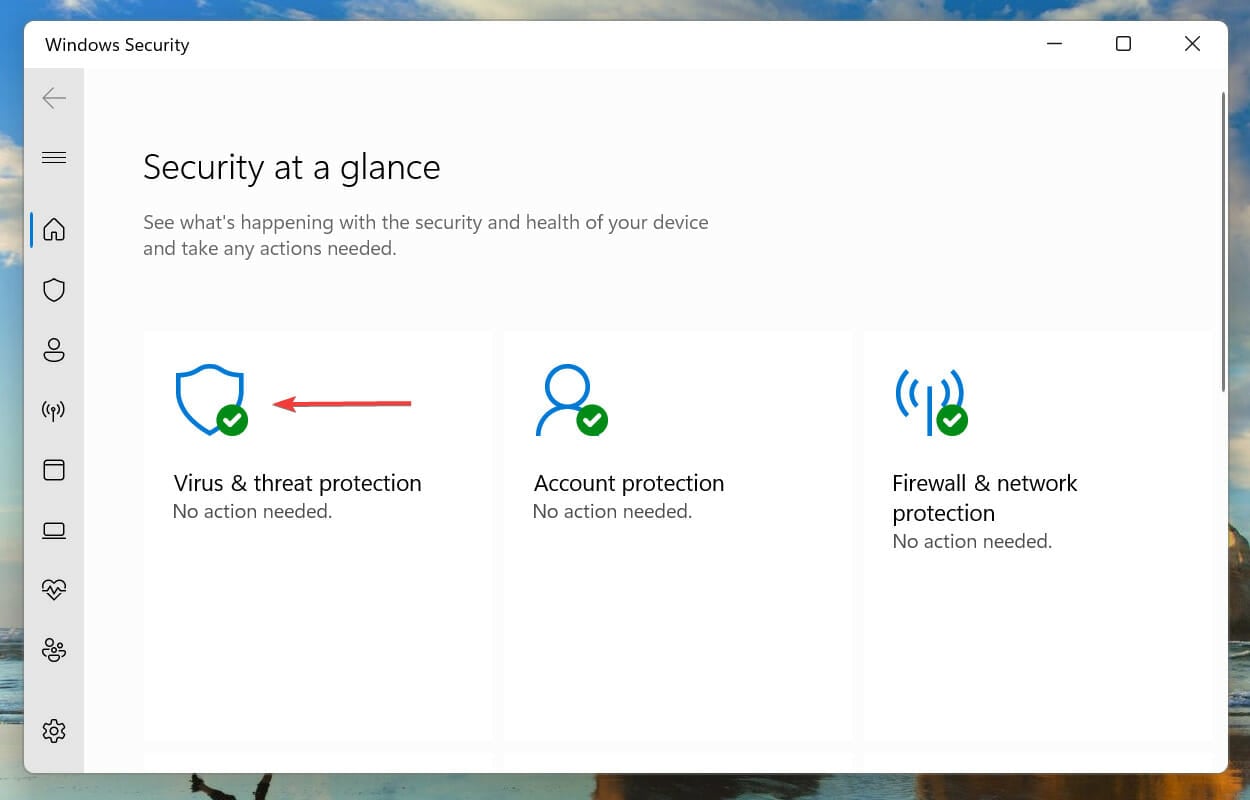
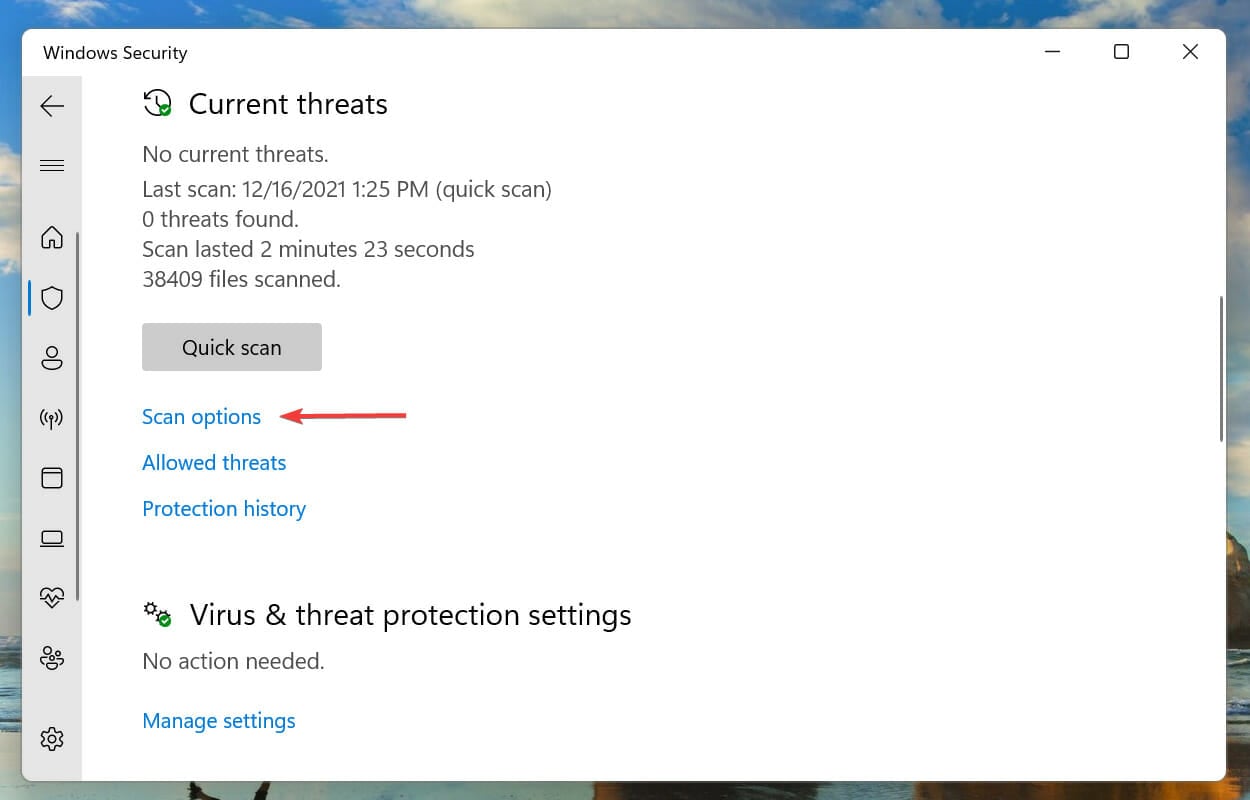
- Next, click Virus & Threat Protection from the options listed.
- Click on the scan option.
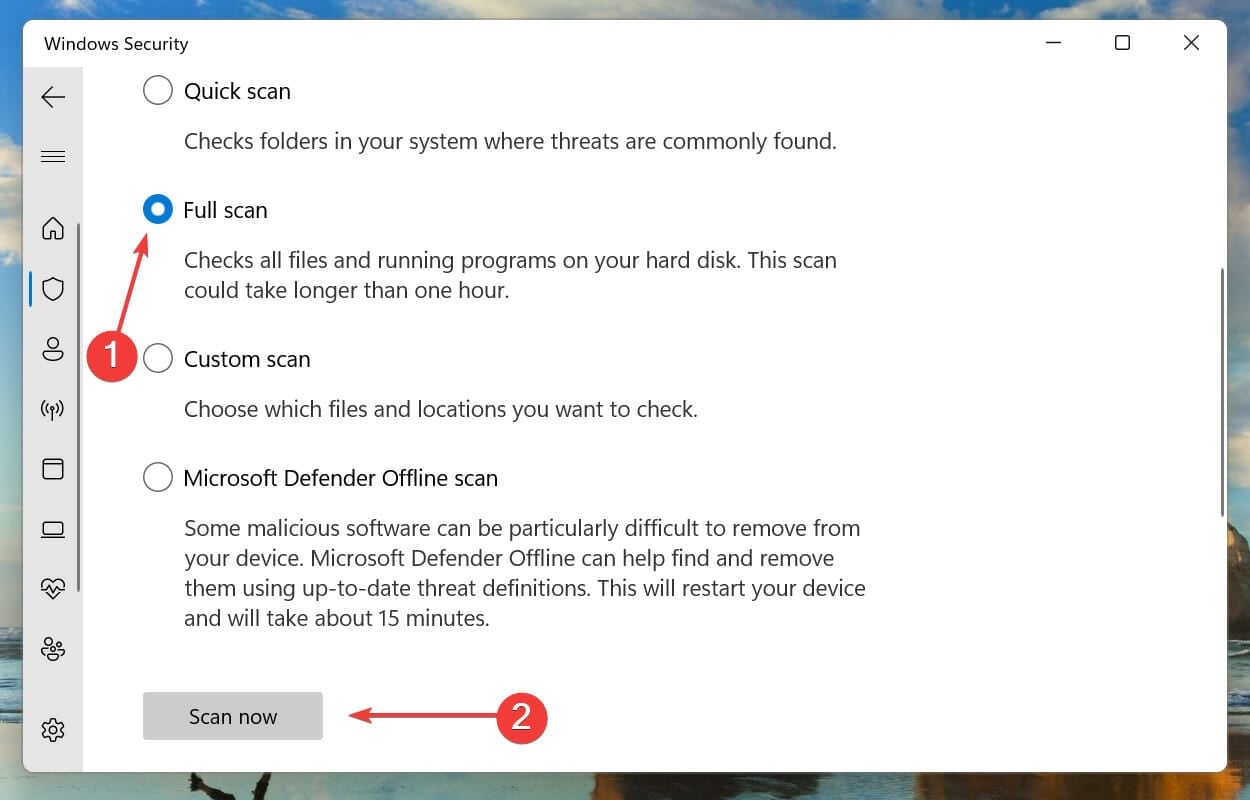
- Now, select the Full Scan option and click on the Scan Now button below it.
Expert Tip:
Some PC problems are difficult to solve, especially when they involve corrupted repositories or missing Windows files. If you are having trouble fixing errors, your system may be partially corrupted.
We recommend installing Restoro, a tool that will scan your machine and determine what the fault is.
Click here to download and start repairing.
Running a malware scan can fix NSIS errors in Windows 10 and previous iterations.
We also recommend that you use third-party antivirus software, such as Malwarebytes. Thanks to its advanced security options, it detects and removes risky malware instantly. Therefore, you can ensure continuous protection against different forms of online threats.
5. Update Windows 11
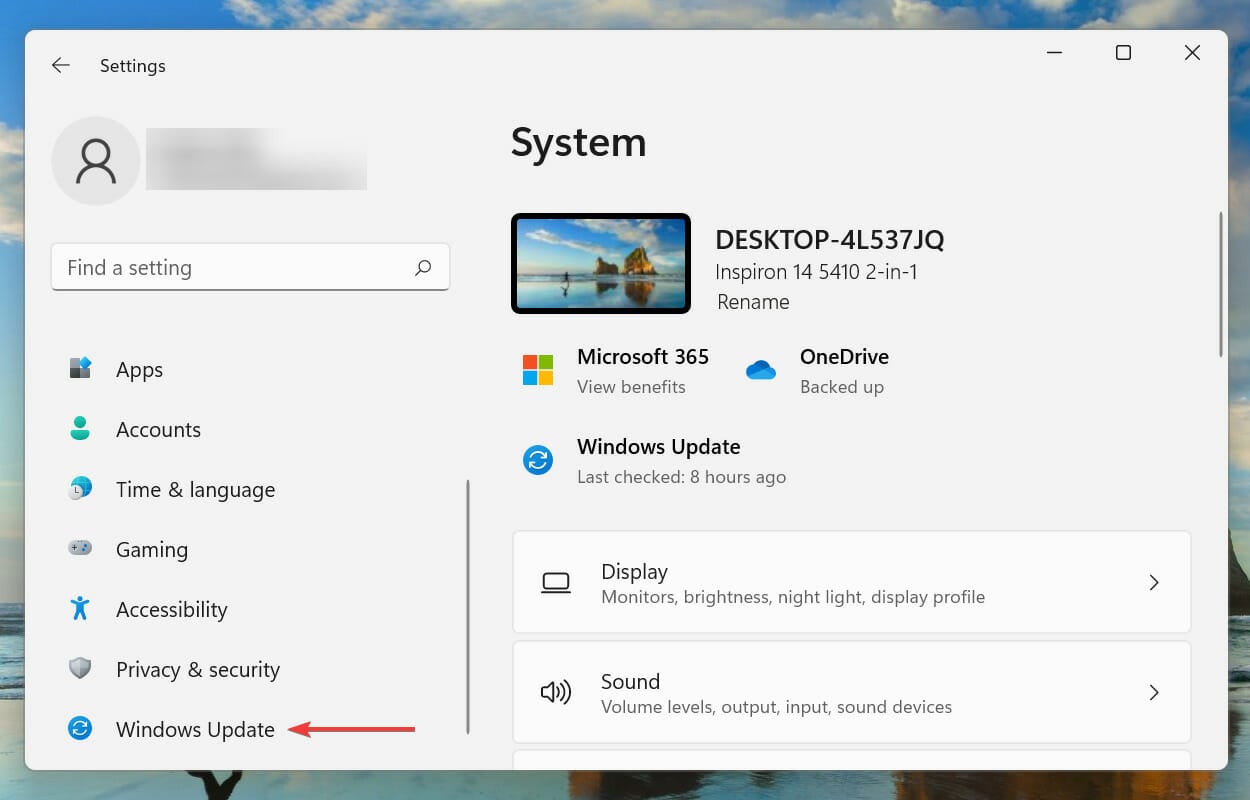
- Press to launch the Settings app and select Windows Update from the list of tabs in the left navigation pane . WindowsI
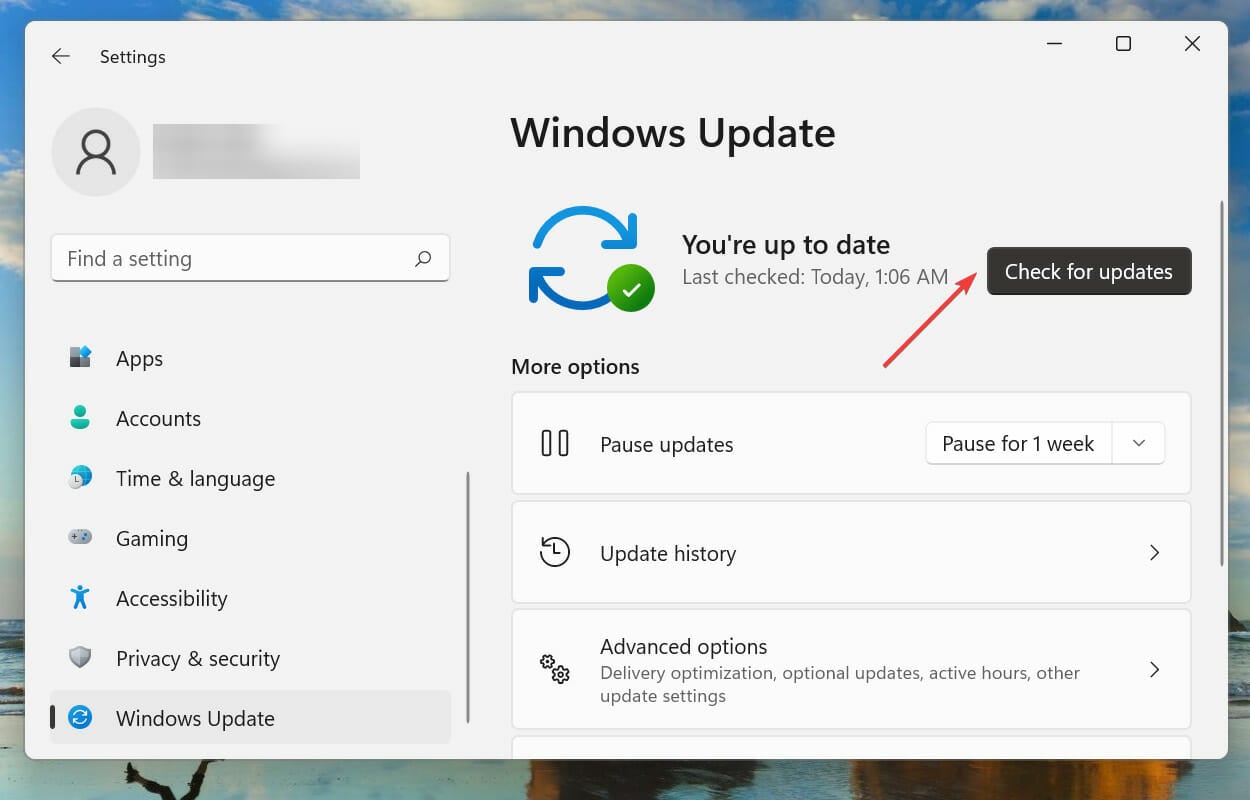
- Click Check for Updates to scan for any newer versions of Windows that are available.
- If available, please download and install them.
Updating the operating system can also resolve this issue when you encounter an NSIS error while launching the installer in Windows 7.
If you encounter 0x80070643, 0x80070422 or 0x800f0831 Windows 11 installation error, click on the relevant linked guide and fix it now.
Also, if you're having trouble launching the Settings app, learn how to eliminate the issue.
6. Change system language
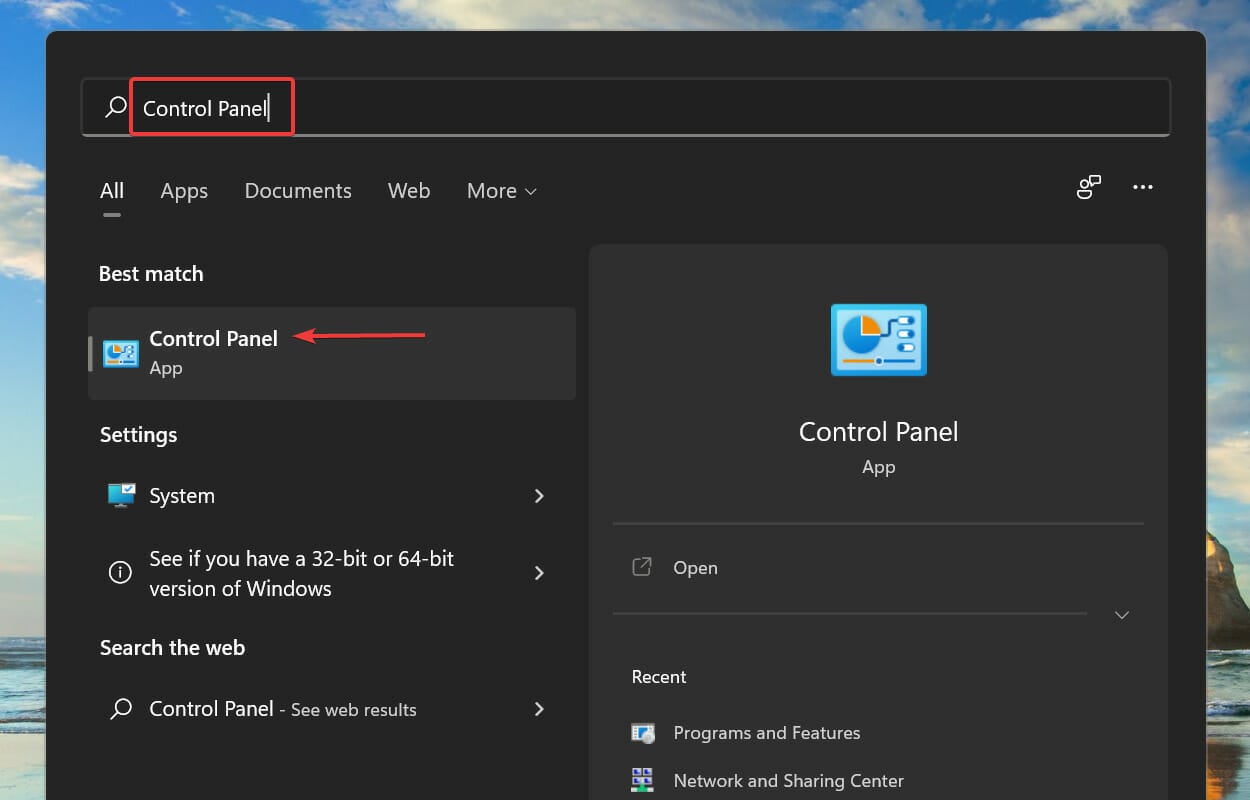
- Press to launch the search menu, enter Control Panel in the text field at the top, and click on the relevant search result. WindowsS
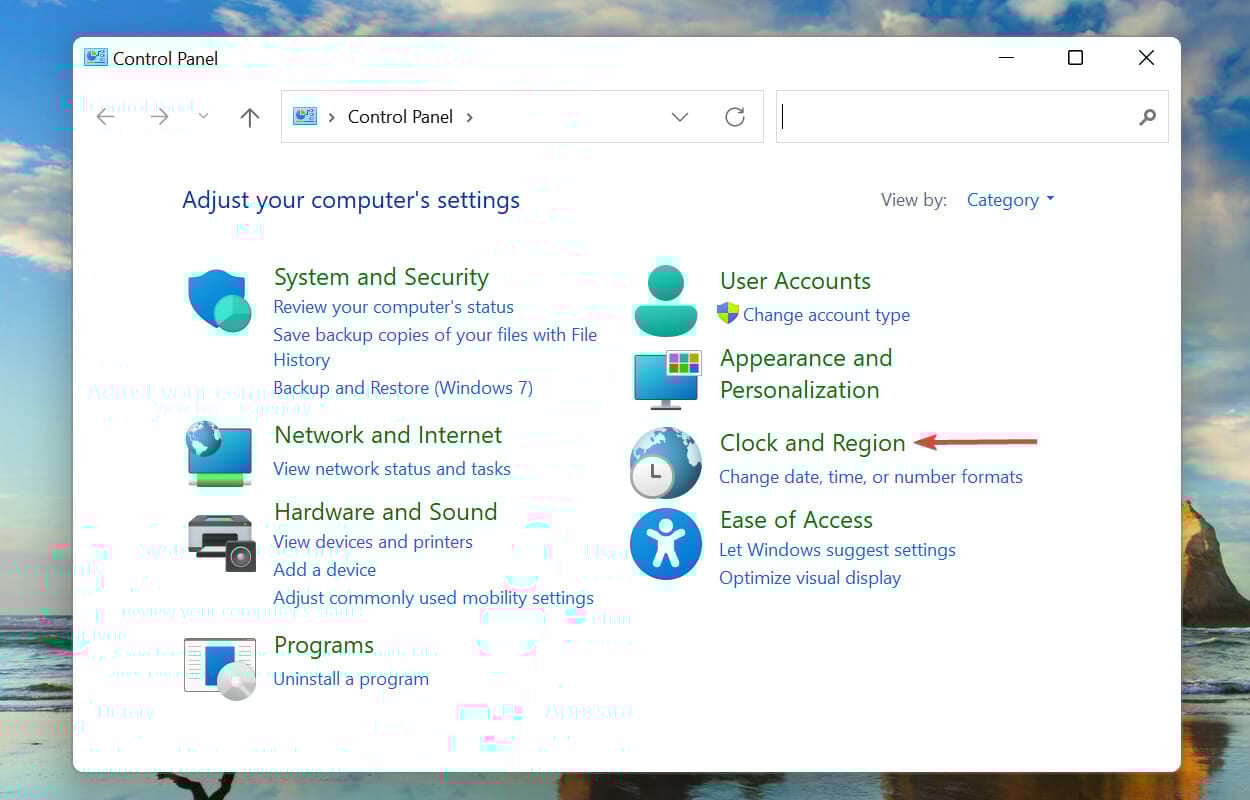
- Click on the clock and region.
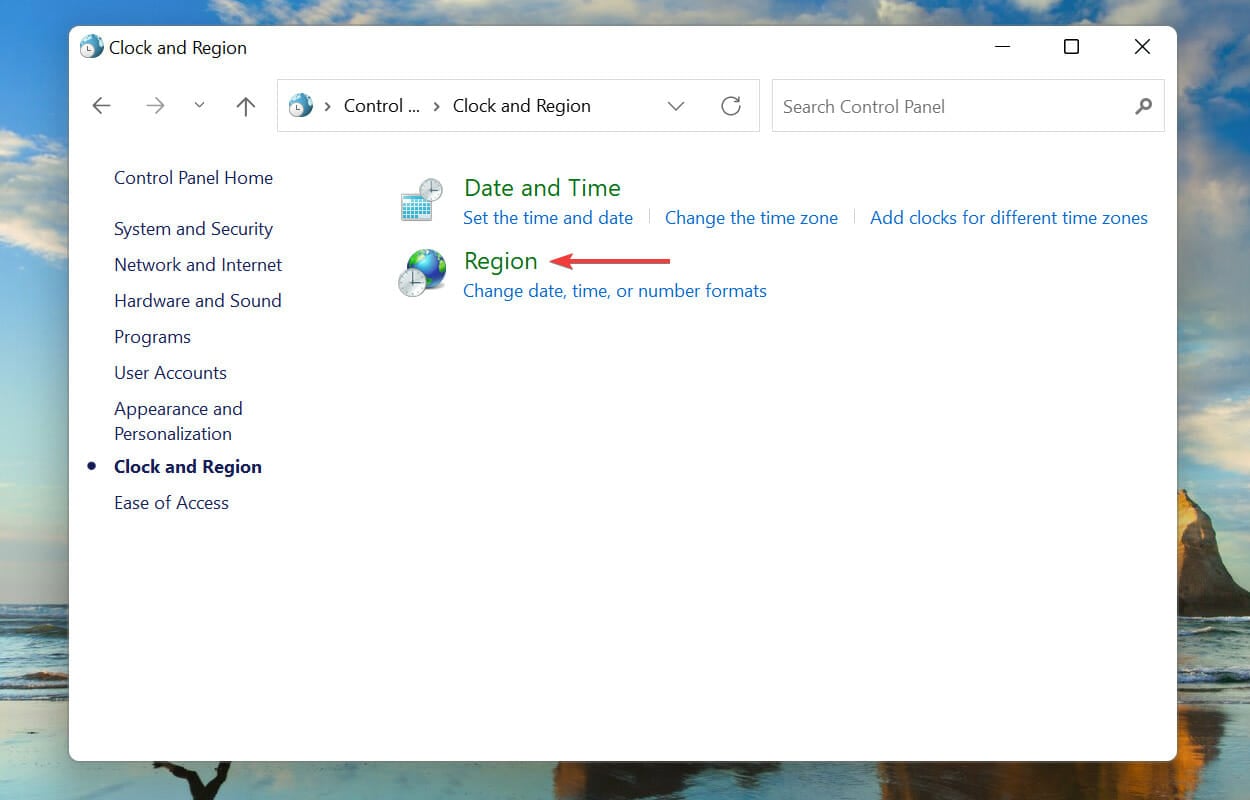
- Next, click on the area.
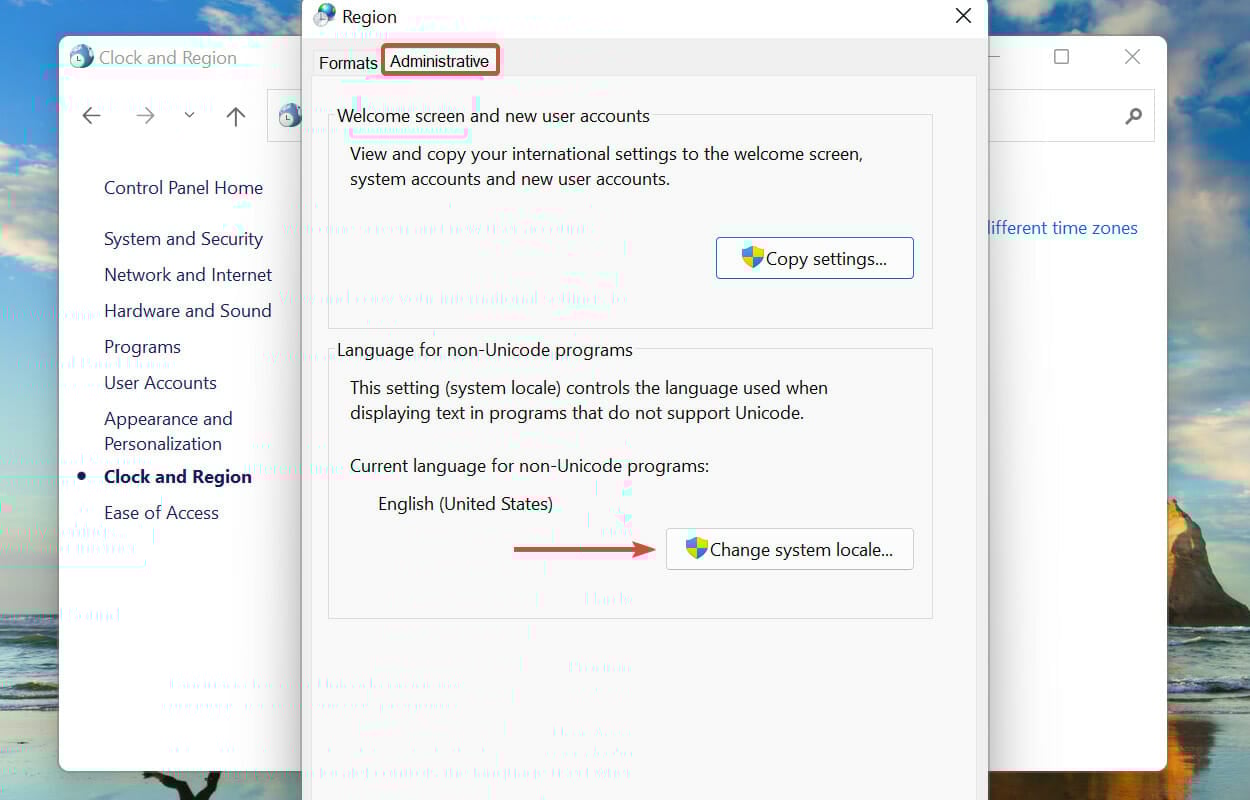
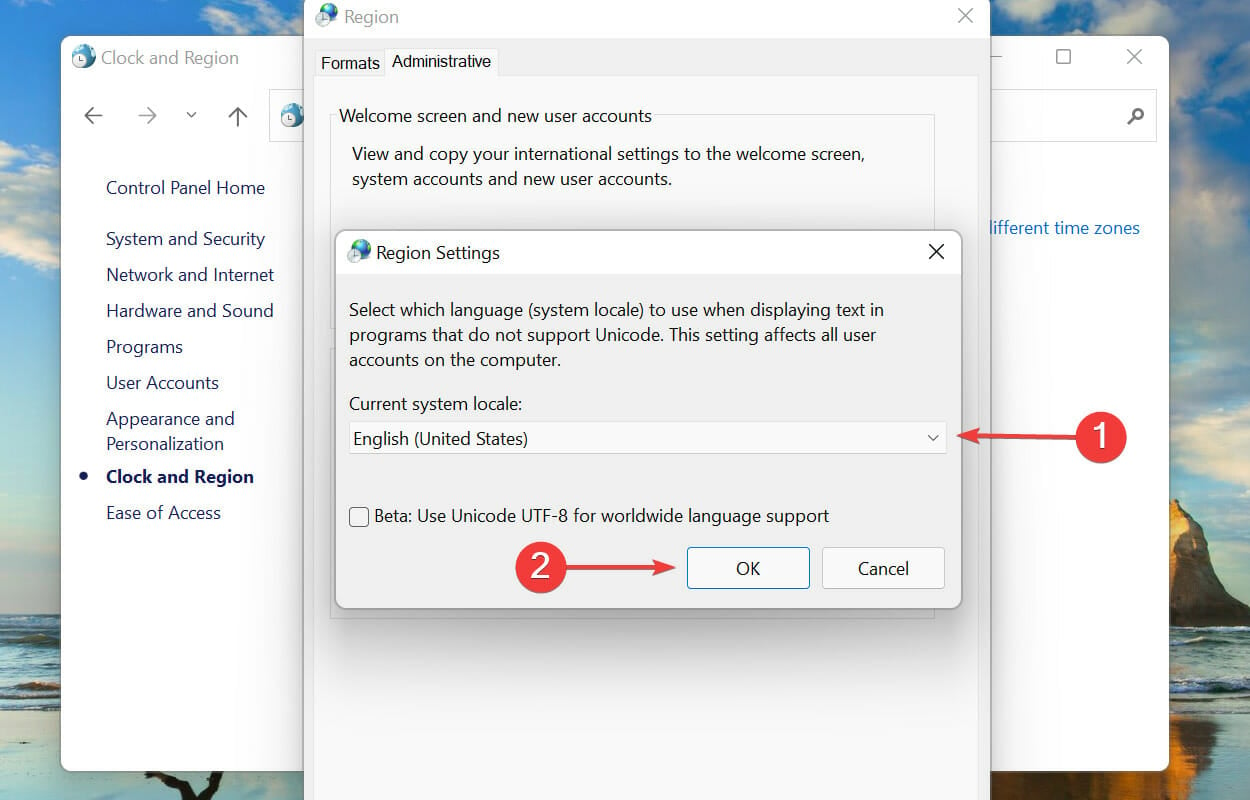
- Navigate to the Administration tab from the top and click the Change System Locale button.
- Click the drop-down menu, select the appropriate language that matches the installer, and click OK to save the changes.
7. Perform a quick SFC scan
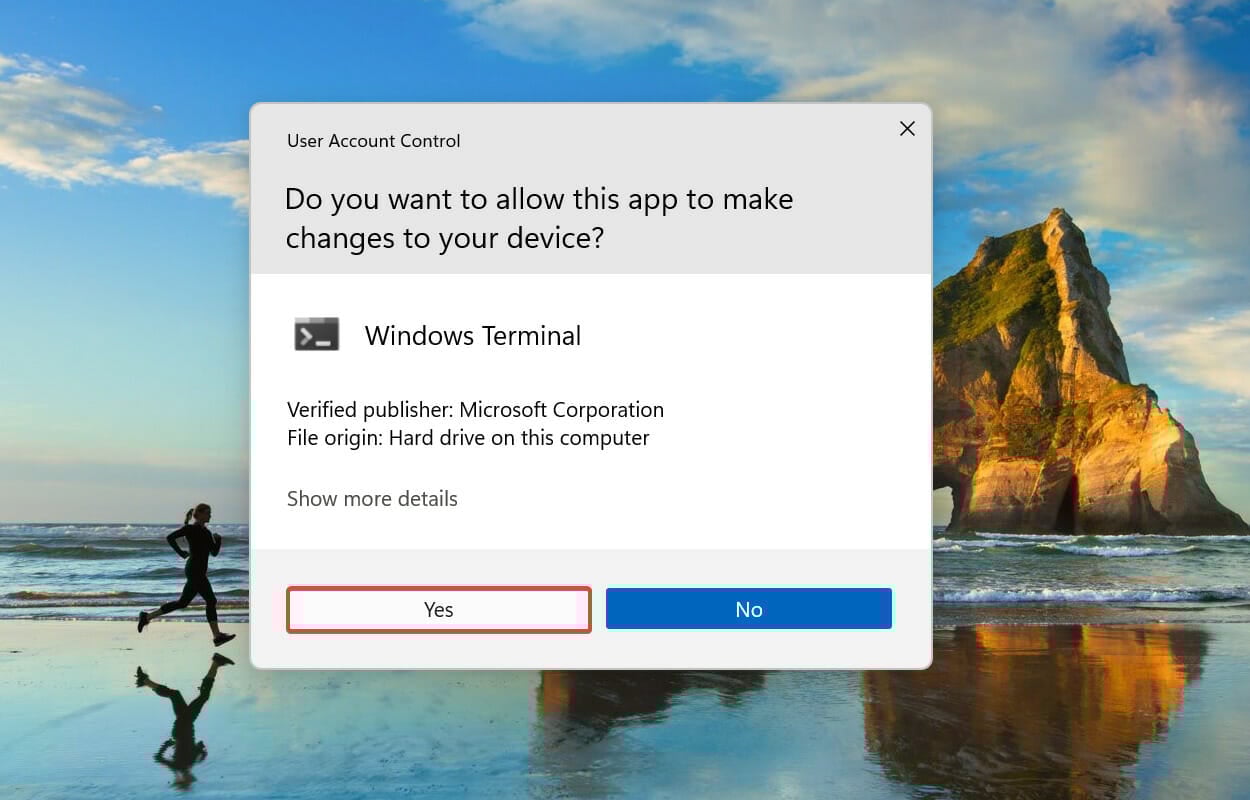
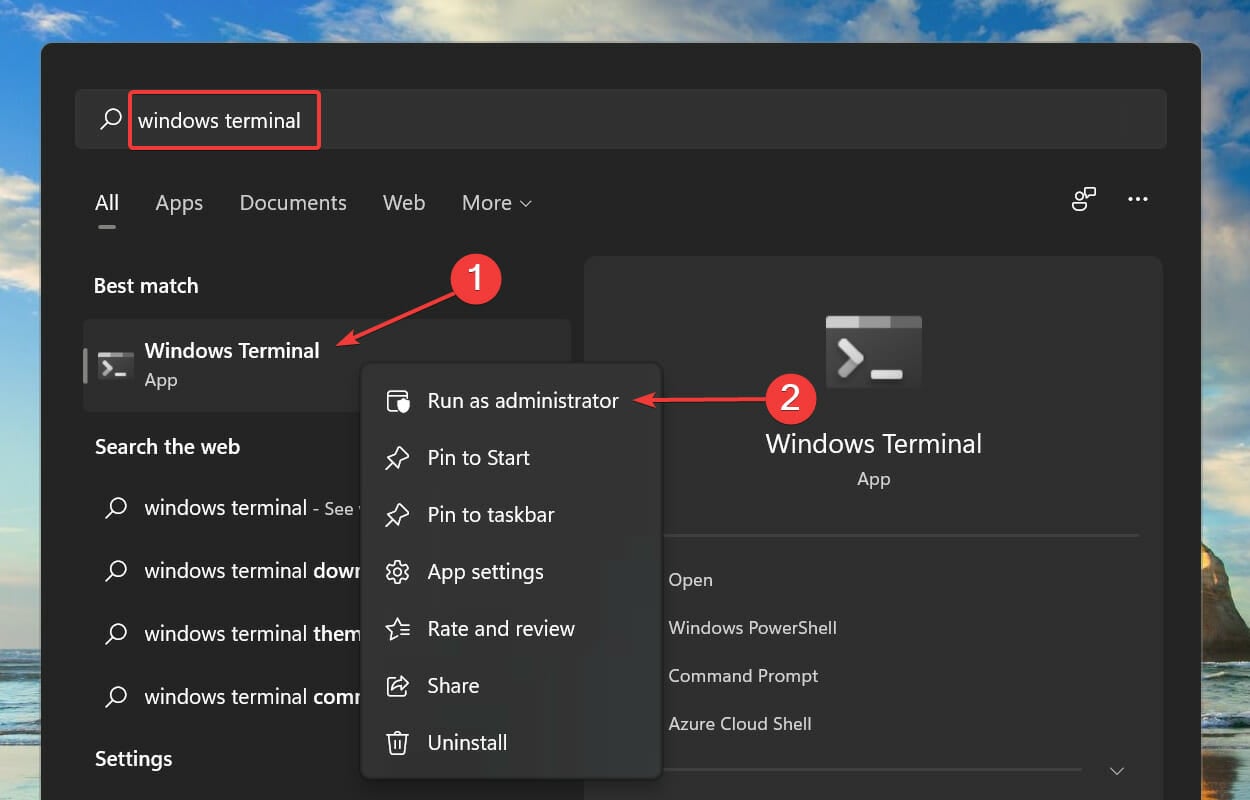
- Press to launch the search menu. Enter Windows Terminal in the text field at the top, right-click on the relevant search result and select Run as administrator from the context menu. WindowsS
- Click "is" at the UAC (User Account Control) prompt.
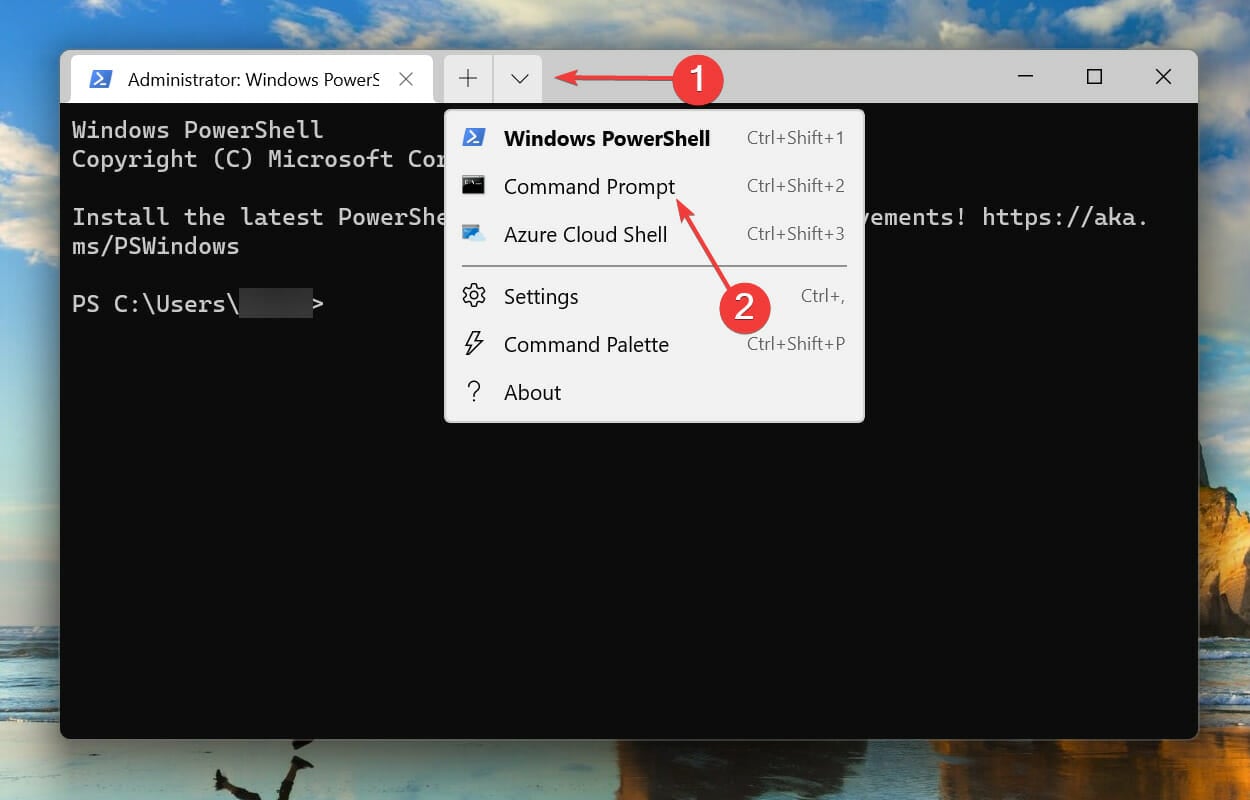
- Click the down arrow at the top and select Command Prompt. Alternatively, you can press Ctrl Shift 2 to launch the tab.
- Type/paste the following command and click to run the SFC scan. NSIS writing temporary file error will be resolved: Enter
<strong>sfc /scannow</strong>

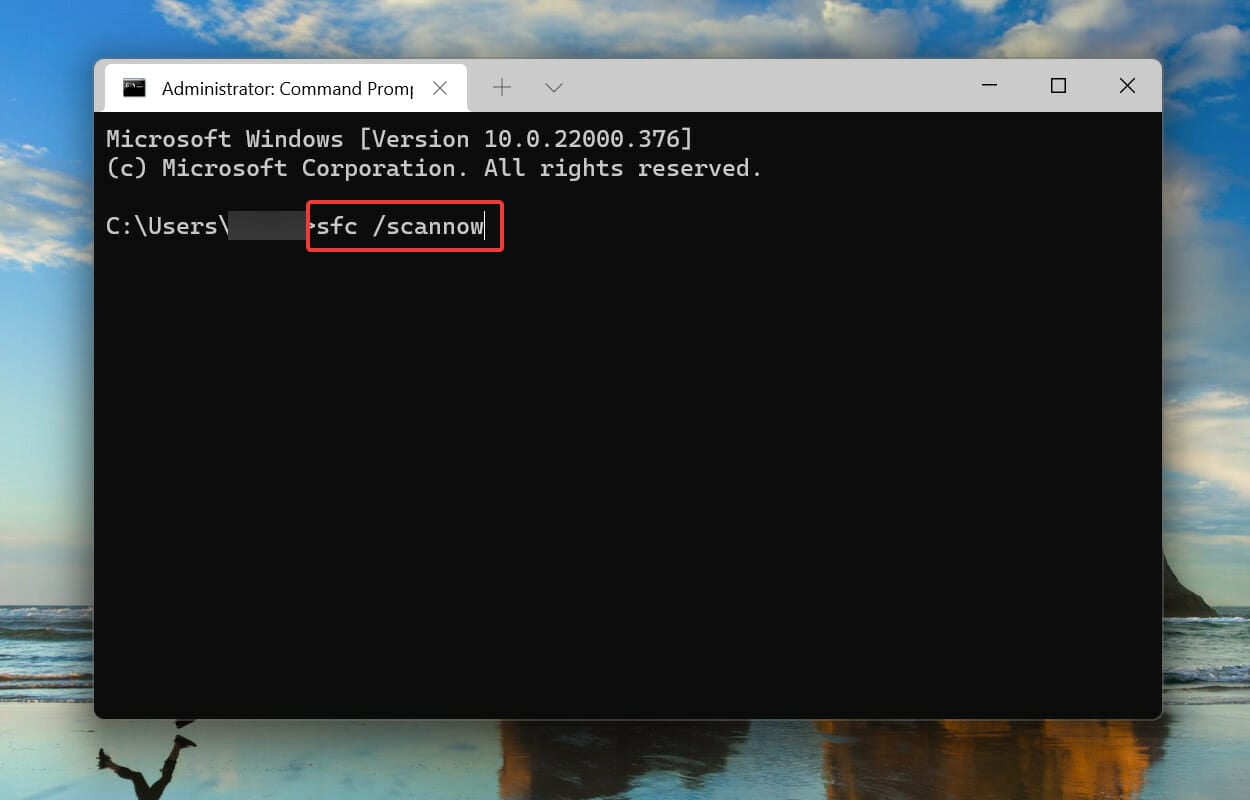
SFC (System File Checker ) scan identifies corrupted system files and replaces them with cached copies stored on the system. So, if you are trying to find out how to fix NSIS errors in Windows 11 and it is corrupted system files, then performing a scan should do the trick.
8. Install the program via Command Prompt
- Press to launch the search menu, enter Windows Terminal in the text field at the top, right-click on the relevant search result, and then select Select Run as administrator from the context menu. WindowsS
- Click Yes on the UAC (User Account Control) prompt that appears.
- Click the down arrow at the top and select Command Prompt from the list of options. Alternatively, you can press to launch the Command Prompt tab. CtrlShift2
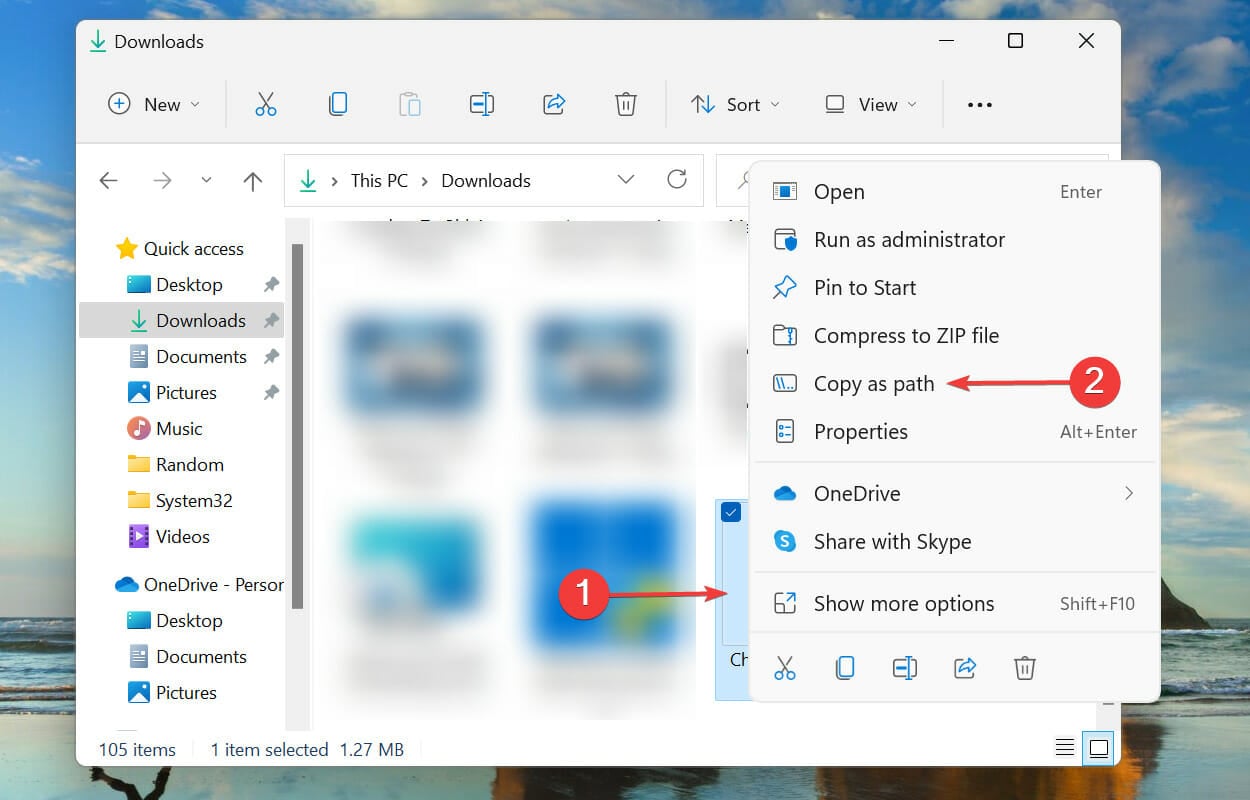
- Now, navigate to the folder where you saved the installation settings, right-click on it and select from the context menu Select and copy it as path .
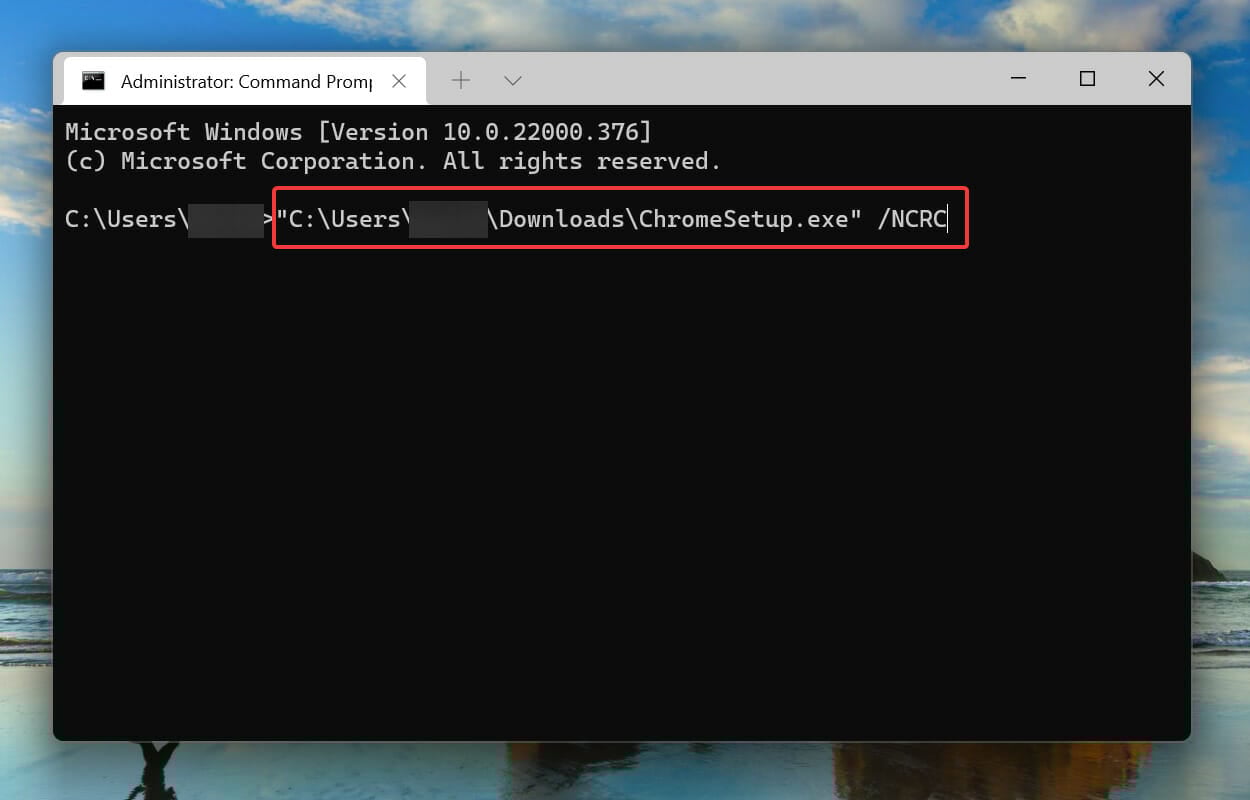
- Go to Windows Terminal and press to paste the path. CtrlV
- Next, press the Add Space key, type the following command, and then click Run Setup: Spacebar Enter
<strong>/NCRC</strong>
- After the installer starts, follow the on-screen instructions to complete the installation process.


Using this method, the installer will bypass any corruption checks and run. However, if there are major potential problems, there may be a problem with the installer. Therefore, we recommend this as a last resort fix.
Is NSIS a virus?
No, it is not a virus. You have access to the NSIS source code and can verify its accuracy. Please make sure not to download any unknown NSIS package from unknown websites as some people use it to spread malware.
While most contemporary antivirus vendors are familiar with extracting files from NSIS installers and scanning them, some continue to build signatures on the installer stub itself rather than the files contained within it.
How to prevent NSIS errors in Windows 11?
So far, you have learned about the causes of NSIS errors and the most effective solutions. But wouldn't it be simpler if you could prevent it in the first place?
To ensure safety, be sure to download the program's installer from the official website and set it up; if this is not possible, please at least look for a reliable download source. This ensures that all files are downloaded at once without file corruption or loss.
These are all the ways to fix NSIS errors in Windows 11. Learn about user feedback on how to fix encountering NSIS errors launching the AMD driver installer.
The above is the detailed content of NSIS error on Windows 11: How to get rid of it. For more information, please follow other related articles on the PHP Chinese website!