
Home >Java >javaTutorial >How to use IDEA to create a SpringBoot project
How to use IDEA to create a SpringBoot project

- 王林forward
- 2023-05-17 22:25:0420287browse
1. Create a new Project on IDEA, select Spring Initializr,
Project SDK and select the installed JDK;
Choose Initializr Service URL select Default: https://start.spring.io )
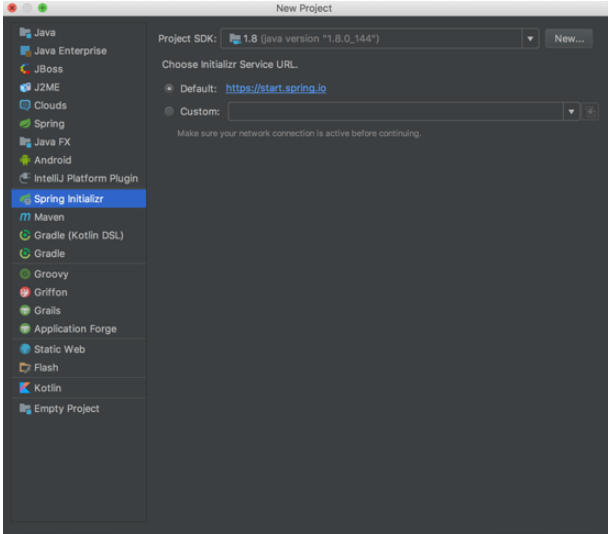
Select the project template
Click Next
2. Configure the project
Set the project array (group), project identification (Artifact), Type select a Maven Project to indicate a maven project
Version: project version number
Name :Project name
Description:Project description
Package:Project package name
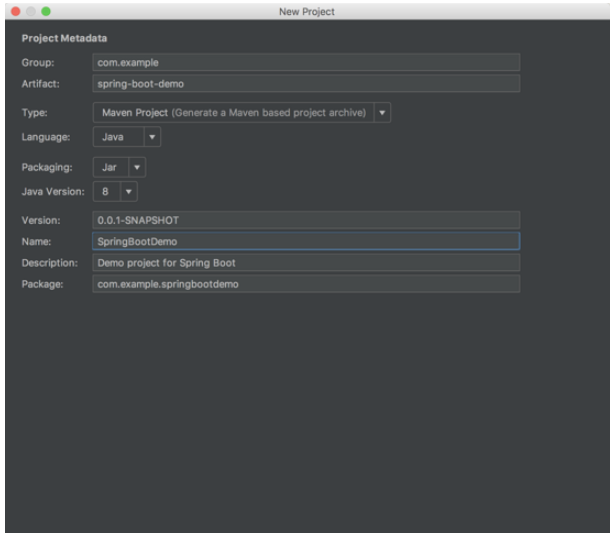
Project configuration
Click Next Step
3. Select the project template
Let’s choose to create a Web project
Select the Spring Boot version
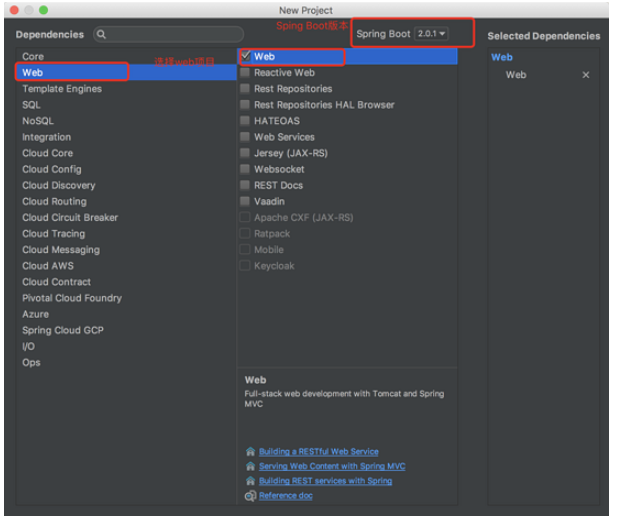
Select project template
4. Set project name and project path
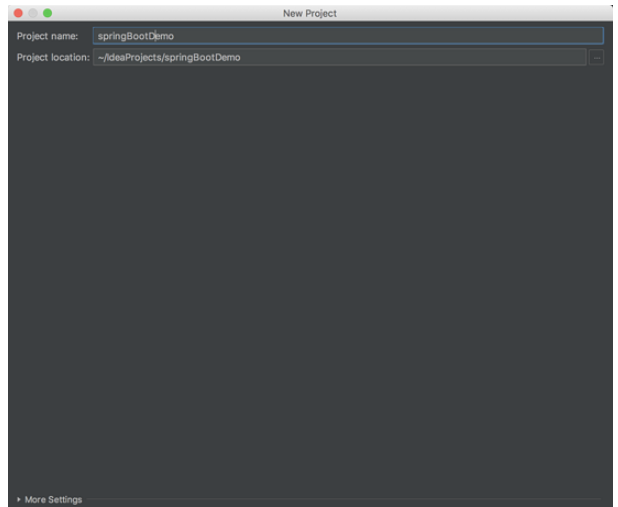
Set project name and project path
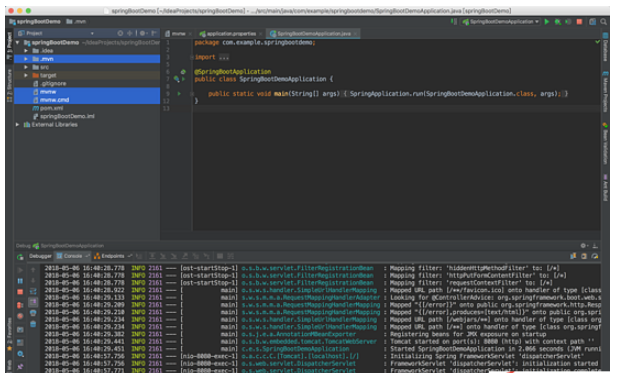
After setting the project path and project name, click FINish to complete the project creation. You need to build the project and wait for a while to complete.
5. After the creation is completed, we delete the .mvn folder, mvnw file and mvnw.cmd file
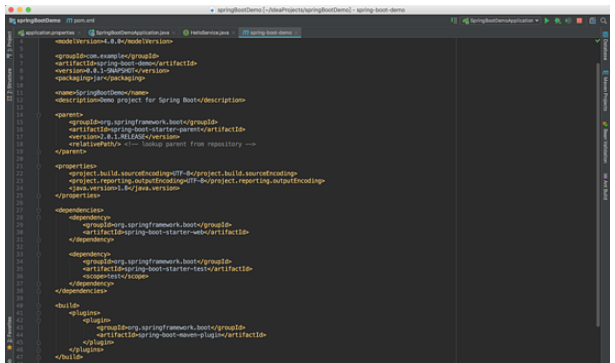
<!-- SpringBoot项目的基础库文件-->
  <parent>
    <groupid>org.springframework.boot</groupid>
    <artifactid>spring-boot-starter-parent</artifactid>
    <version>2.0.1.RELEASE</version>
    <relativepath></relativepath> <!-- lookup parent from repository -->
  </parent>
<!-- SpringBoot项目的基础库文件-->
  <dependencies>
<!-- web项目库-->
    <dependency>
      <groupid>org.springframework.boot</groupid>
      <artifactid>spring-boot-starter-web</artifactid>
    </dependency>
<!-- 测试所需库-->
    <dependency>
      <groupid>org.springframework.boot</groupid>
      <artifactid>spring-boot-starter-test</artifactid>
      <scope>test</scope>
    </dependency>
  </dependencies>
7. Create a HelloService
package com.example.springbootdemo.service;
import org.springframework.stereotype.Service;
@Service
public interface HelloService {
  String sayHello();
}
8. Create the HelloService implementation class HelloServiceImpl, implement the sayHello() method, and return "Hello World!"
package com.example.springbootdemo.service.impl;
import com.example.springbootdemo.service.HelloService;
import org.springframework.stereotype.Component;

@Component
public class HelloServiceImpl implements HelloService {
 @Override
 public String sayHello() {
   return "Hello World!";
 }
}
9. Create HelloController, call the HelloService implementation class, and print "Hello World!" to the browser
package com.example.springbootdemo.service.impl;
import com.example.springbootdemo.service.HelloService;
import org.springframework.stereotype.Component;

@Component
public class HelloServiceImpl implements HelloService {
 @Override
 public String sayHello() {
   return "Hello World!";
 }
}
10. At the moment of witnessing the miracle, let's run the built project to see if it works as we expected. Enter the access address http://localhost:8080/hello in the browser to see Hello World!The above is the detailed content of How to use IDEA to create a SpringBoot project. For more information, please follow other related articles on the PHP Chinese website!