Home >Common Problem >How to edit a Word document on iPhone
How to edit a Word document on iPhone
- 王林forward
- 2023-05-15 22:28:0415538browse
Method #01: Use Apple Pages to Edit Word Documents on iPhone
Apple’s native Pages app actually does a pretty good job when it comes to editing word files on iPhone. Since the app is free and comes pre-installed on all iPhones, you probably already have it ready and accessible to edit your Word documents.
Open a Word file on Pages
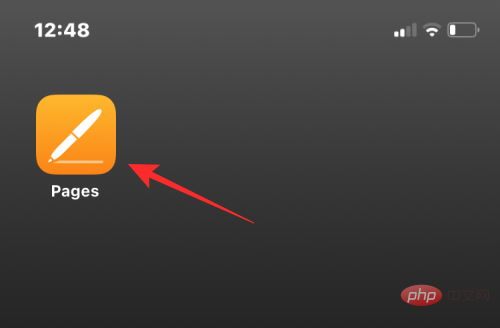
To get started, open the Apple Pages app on your iPhone.
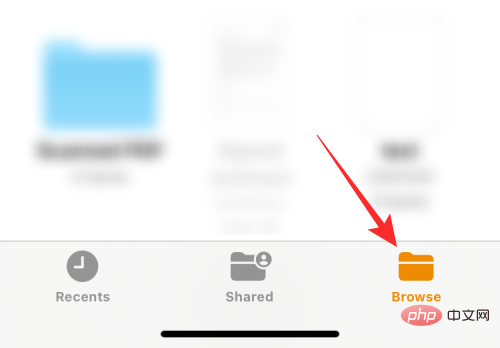
#When the app opens, click the Browse tab at the bottom.
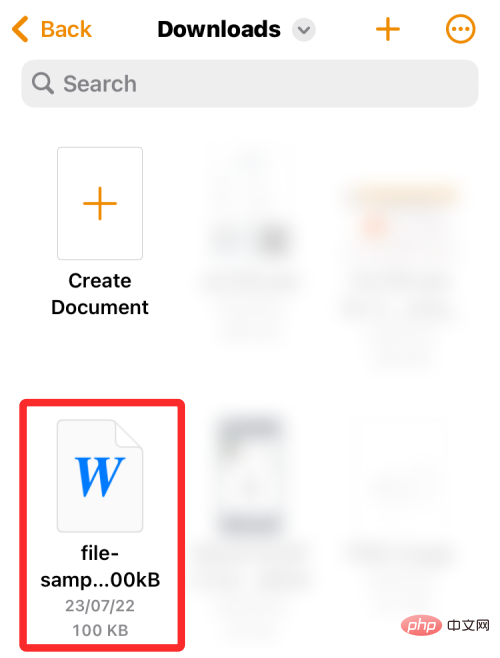
#On this screen, navigate to the location where you saved the Word document you want to edit. When you find the file you want to edit, click it to open it in Pages.
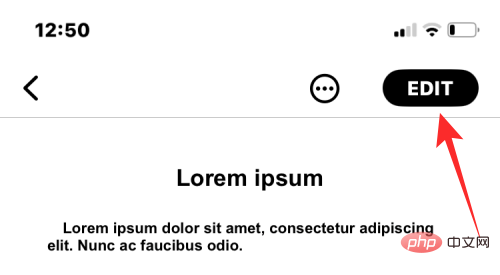
#Pages The document will now open in Reading view. To start changing it, click Edit in the upper right corner.
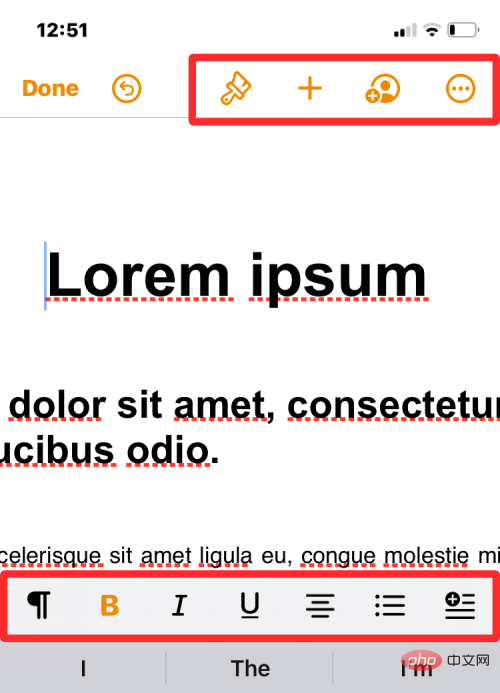
When you enter edit mode in Pages, you'll see a bunch of tools at the top and above the keyboard.
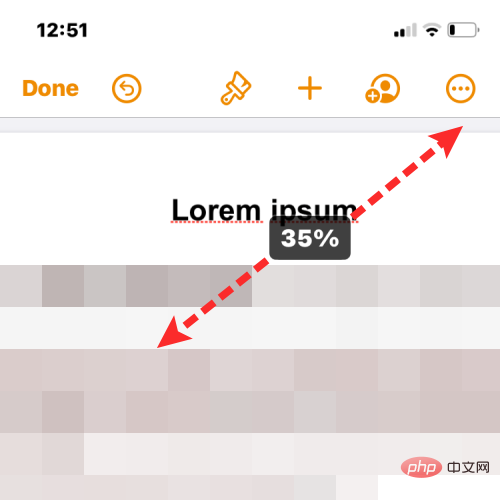
You can pinch in and out of the screen to get the desired zoom effect.
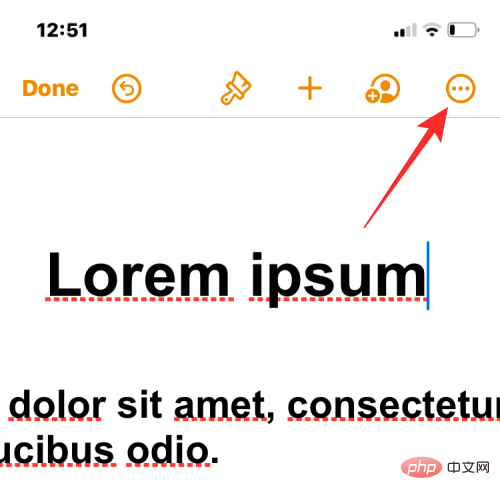
#If you want to edit your document more efficiently, you can switch to screen view. To do this, click on the 3 dot icon in the upper right corner.
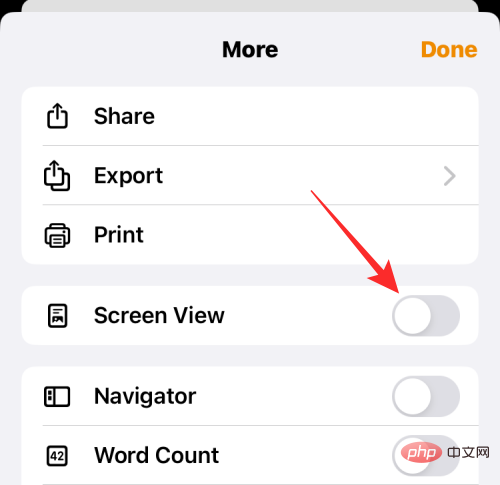
On the next screen, open the Screen View switch.
#The document will now switch to screen view and all its contents will fit on your screen.
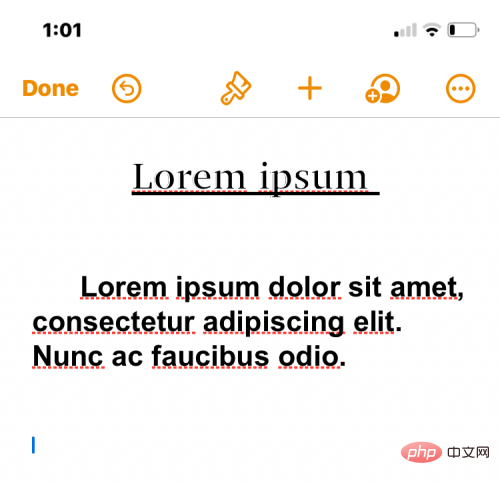
Basic Editing
For on-the-fly editing, Pages offers a few options for quickly adjusting your document. The first thing you might want to do when editing a document is select text within it. To select text in Apple Pages, click the word you want to select and it will automatically be highlighted.
To expand this selection, drag the cursor on either side of the word until all the words you want to select are highlighted.
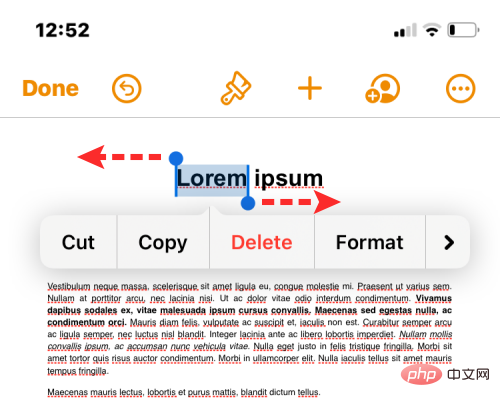
#When you make a selection, you'll see instant actions at the top. These options let you cut, copy, delete, and format selected text. You can access more of these actions by clicking on the arrow at the end.
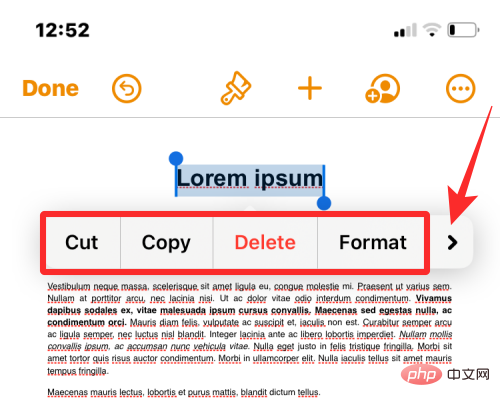
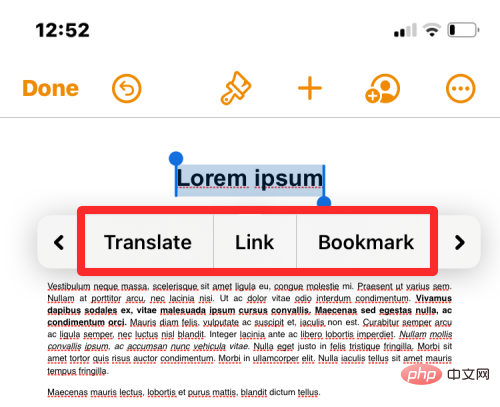
This will show you more actions you can apply to the selected text, including translate, link, bookmark, highlight, comment, and change styles.
# Additionally, these actions allow you to adjust the text in your document using the toolbar that appears above your keyboard.
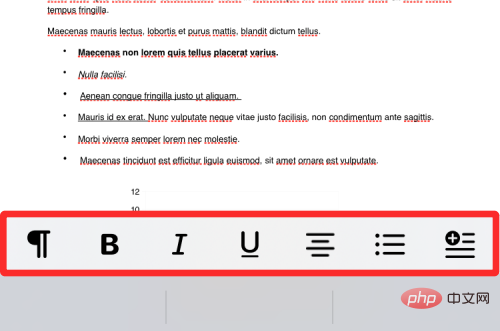
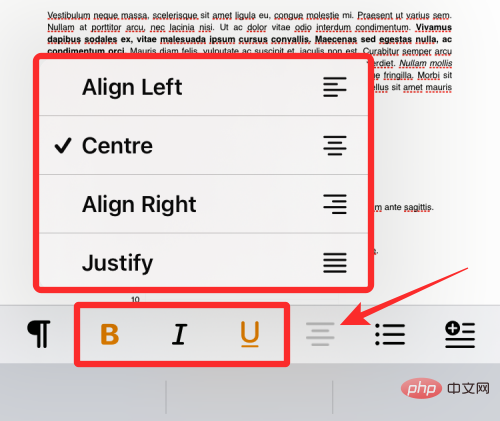
This toolbar lets you apply bold, italic, and underline to selected text, or change its alignment to left, center, right, or justified.
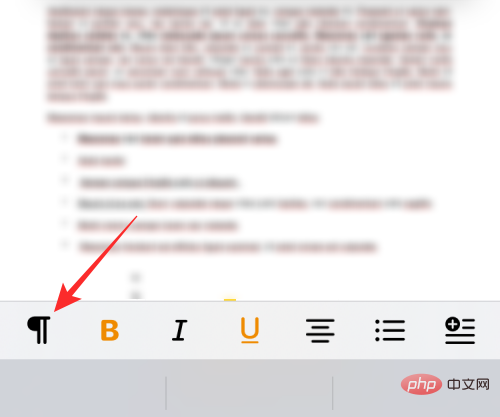
You can click the paragraph icon to adjust how different parts of the document are displayed.
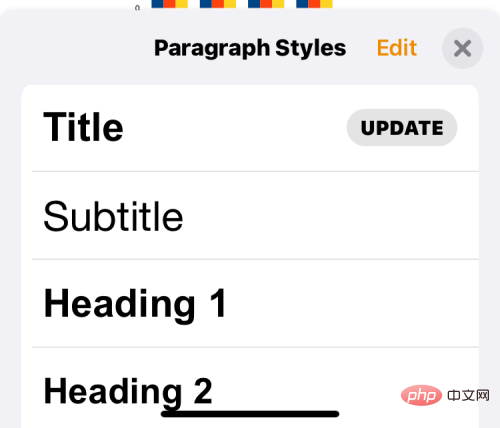
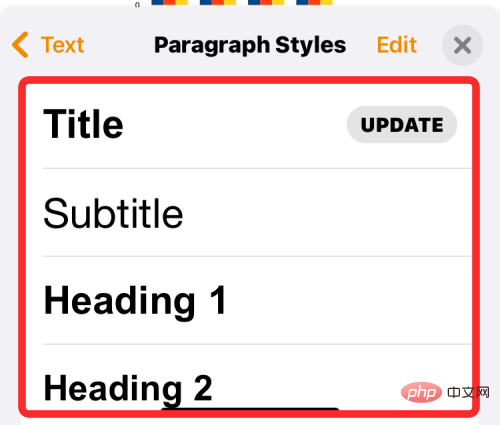
When you click on this tool you will see the different paragraph styles to apply - Heading, Subheading, Heading 1/2/3, Normal, Heading, Header , footer, etc.
Also, you can add bulleted or numbered lists using the toolbar by clicking the list icon.
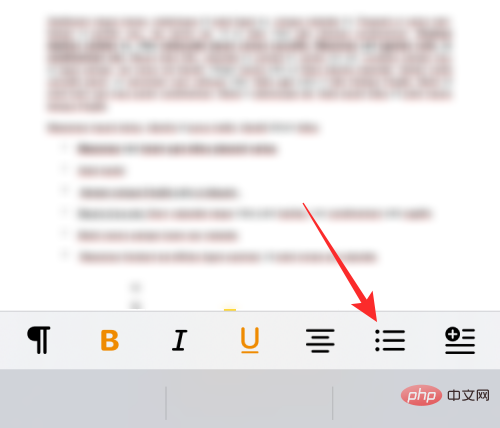
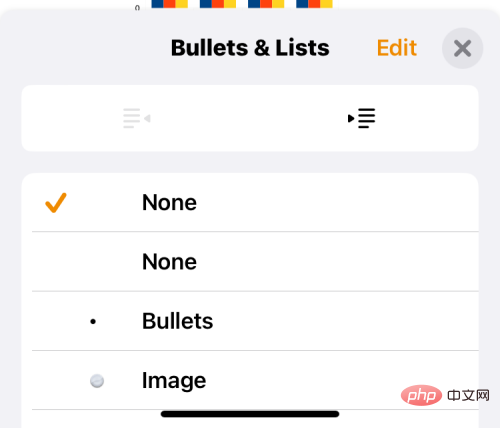
You can then select the type of list you want to add and adjust its indentation on the next screen.
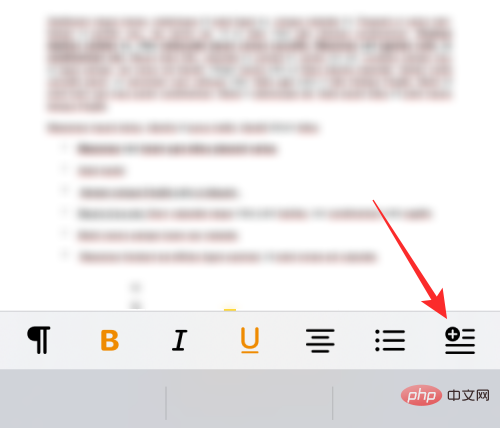
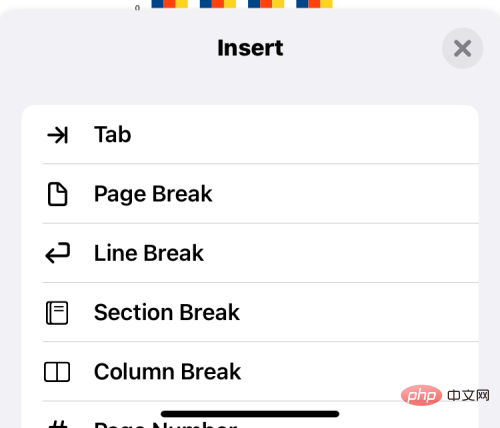
You can also insert elements into the document by clicking the "Insert" icon on the far right side of the toolbar.
When you do this you will get insert tab, page/row/section/column break, page number, link, bookmark, footnote or Directory options.
Advanced Editing
If you want more granular controls for editing your Word document on Pages, you can do so by selecting the desired tools to achieve this.
Modify text and paragraph formatting
To edit text in the document, click the Brush icon in this toolbar.
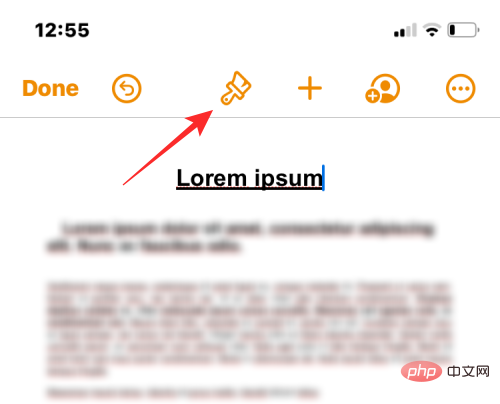
You will see a text menu appear on the lower half of the screen.
Paragraph Styles:
If you want to change how the text in a paragraph appears in the document, click the Paragraph Styles box.
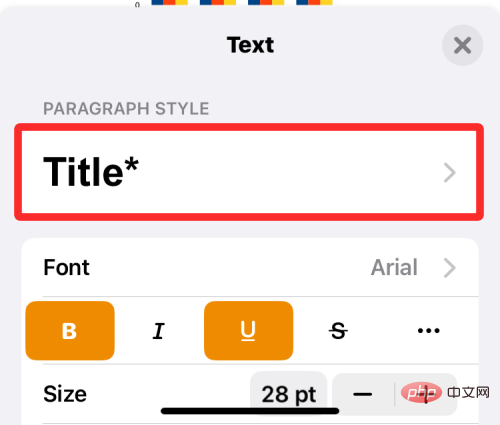
On the next screen, choose the style you want to apply to the selected paragraph.
Font Type:
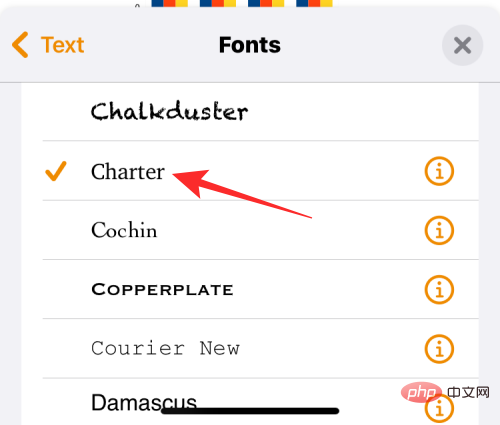
You can select "Font" in the "Text" menu Change the font type used in the document.
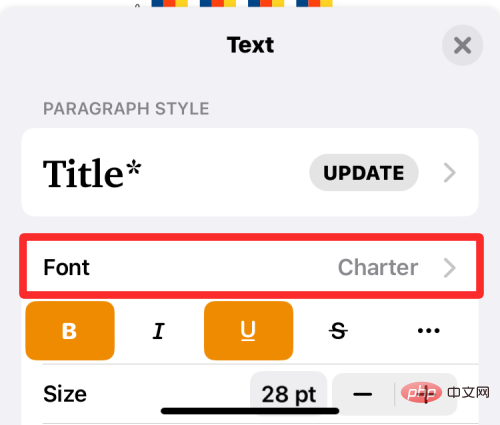
On the next screen, you can choose from several options that can be applied to your text.
Bold, italic, underline and strikethrough:
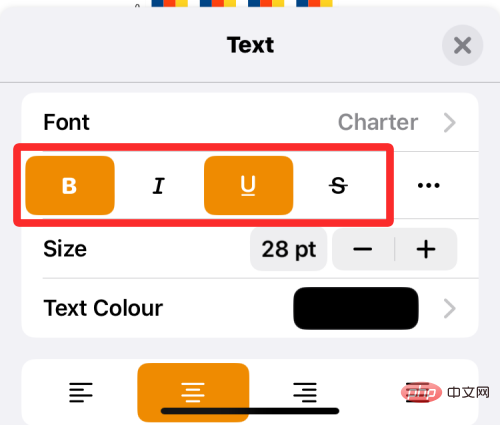
Under the font options you will be able to apply different base text Format, such as bold, italic, underline, and strikethrough.
More text options:
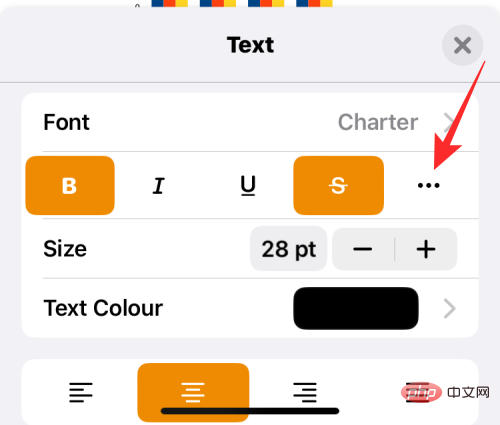
In the same row as the above options, you can click the 3 dot icon to access additional text options.
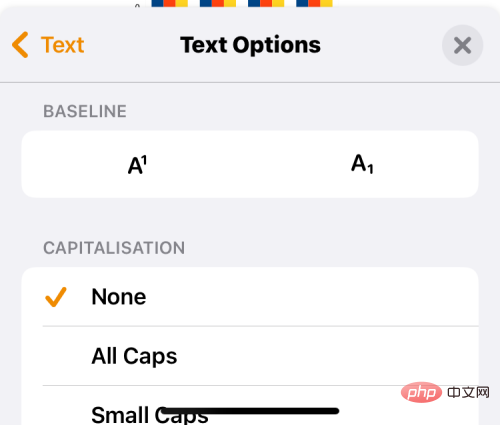
#In the menu that appears next, you can choose character style, baseline, caps, outline, and text background.
Text Size:
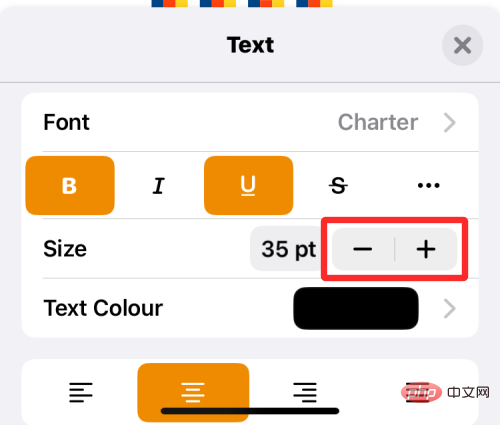
In the text menu you can change the size by clicking the – and icon next to the size box Change the size of the selected font.
Text Color:
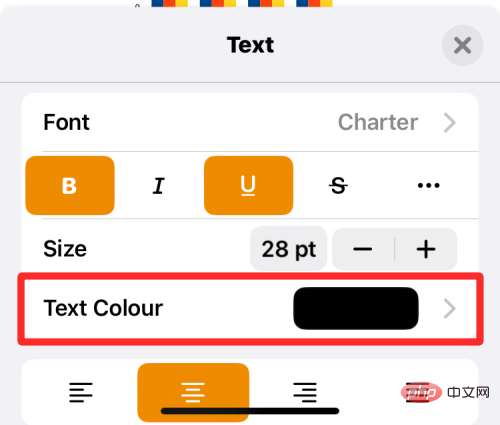
When you click on Text Color, you will be able to choose The color applied to selected text in the document.
Text Alignment:
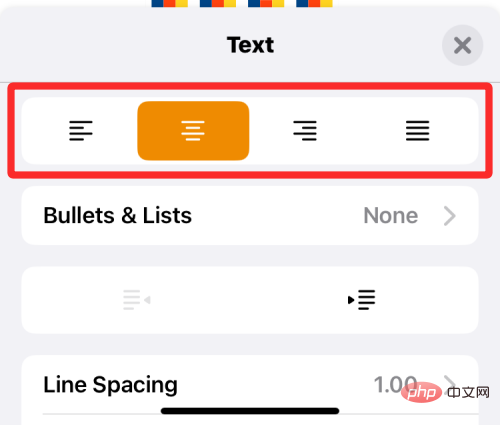
You can click from the options below to align the paragraph left, right, center, or just model.
Bullets and Lists:
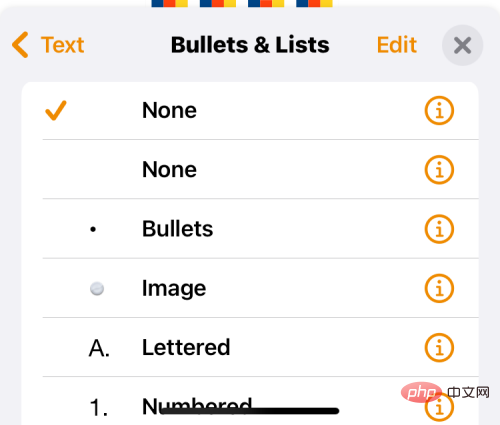
If you want to add a list to your document, click in the text menu Bullets and lists.
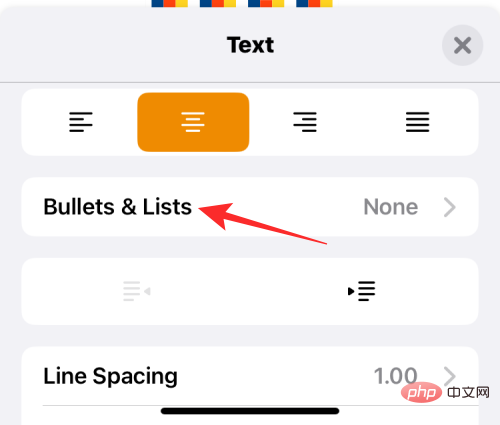
#From the options that appear, select the type of list you want to add, such as bullets, images, letters, numbers, etc.
Indent :
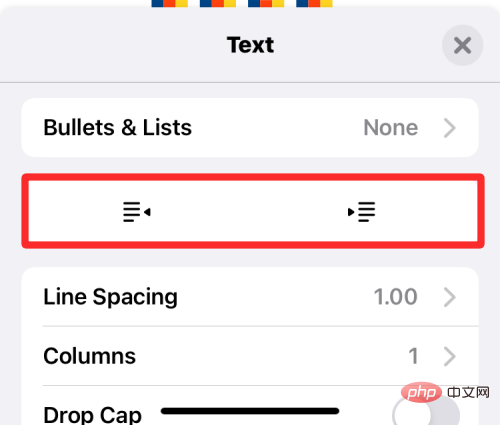
To move selected text to the right or left, click ## in the Text menu #Left indent or Right indent icon.
Line spacing:
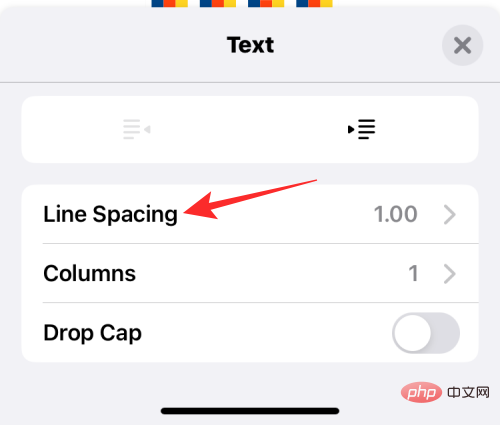
You can adjust the space occupied by each line in your Word document by clicking Line Spacing.
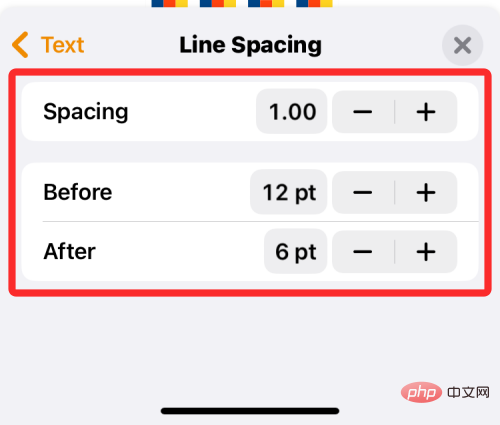
#Now, adjust the spacing between, before, and after the lines from the next screen.
Column :
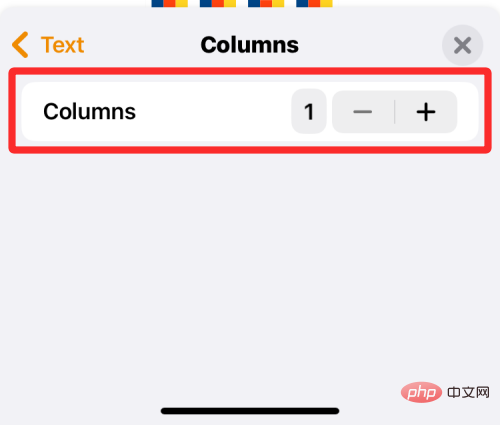
By default, the text in the document is displayed in a single column. If you wish to have multiple columns of text on a single page, click Columns within the text menu.
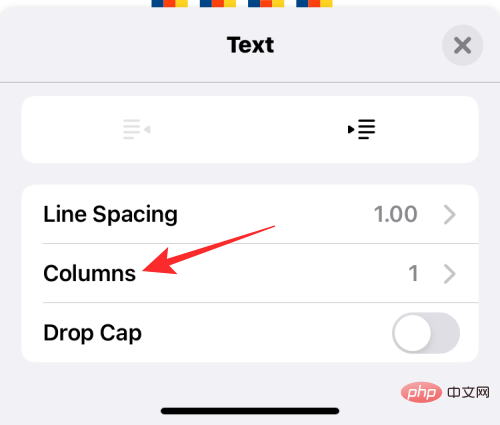
On the next screen, click the icon or the - icon to increase or decrease the number of columns in the document respectively .
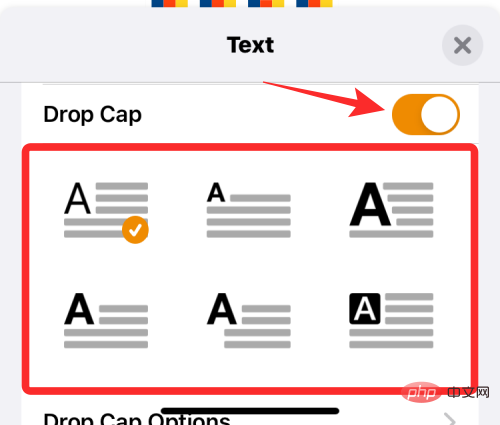
Sink Cap:
If you want to significantly highlight the first letter of a paragraph, turn on the first letter 深 Switch. When this option is enabled, you can choose from different styles that can be applied to paragraphs.
Insert images, videos, drawings, charts, tables, objects, and more
In addition to editing and formatting text in your document, you can also add more Multiple elements to make it more informative and interactive. You can insert elements into your document on Pages by clicking the button on the top toolbar.
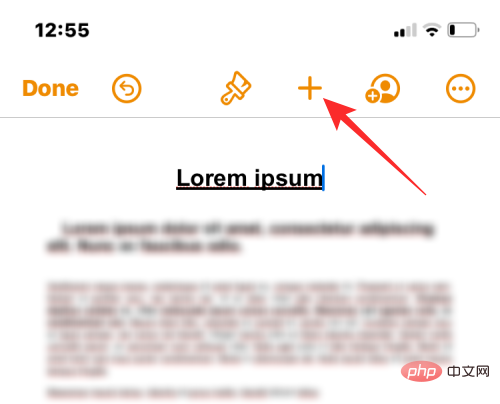
From the Insert menu that opens, you can add tables, charts, objects, and images to your document.
Table:
To add a table to the document, click the Tables tab at the top. From here, you can select the tables you want to add to the document.
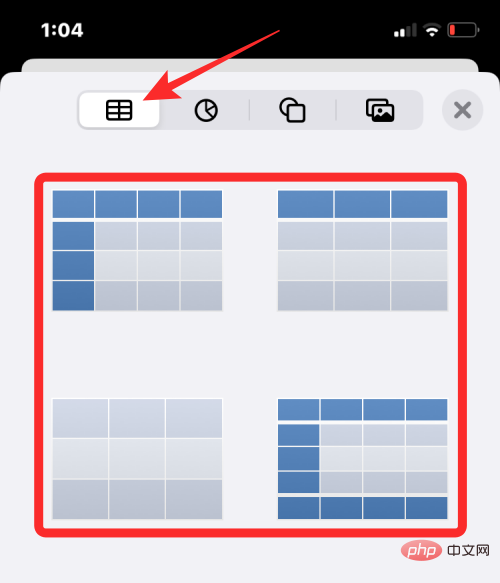
Chart:
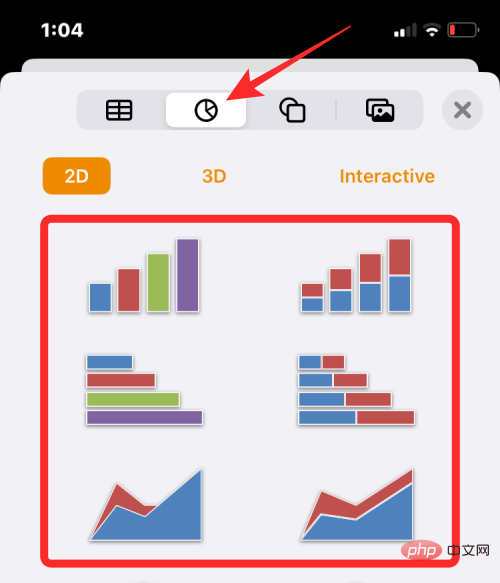
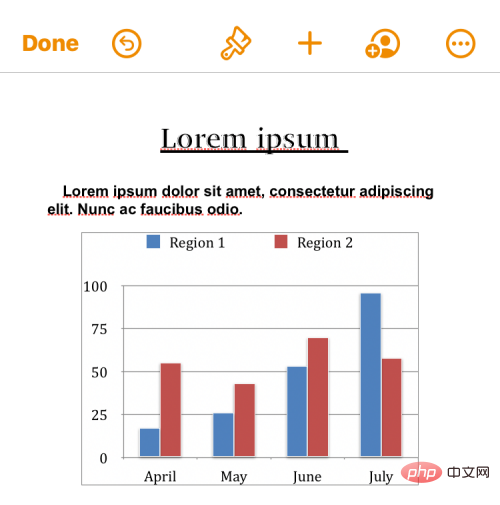
You can add a chart to the in the document. When you do this, you can select the chart to insert from different categories including 2D, 3D, and interactive.
Object: The
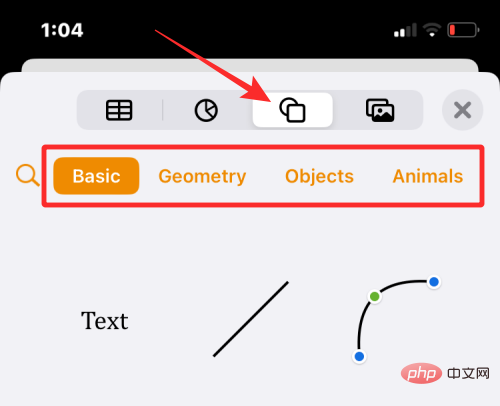
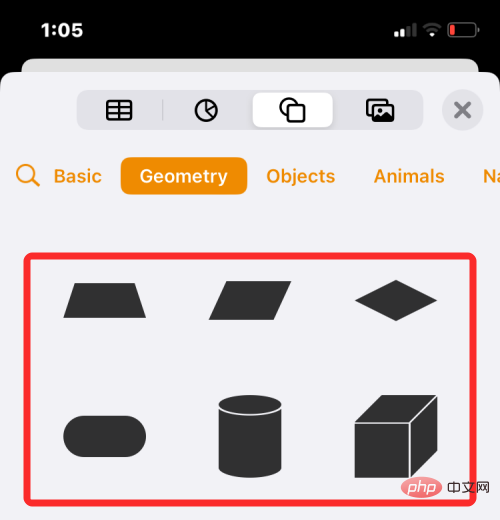
Pages application allows you to create objects by clicking on theObjects tab at the top of the Insert menu. to add any objects you want to display in the document.
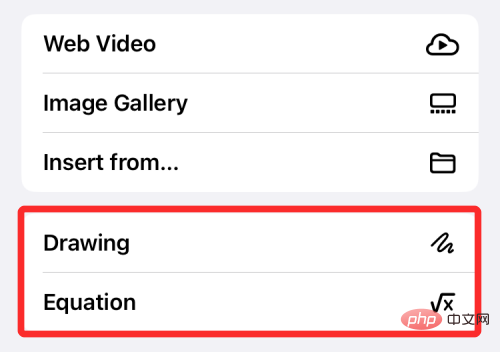
Images, Videos, and Drawings:
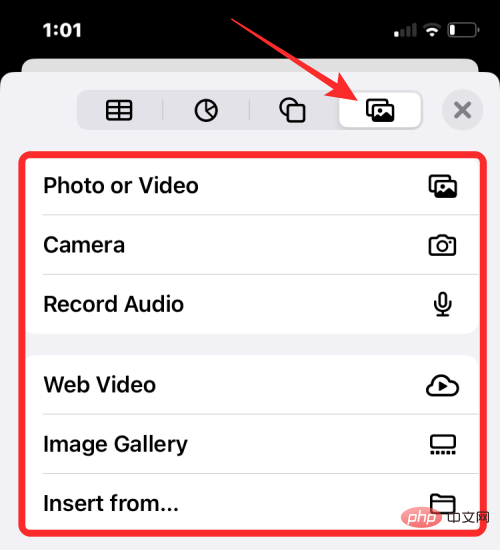
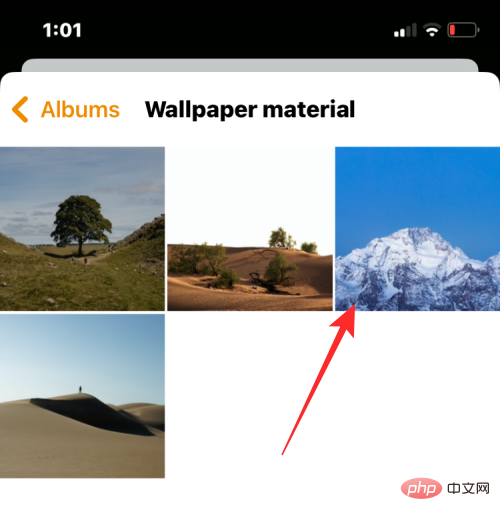
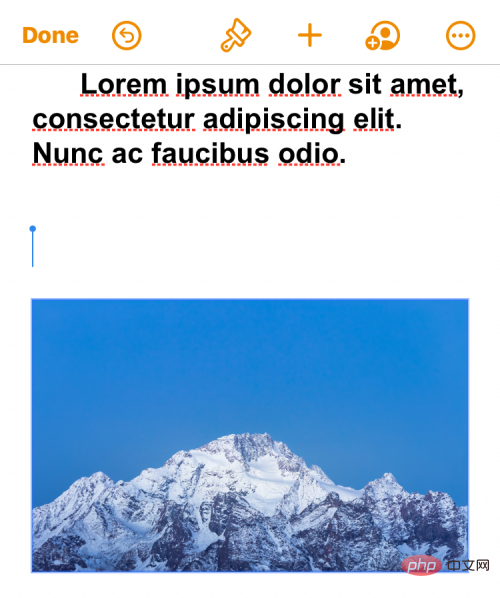
To add an image, video, or drawing, click at the top of the Insert menuImages" tab. On this screen you can add pictures and videos from your iPhone camera or gallery.
##
Method #02: Edit Word Documents with Microsoft Word on iPhone
If you’re not satisfied with Apple’s product, you can always go back to the original and trusted Microsoft Word app. The Word app is free on iPhones and iPads smaller than 10 inches. You can use it to edit anything in your document just like you would on your computer, as it supports charts, tables, images, equations, footnotes, and more.
Sign in to Microsoft on the Word app
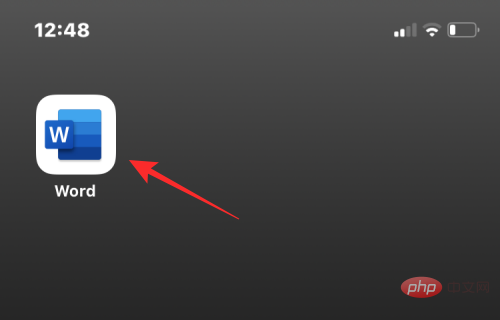
You can start using the Microsoft Word application after installing it. After installation, open the Microsoft Word app on your iPhone.
#When the app opens, you will see a new screen that allows you to create documents from within the app. Since you're editing an existing Word file here, you'll need to be logged in to your Microsoft account to edit the document. If you don't have one, you can create a Microsoft account for free without any subscription, as Microsoft Word's editing controls are free on all iPhones.
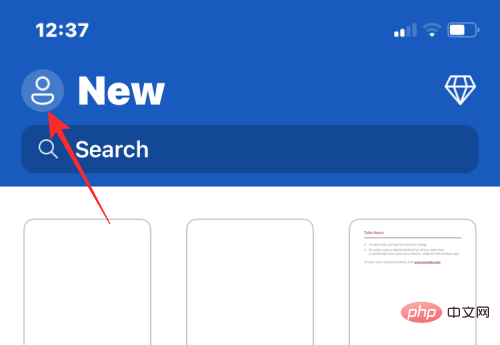
To sign in to your Microsoft account, click the account picture icon in the upper left corner.
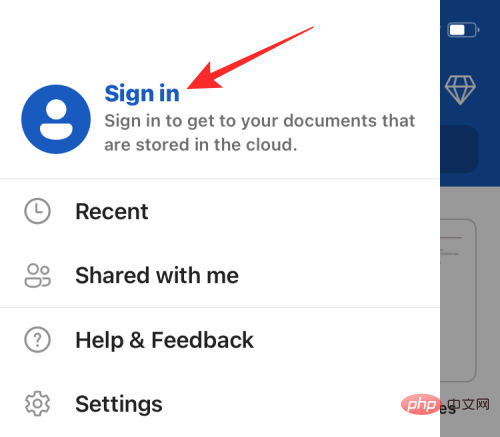
In the sidebar that appears on the left, click Login.
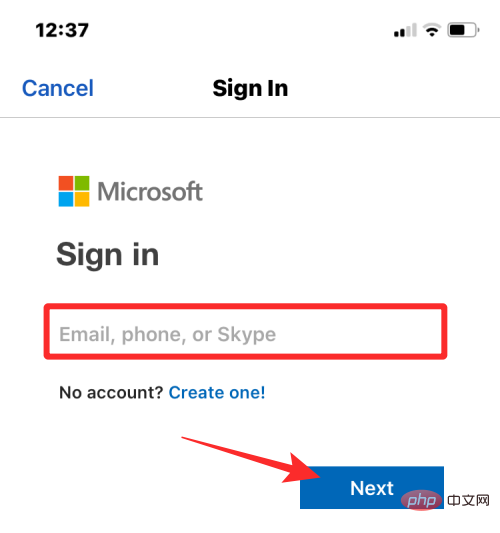
You will need to fill in your account username on the next screen and click Next.
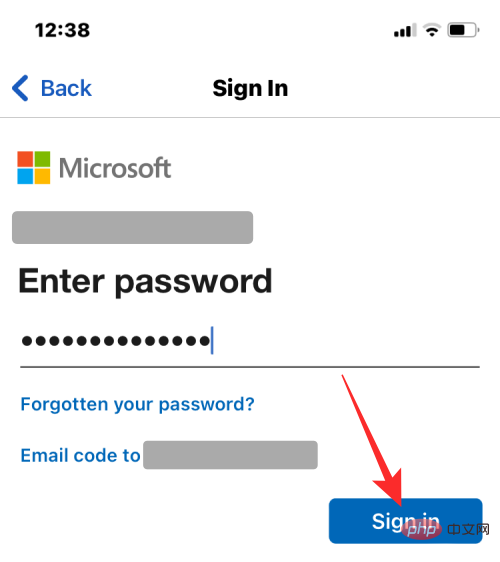
#You can then log in to your Microsoft account on the next screen after entering the password you set for your account. After entering your password, click Login to continue.
#You will now be logged into your Microsoft account on the Word application.
Open a Word file for editing
To start editing the file, click the folder icon in the lower right corner.
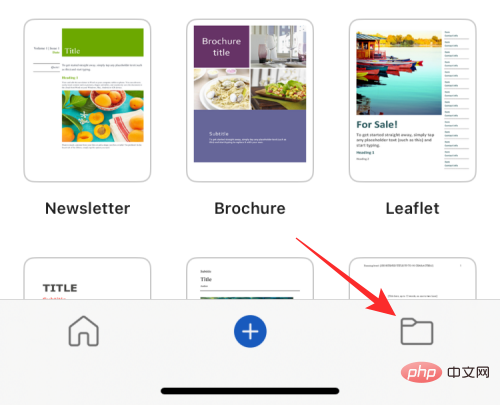
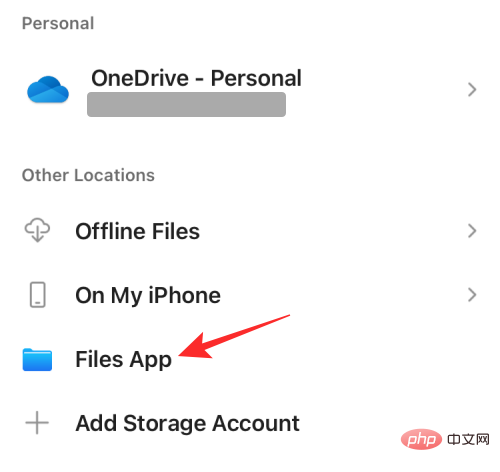
#This will take you to the Open screen where you have to select the location of the Word document you want to edit. If the document is saved in the Files app on your iPhone, select Files app under "Other locations."
#On the next screen, navigate to the folder where the Word document is located. When you're in the folder, click on the Word file you want to edit.
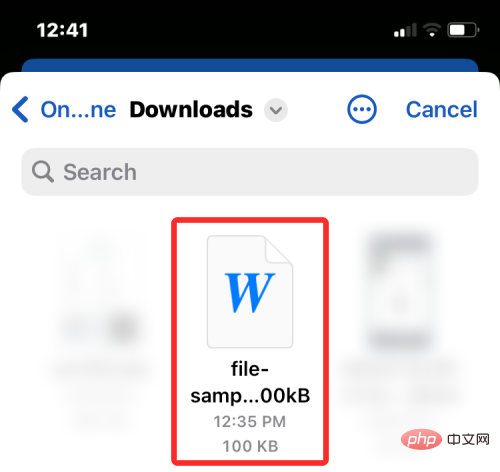
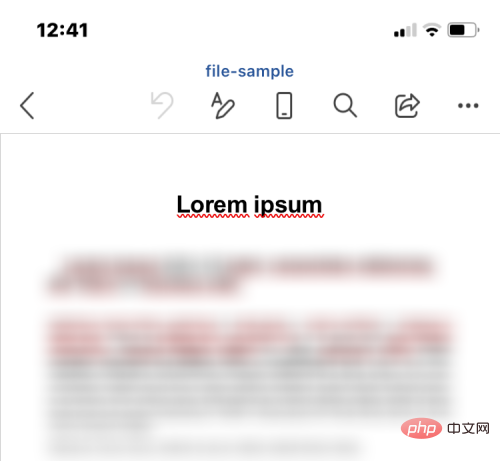
The document will now open in full view on your screen.
Basic Editing
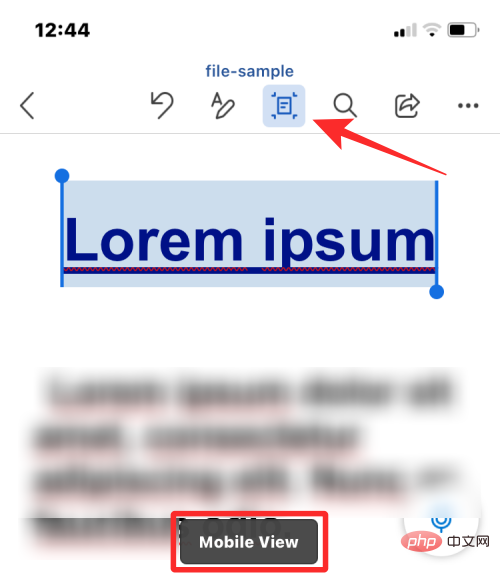
To make it easier for you to edit your document, click the Layout icon in the top toolbar. This icon lets you switch between print layout and mobile view. Changing the layout to mobile view will give you a close-up view of your document, making all text and other elements clearly visible on the screen.
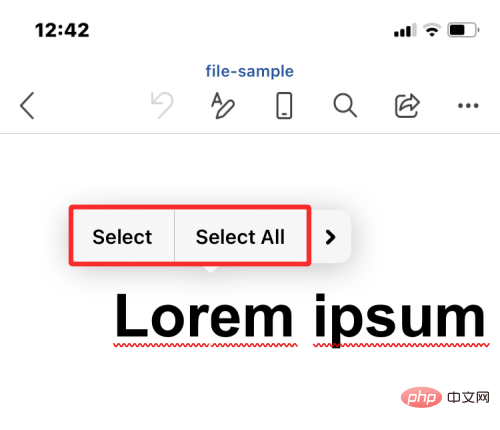
You can now start editing. The first thing you might want to do when editing a document is select text within it. To select text in Microsoft Word, click the word you want to select. To select a word, click Select above the word you just clicked. If you want to select the entire document, click Select All.
#After selecting a word, you can modify the selection to include more or less by dragging the cursors on either side of the word.
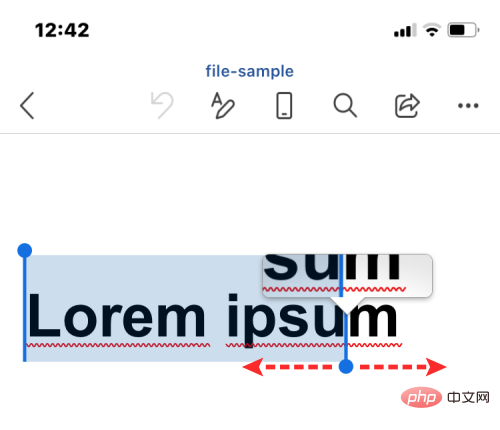
When you make a selection, you'll see instant actions at the top. These options let you cut, copy, delete, link, comment, and find selected text.
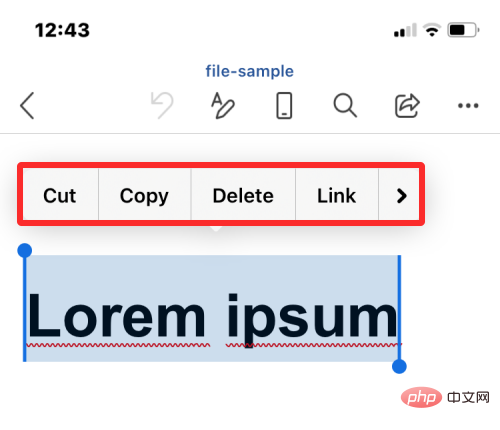
#You can also apply on-the-fly formatting options from the toolbar that appears above the keyboard. This toolbar lets you easily apply bold, italic, and underline.
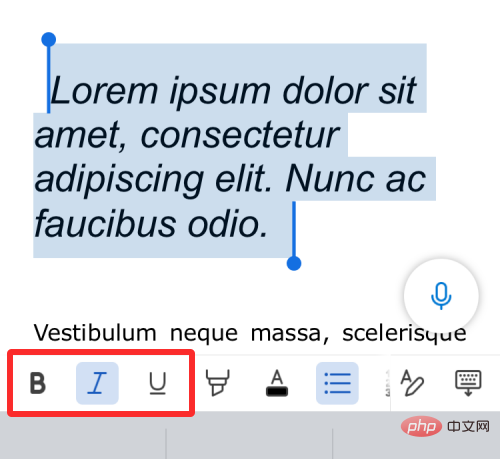
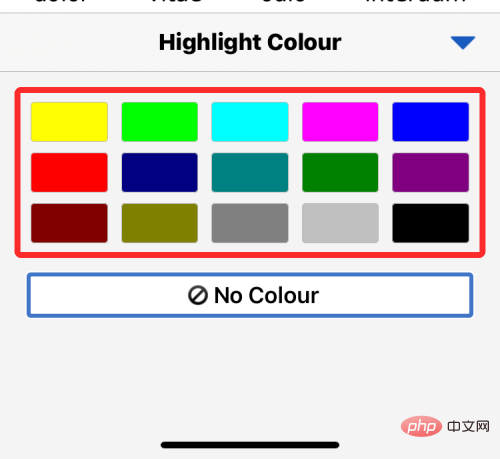
You can also add highlighting and text color to selected text by clicking the highlight icon or the underlined A icon.
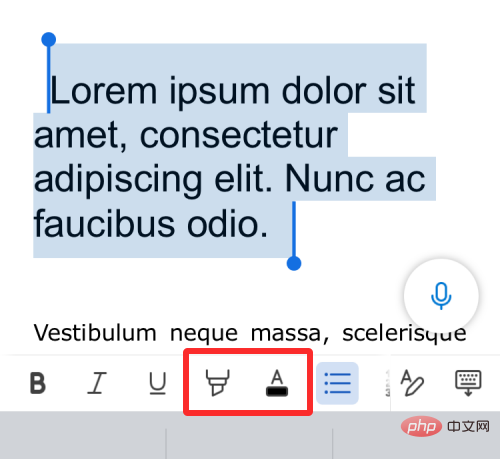
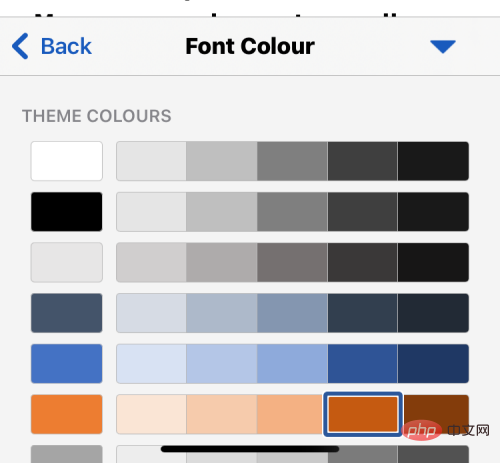
In the options that appear next, you can choose the color you want to apply to the text or highlight.
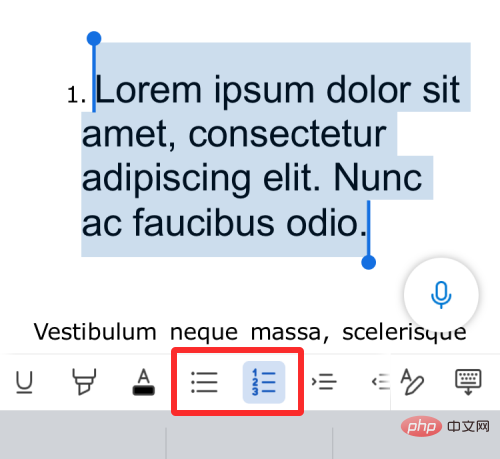
You can click the bullet list icon or the numbered list icon to insert them into your document.
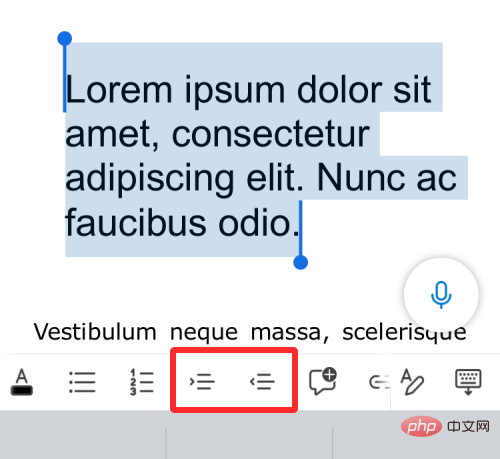
When you swipe across this toolbar, you will get the left indent or right indent icon Option to indent text to the left or right.
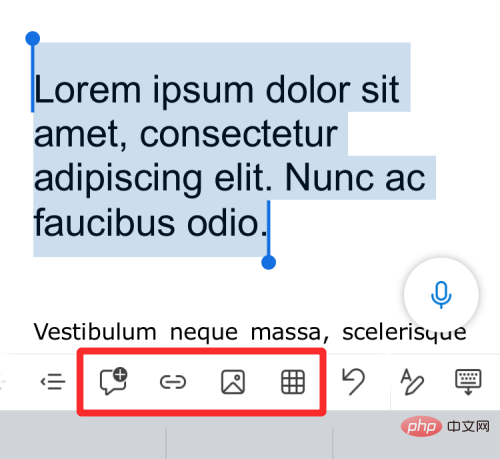
Additionally, you can insert notes, links, images, grids, and tables from the following options.
Advanced Editing
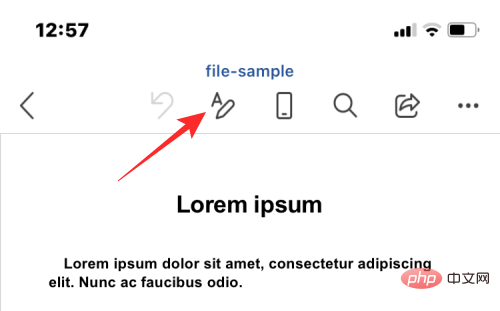
If you want more granular controls for editing your Word document, you can do so by clicking "## in the top toolbar #EditText" button (marked with an A and a pencil icon) to access them.
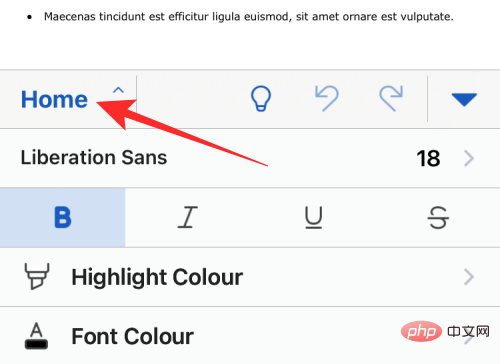
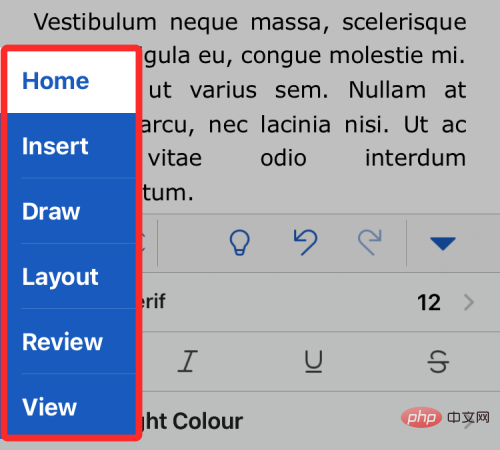
Home tab you can change font type and size, apply text formatting and color, and add items Symbols, align and indent text, format paragraphs and more.
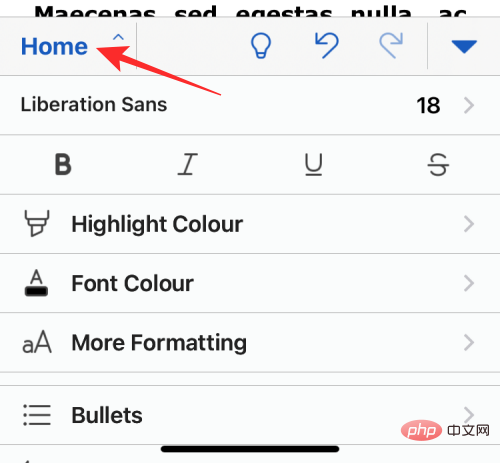
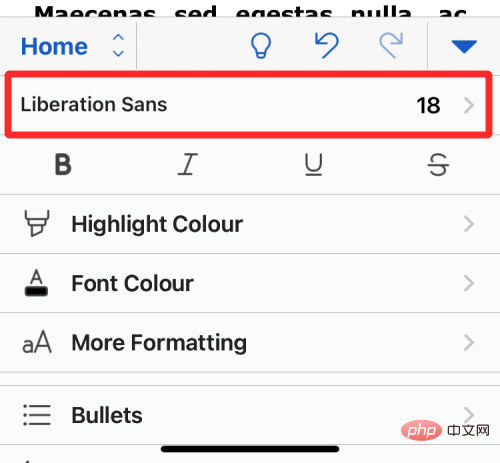
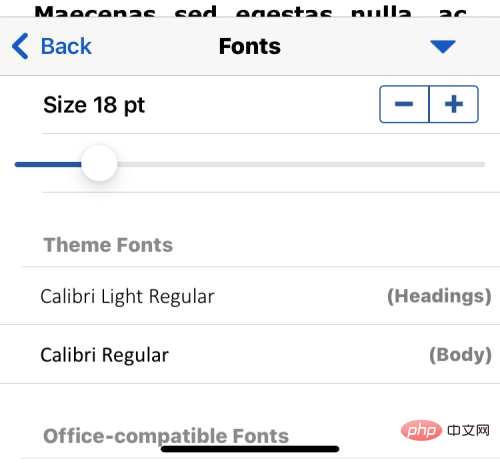
Font: From the home page, you can change the font type and size by clicking on the applied font type at the top.
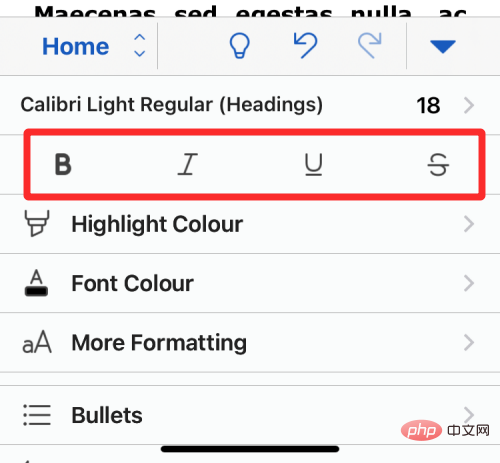
Bold, italic and underline: You can also click Bold, in the Home tab Italic , underline and strikethrough icons to apply different text formatting.
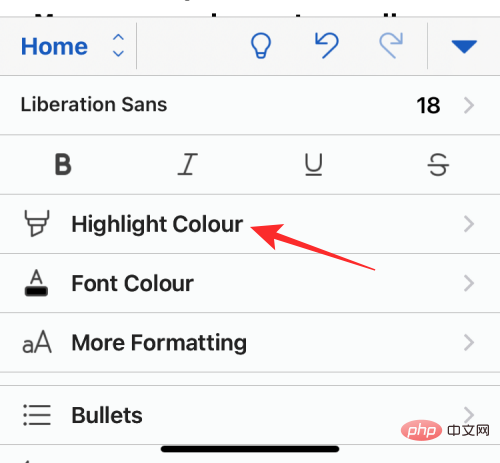
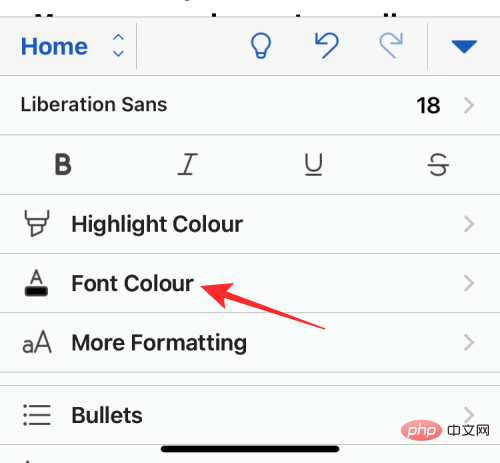
Highlight Color: Click this section to apply a color to the background of the selected text.
Font Color: Select this option to apply your favorite color on the text.
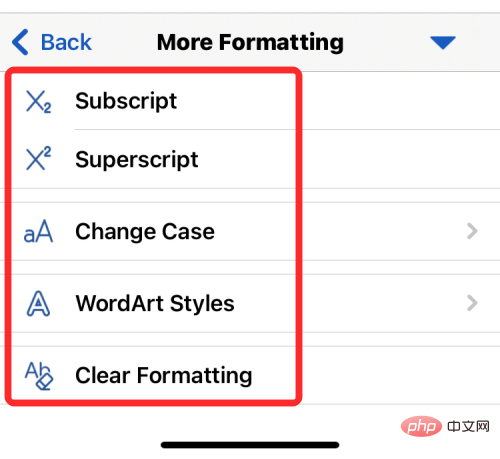
More formatting: When you select this option, you will get the ability to add subscript or superscript text, change letter case, apply WordArt styles and the option to remove any applied formatting.
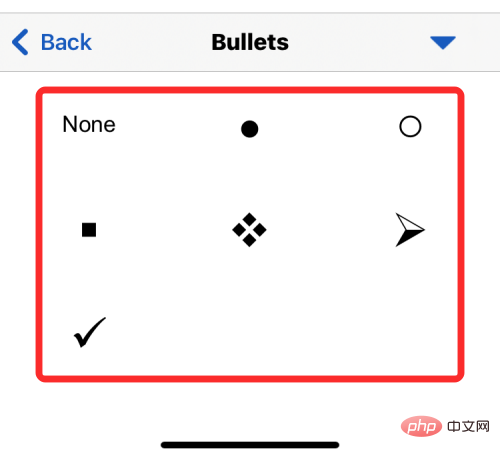
Bullets: When you select Bullets, you can add bullet points to your document.
##
On the next screen, you will be able to select the shape or design of your bullet points.
Numbering: When you select Numbering, you are actually adding a list of points to the document in a numbered format.
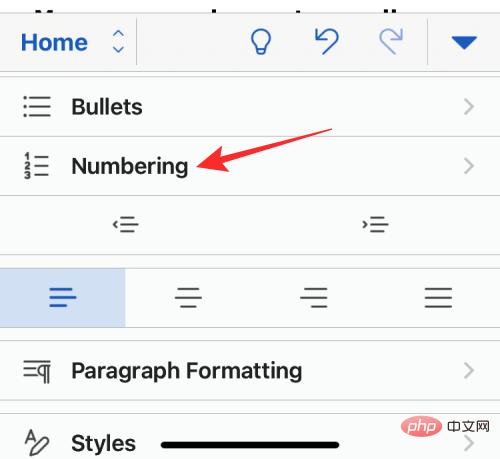
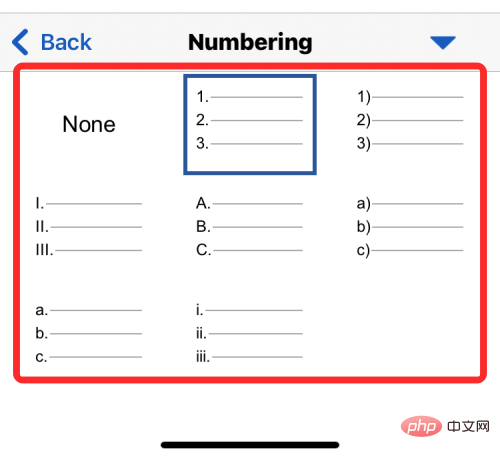
On the next screen you will be able to choose which number style to apply.
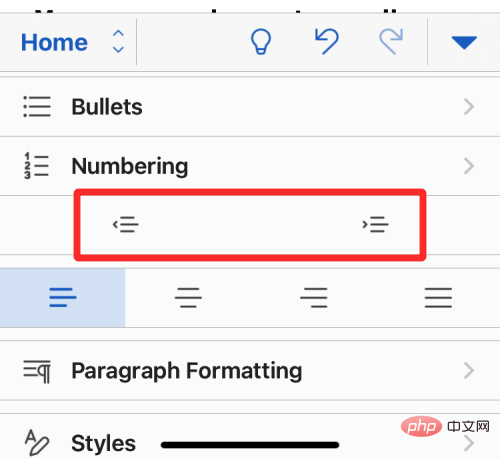
Indentation: Click left indentation icon or rightside indentation icon to The beginning of the paragraph is repositioned to the left or right.
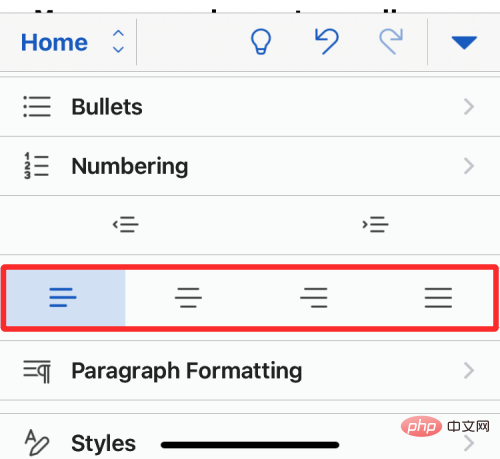
Alignment: Choose from the available options to align text to the left/right, center, or justified.
Paragraph Format: Select this option if you want to adjust the appearance of your paragraphs.
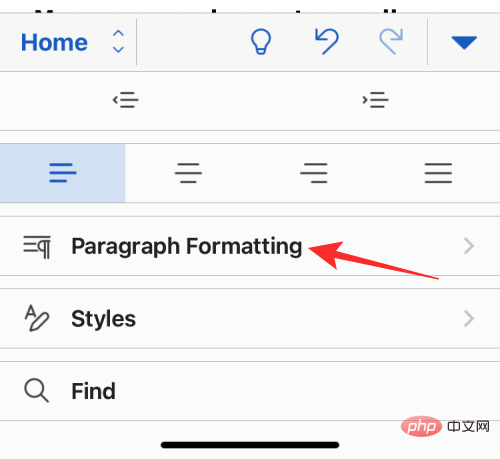
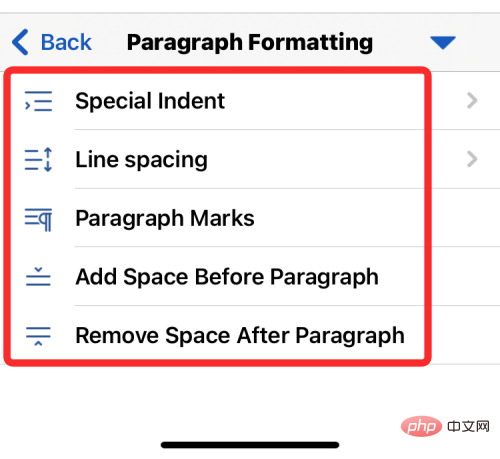
Here you will get options to apply special indents, adjust line spacing, add paragraph markers, and add/remove spaces between paragraphs.
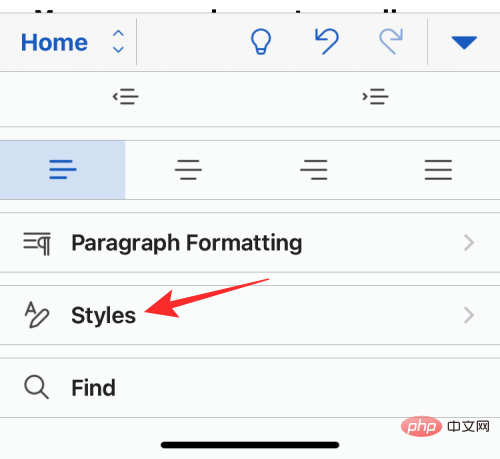
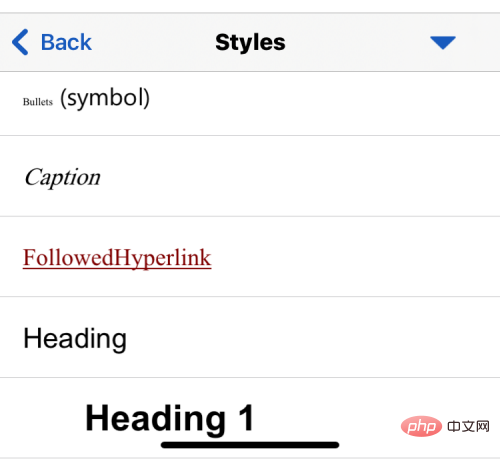
Style: Here you can apply different types of formatting to the title or title of your document.
You can choose from the following options to apply.
Insert tables, pictures, shapes, text, etc.
When you click the "Insert" tab in the "Edit" section , you'll see a bunch of options to insert into your document.
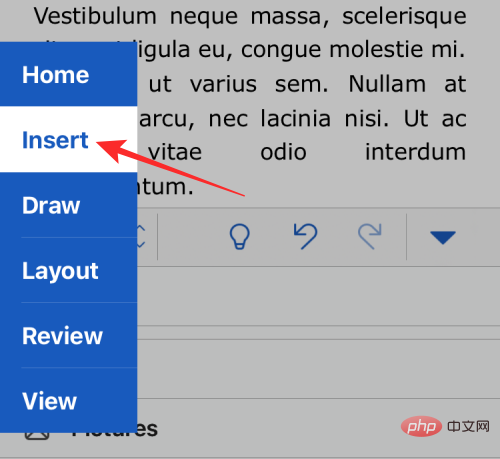
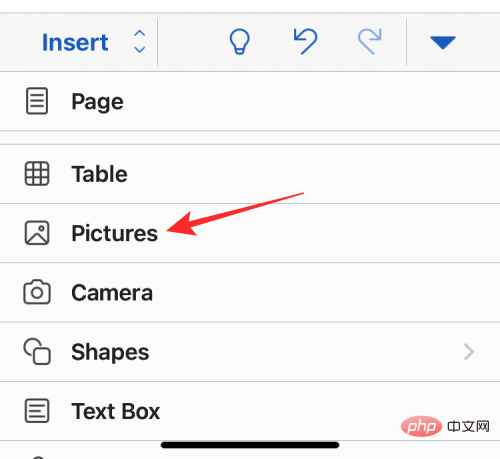
You can choose to insert directly from camera, shapes, text boxes, icons, 3d models, links, comments, equations, headers and footers, footnotes and endnotes Tables, figures and images. You can add any of these elements or multiple elements to your document as needed.
For example, if you wish to add an image to the body text, select "Picture" from the "Insert" tab.
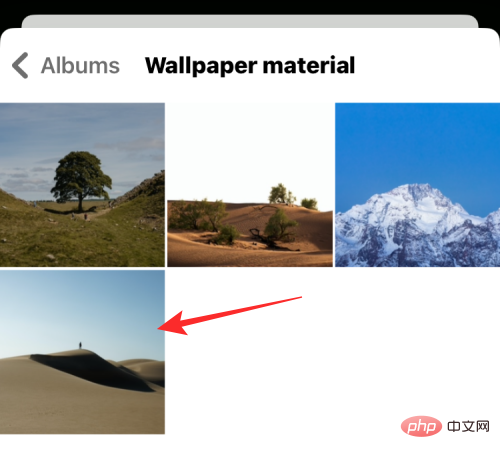
#On the screen that appears, select the photo you want to add from your iPhone’s Photos app.
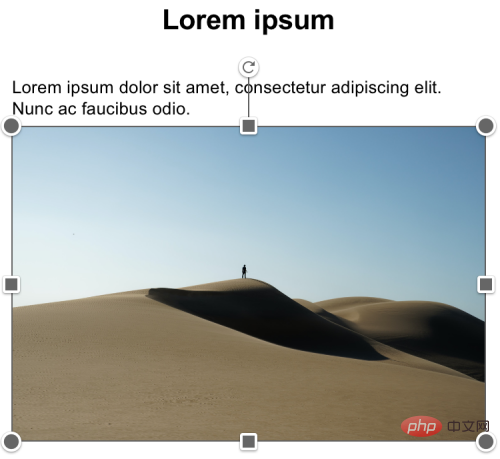
#When you add it, your document will now contain the picture you inserted.
#Similarly, you can insert tables, notes, links, and more elements into your document.
Draw Objects
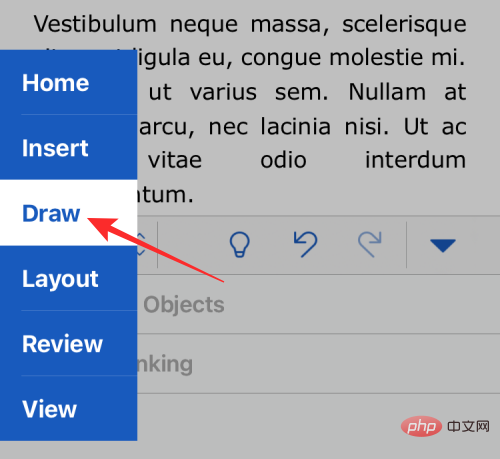
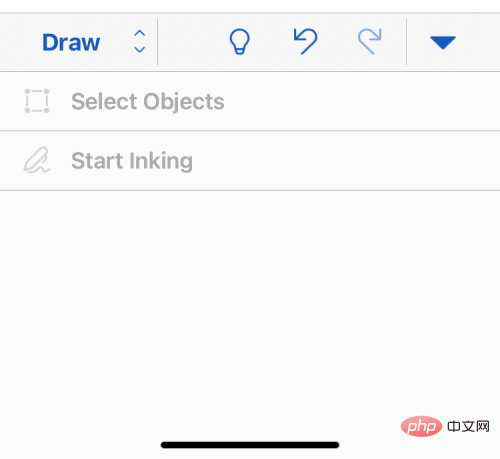
When you click on the Drawing tab within the Edit Text tool, you will be able to Draw anywhere on the document, select it and move it.
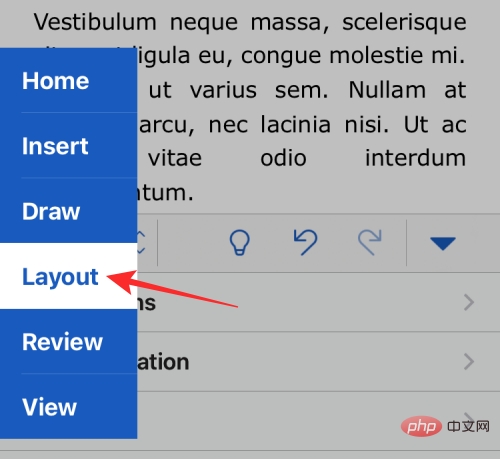
Change margins, orientation, size, columns, and breaks
When you select the Layout tab in the Edit Text tool , you'll see additional options to change how the text appears in the document.
These include:
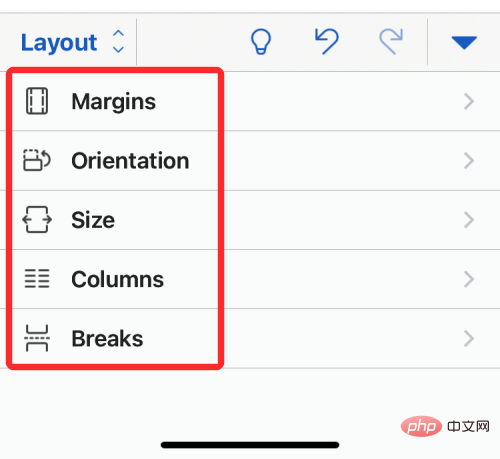
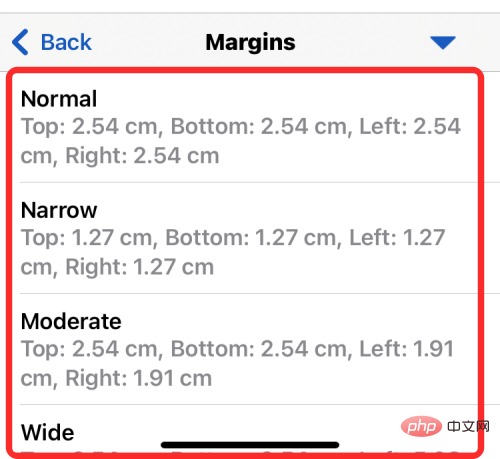
Margins: Selecting this will show more options , you can set these options for top, bottom, left, and right margins.
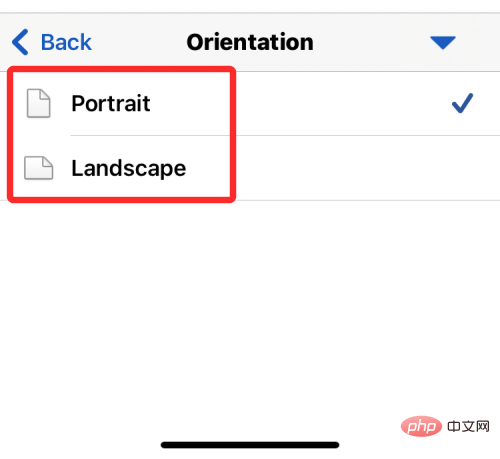
Orientation: In this section, you can choose the orientation of your document and switch between portrait and landscape modes.
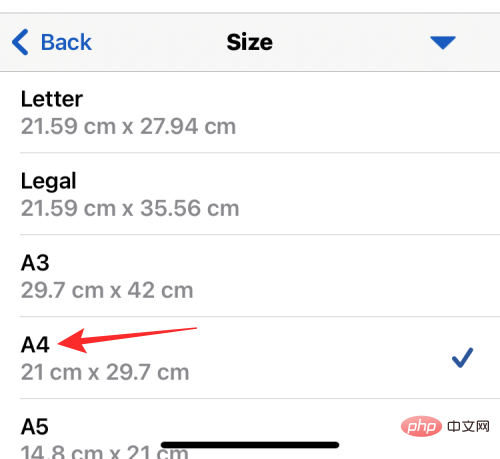
Size: Here you can select the size of the document pages. You can choose from the following options - Letter, Legal, A3, A4, A5, JIS B4 and JIS B5.
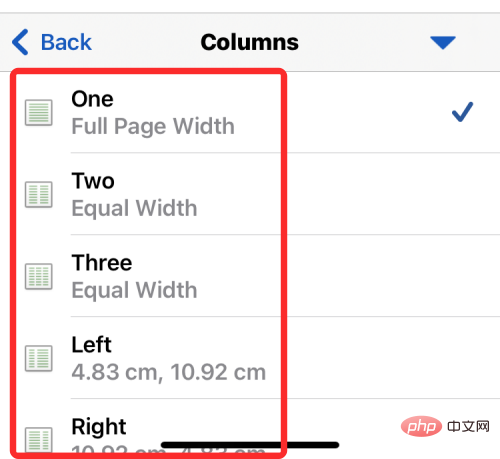
Columns: When you select this option, you can select the number of columns in which you want the text to be aligned to a single page of the document. You can choose from the following settings to apply to your page - One, Two, Three, Left and Right.
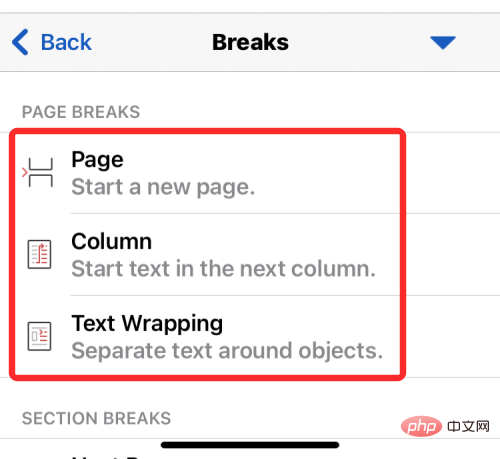
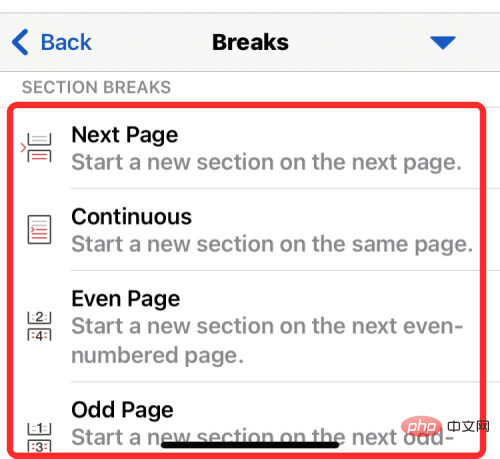
Breaks: This section is where you configure page breaks and section breaks for the document you are editing.
When switching pages, you can choose from the following options - Page, Column and Text Wrapping.
When switching sections, you can apply the following options - Next Page, Continuous, Even Pages and Odd Pages.
View documents with proofreading, search, and word count
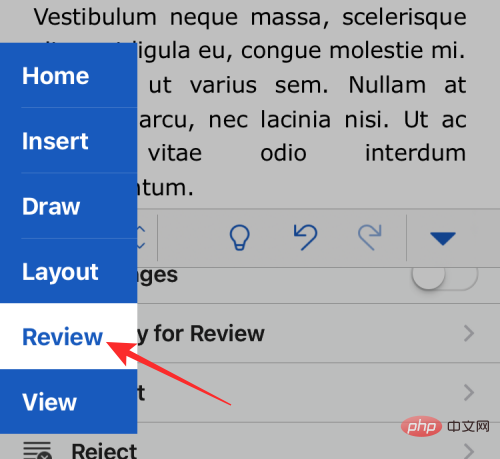
You can select the Review tab in the Edit Text tool for more options to check and correct language in documents.
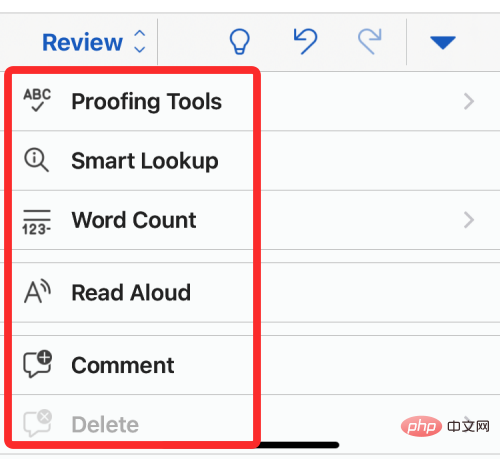
Once you get here, you'll get options to proofread, find, read, comment, track changes, approve/reject corrections, or check word count.
Switch layout, titles, rulers and zoom
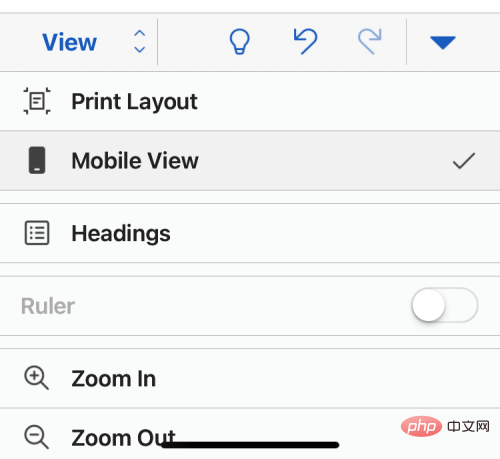
When you select the View tab in the Edit Text tool , you'll see options for changing how the document appears on the screen rather than changing its appearance.
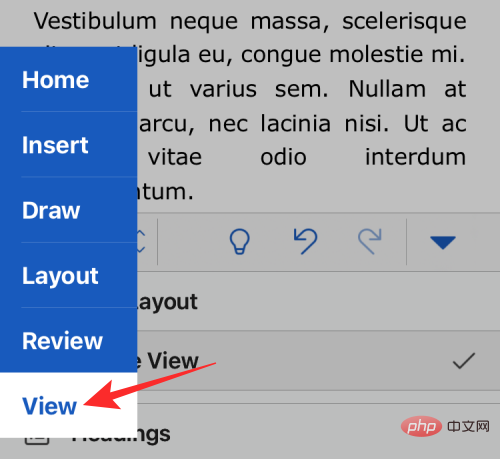
You can choose to switch the document's page view between print layout and mobile view, apply headers, enable/disable rulers, and zoom in/out of the document in view.
 ##
##
The above is the detailed content of How to edit a Word document on iPhone. For more information, please follow other related articles on the PHP Chinese website!

