
Home >Java >javaTutorial >How Springboot integrates RabbitMQ message queue
How Springboot integrates RabbitMQ message queue

- WBOYWBOYWBOYWBOYWBOYWBOYWBOYWBOYWBOYWBOYWBOYWBOYWBforward
- 2023-05-13 22:55:13882browse
Producer project
POM dependency
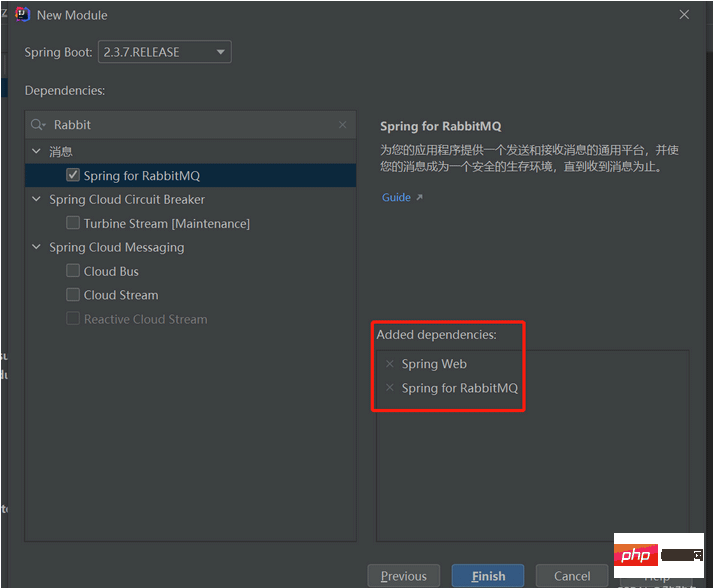
You can choose to add dependencies directly when creating the project.

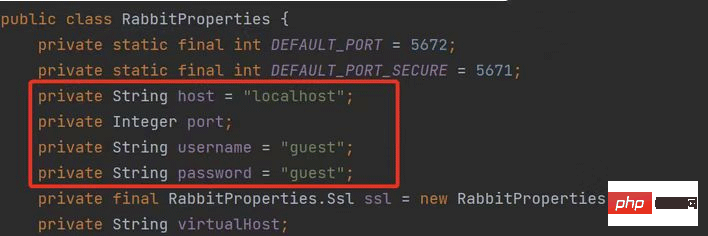
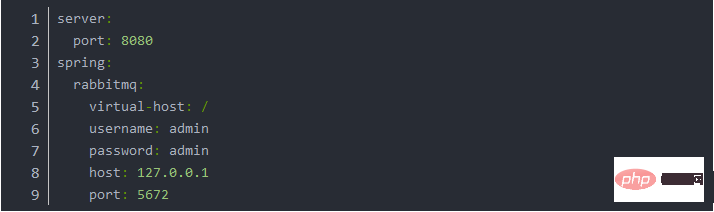
RabbitMQ configuration file:
When using related switches and queues, we need The implementation declares switches and queues. If there is no corresponding information, the startup project will fail. Therefore, when using springboot to integrate rabbitmq, we can use the configuration file to declare the switch and queue and bind the relationship between the two. Since Fanout mode is currently being demonstrated, FanoutExchange is used to declare the switch, and other modes use the corresponding TopicExchange and DirectExchange to declare.@Configuration
public class RabbitMQConfiguration {
//声明fanout模式的交换机
@Bean
public FanoutExchange fanoutExchange() {
return new FanoutExchange("fanout_order_exchange", true, false);
}
//声明队列
@Bean
public Queue smsQueue() {
return new Queue("sms.fanout.queue", true);
}
@Bean
public Queue emailQueue() {
return new Queue("email.fanout.queue", true);
}
@Bean
public Queue duanxinQueue() {
return new Queue("duanxin.fanout.queue", true);
}
//绑定
@Bean
public Binding smsBinding() {
return BindingBuilder.bind(smsQueue()).to(fanoutExchange());
}
@Bean
public Binding emailBinding() {
return BindingBuilder.bind(emailQueue()).to(fanoutExchange());
}
@Bean
public Binding duanxinBinding() {
return BindingBuilder.bind(duanxinQueue()).to(fanoutExchange());
}
}Producer business codeThis part of the code simply distributes messages by calling rabbitTemplate. @Service public class OrderService {@Autowired
private RabbitTemplate rabbitTemplate;
public void makeOrder() {
// 保存订单
String orderId = UUID.randomUUID().toString();
System.out.println("下单成功:" + orderId);
// 通过MQ完成消息的分发
// 参数1:交换机 ;参数2:路由key/队列名;参数3:消息内容
String exchangeName = "fanout_order_exchange";
rabbitTemplate.convertAndSend(exchangeName, "", orderId);
}
}
Consumer:
Consumer engineering is similar to producer engineering. We first need to introduce dependencies, and then make related changes in the application file configuration to start writing code. In the consumer project, we can also write rabbitmq configuration files to declare switches and queues. It is recommended to write the configuration file on the consumer side, because the consumer side is the first project to start. If the switch and queue are not created, the project startup will fail. Message listeningWe listen to the message queue through the RabbitListener annotation. It should be noted that we need to hand over the monitoring to spring management through Component annotation, otherwise we cannot receive messages from the server normally. Only one email message monitoring is given here. The duanxin and SMS queues declared by the producer above can be created by themselves. You only need to modify the queue name. @Service public class OrderService {@RabbitListener(queues = {"email.fanout.queue"})
@Component
public class FanoutEmailService {
@RabbitHandler
public void receive(String message) {
System.out.println("email fanout -----》接收到" + message);
}
}TestFirst start the consumer project, and then create a test class in the producer project to send the message. @SpringBootTest class SpringbootOrderRabbitmqProducerApplicationTests {
@Autowired
private OrderService orderService;
@Test
void contextLoads() {
orderService.makeOrder();
}
}After sending the message, we can find in the console that the consumer successfully accepted the message.

@Configuration
public class DirectRabbitMQConfiguration {

//声明direct模式的交换机
@Bean
public DirectExchange directExchange() {
    return new DirectExchange("direct_order_exchange", true, false);
}

//声明队列
@Bean
public Queue smsDirectQueue() {
    return new Queue("sms.direct.queue", true);
}

@Bean
public Queue emailDirectQueue() {
    return new Queue("email.direct.queue", true);
}

@Bean
public Queue duanxinDirectQueue() {
    return new Queue("duanxin.direct.queue", true);
}
//绑定

@Bean
public Binding smsDirectBinding() {
    return BindingBuilder.bind(smsDirectQueue()).to(directExchange()).with("sms");
}

@Bean
public Binding emailDirectBinding() {
    return BindingBuilder.bind(emailDirectQueue()).to(directExchange()).with("email");
}

@Bean
public Binding duanxinDirectBinding() {
    return BindingBuilder.bind(duanxinDirectQueue()).to(directExchange()).with("duanxin");
}
}
Business code@Service
public class OrderService {
@Autowired
private RabbitTemplate rabbitTemplate;
public void makeOrderDirect() {
// 保存订单
String orderId = UUID.randomUUID().toString();
System.out.println("下单成功:" + orderId);
String exchangeName = "direct_order_exchange";
rabbitTemplate.convertAndSend(exchangeName, "sms", orderId);
rabbitTemplate.convertAndSend(exchangeName, "email", orderId);
}
}
ConsumerMessage monitoring is the same as above, just pay attention to the queue name. @RabbitListener(queues = {"email.direct.queue"})
@Component
public class DirectEmailService {
@RabbitHandler
public void receive(String message) {
System.out.println("email direct -----》接收到" + message);
}
}Topic modeAll of the above modes declare the relationship between switches, queues and bindings through configuration files; in fact, we can also declare them through annotations Switches and annotations. ProducerSince it is declared using annotations, we do not need to create a configuration file and can directly write business code. When testing, we only need to modify the route name. For details on how to modify it, please go to the link at the beginning of the article to see how each mode is used. @Service
public class OrderService {
@Autowired
private RabbitTemplate rabbitTemplate;
public void makeOrderTopic() {
// 保存订单
String orderId = UUID.randomUUID().toString();
System.out.println("下单成功:" + orderId);
String exchangeName = "topic_order_exchange";
String routingKey = "com.email";
rabbitTemplate.convertAndSend(exchangeName, routingKey, orderId);
}
}ConsumerThe code is basically the same as above, the difference is that we bind the queue and the switch directly in the RabbitListener annotation. It should be noted that strings are used in each parameter. value corresponds to the queue, and the corresponding parameters are queue name, persistence, and automatic deletion. For the switch corresponding to exchange, the corresponding parameters are the switch name and switch type. The key corresponds to the route name. @RabbitListener(bindings = @QueueBinding(
value = @Queue(value = "email.topic.queue",durable = "true",autoDelete = "false"),
exchange = @Exchange(value = "topic_order_exchange",type = ExchangeTypes.TOPIC),
key = "*.email.#"
))
@Component
public class TopicEmailService {
@RabbitHandler
public void receive(String message) {
System.out.println("email topic -----》接收到" + message);
}
}The above is the detailed content of How Springboot integrates RabbitMQ message queue. For more information, please follow other related articles on the PHP Chinese website!
Statement:
This article is reproduced at:yisu.com. If there is any infringement, please contact admin@php.cn delete