
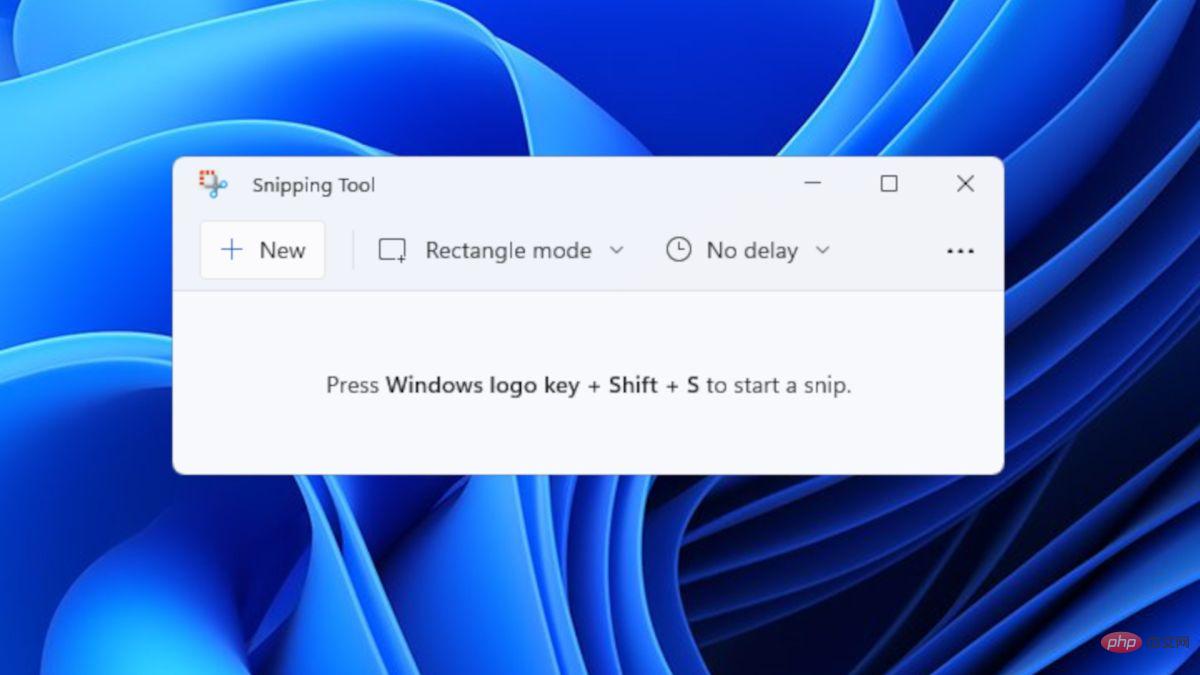
If you want to capture all or part of your computer screen, the Snipping Tool in Windows 11 lets you capture it easily. Additionally, you can even add a colored border to the captured area, but you first need to enable the settings related to this feature. Let's see how it's done!
Add colored borders to Snipping Tool captures in Windows 11
There’s more than one way to capture screenshots in Windows 11. However, all of these images will not display a border around them unless they are configured to do so. Here's how to change settings in the Windows 11 Snipping Tool to add custom colors and change image border thickness.
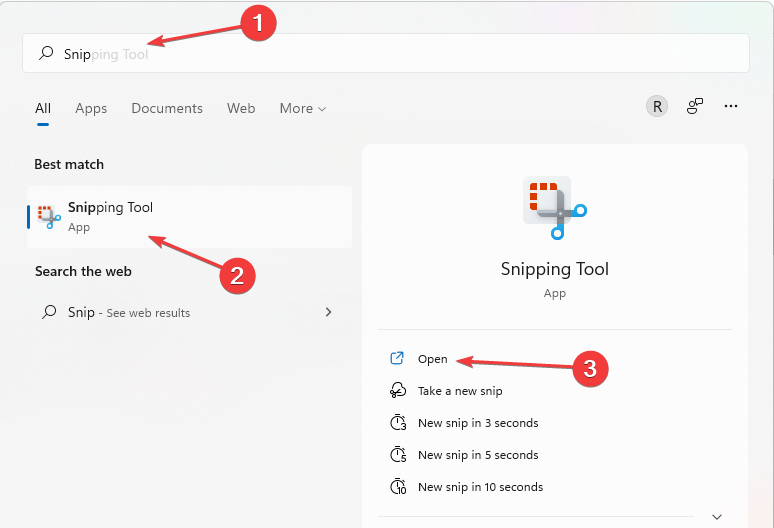
- Click Start, and then in the search box, type Snipping Tool and select it from the list of options that appears.

- Click the "View More" menu that appears as three horizontal dots in the upper right corner of the "Snipping Tool" window. Select Set options.

- Scroll down to the Add a border to each screenshot option under the Screenshots section. To enable borders for screenshots, toggle the switch to the "On" position.

- If you would like to add a custom color and adjust the thickness of the border around the image, click the drop-down button next to the Add border to each screenshot option .
Select Custom Color to change the color of the outline. Just click on the color box and select the desired color. Likewise, move the slider to the right or left to adjust the border thickness of the image.
The above is the detailed content of How to add borders to Snipping Tool captures in Windows 11. For more information, please follow other related articles on the PHP Chinese website!
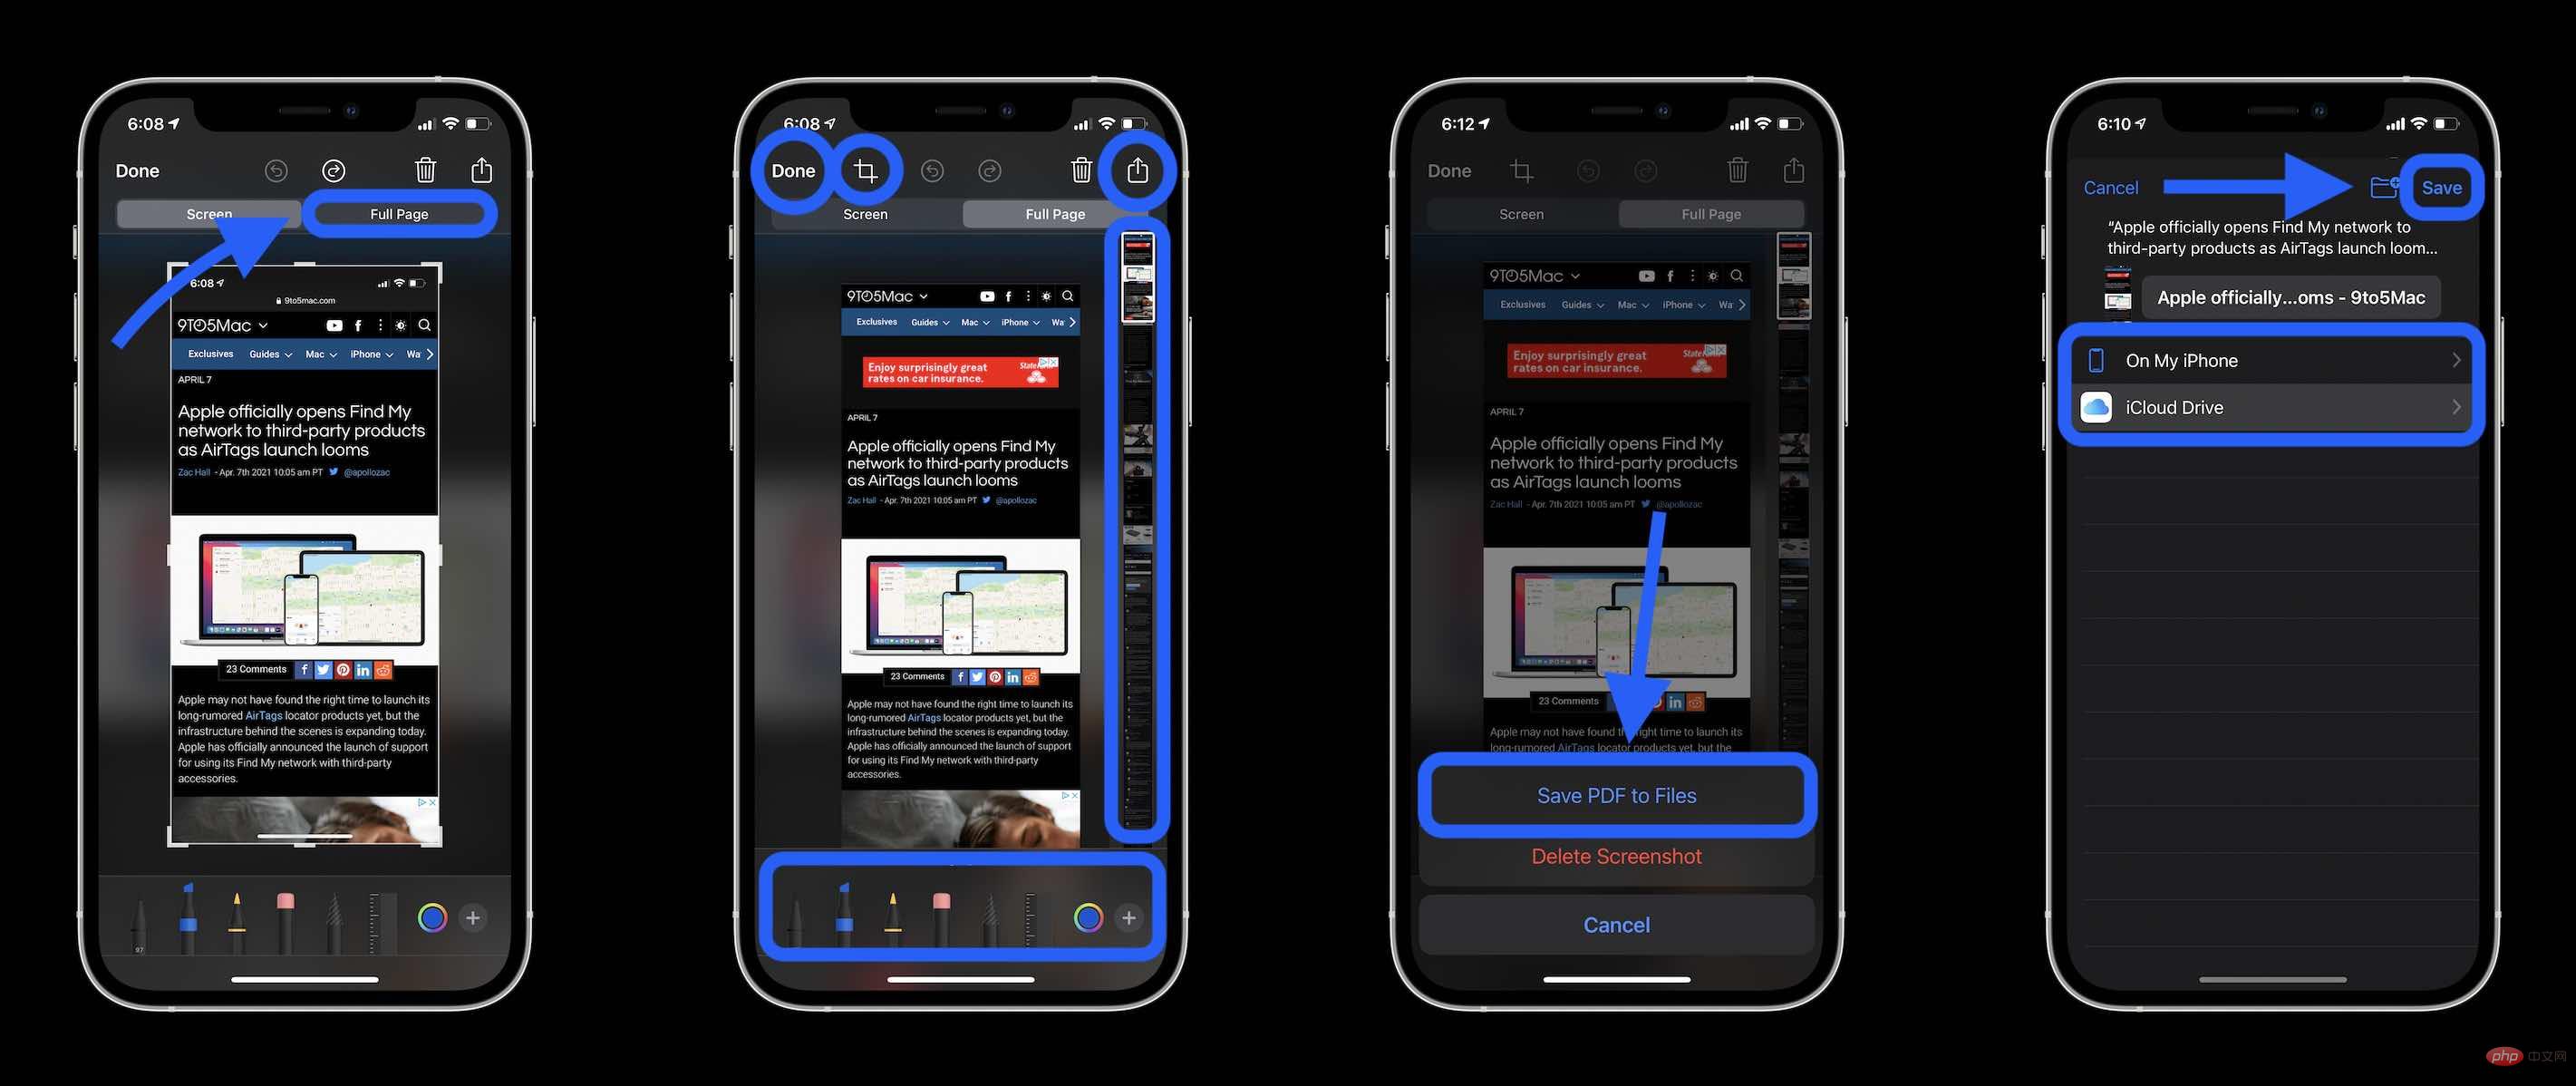 如何在 iPhone 上截取滚动屏幕截图Apr 15, 2023 pm 06:55 PM
如何在iPhone上截取滚动屏幕截图使用此原生iOS选项,滚动屏幕截图或“整页”屏幕截图可为您提供Apple应用程序中文档、网页、便笺或电子邮件中所有内容的PDF。截图(同时按下侧边或顶部按钮和音量增大按钮)在它消失之前点击左下角的预览选择右上角的整页选项整页选项只会出现在屏幕上的内容超过页面价值的情况下您可以在保存之前预览所有页面、使用标记等您还可以点击裁剪图标(“完成”旁边的方形图标)来编辑您要保存的整页部分点击左上角的完成保存或点击右上角的分享按钮用于在iPhone上滚动屏幕截图
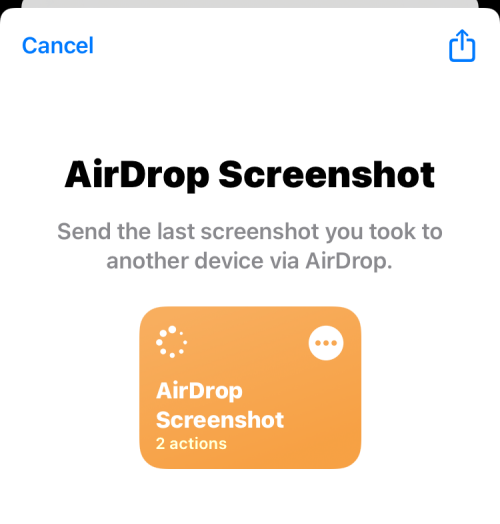 如何通过AirDrop在iPhone上共享最后一张屏幕截图Feb 23, 2024 am 08:16 AM
为了简化重复性任务,Apple推出了快捷方式应用程序,可以帮助您自动完成日常常见操作,比如离开手机时自动关闭互联网连接,或者在上车时自动播放您最喜爱的音乐列表等等。您可能希望更便捷地完成的一项任务是在不打开“照片”应用的情况下分享您刚刚截取的最后一张屏幕截图。本文将介绍如何利用Airdrop功能,快速将iPhone最新的屏幕截图发送给他人或其他苹果设备。如何在iPhone上快速共享最后一张屏幕截图在共享内容之前,请确保目标设备(如另一部iPhone、iPad或Mac)已启用“隔空投送”,以便实现
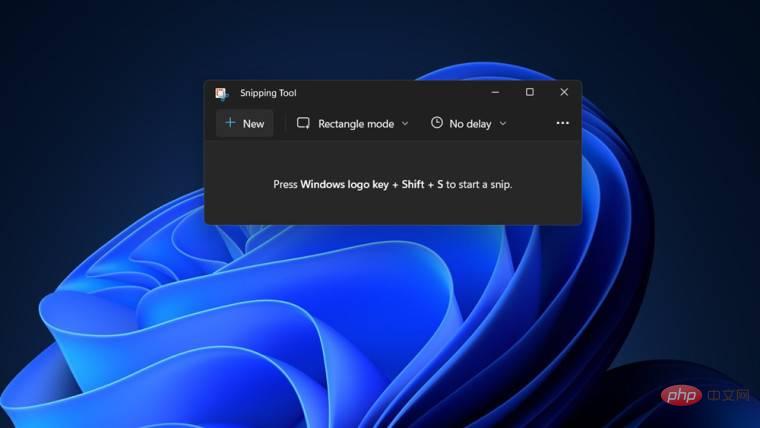 如何在 Windows 11 中为截图工具捕获添加边框May 13, 2023 pm 08:46 PM
如果您想抓取全部或部分计算机屏幕,Windows11中的截图工具可让您轻松捕获它。此外,您甚至可以为捕获的区域添加彩色边框,但您首先需要启用与该功能相关的设置。让我们看看它是如何完成的!在Windows11中为截图工具捕获添加彩色边框在Windows11中捕获屏幕截图的方法不止一种。但是,所有这些图像都不会显示它们周围的边框,除非它们被配置为这样做。以下是如何更改Windows11截图工具中的设置以添加自定义颜色和更改图像边框粗细的方法。单击开始,然后在搜索框中,键入截图工具并从显示的
 截图和截图在 Windows 11/10 上的位置May 16, 2023 pm 04:01 PM
Windows11中的剪辑和屏幕截图在哪里?这是我们从一些可能刚安装新操作系统或第一次使用截图工具的读者那里得到的问题。该工具旨在截取计算机屏幕的任何或所有部分。为了将事情放在上下文中,PrintScreen键将拍摄您的屏幕的完整快照,但SnippingTool可调整为仅抓取您喜欢的区域。Windows10/11上的截图和屏幕截图在哪里?默认情况下,剪辑和屏幕截图保存到计算机的剪贴板。这意味着要检索它们,您只需将它们粘贴到您想要的应用程序中,例如MicrosoftPaint、Photo
 如何解决Windows 11、10中Wi-Fi图标灰显问题?Apr 23, 2023 am 08:34 AM
许多Window用户报告说,他们系统上的wi-fi图标突然被禁用或变灰,导致用户无法从可用列表中更改wi-fi设置或wi-fi选项。对于那些完全依赖Wi-Fi并且没有任何其他互联网选项(例如USB网络共享、LAN连接(以太网))的用户来说,这可能会非常令人沮丧。这个问题可能有很多因素,我们在下面提到了其中的一些:过时的Wi-Fi驱动程序错误地手动禁用了Wi-Fi适配器系统内网络问题Windows未更新。因此,请牢记以上所有要点,我们已经编译了本文下面提到的一些修复程序,
 如何在 Windows 11 和 10 上截屏?Apr 16, 2023 am 09:37 AM
随着我们进入Windows11时代,有一件事没有改变:屏幕截图仍然是任何操作系统的基本功能。也就是说,无论您是仍在使用Windows10还是目前正在探索Windows11的非凡系统,这里有一些简单的方法可以让您像老板一样截屏。截图工具如果您还记得WindowsVista中的截图工具,那么您可能是该工具的忠实用户之一。它在Windows10中仍然可用,但早在2018年就警告用户,该应用程序将被放弃并被Snip&Sketch取代。然而,Windows出乎意料。他们没
 微软已确认,部分用户使用 Windows 10 的截图工具时会出现崩溃问题May 10, 2023 am 08:07 AM
看起来Windows10的名为“Snip&Sketch”的本机截图工具遇到了一个非常烦人的问题,当某些用户尝试截屏时,该应用程序根本无法加载。只要您不依赖Snip&Sketch工具,此错误似乎不会完全影响操作系统捕获屏幕截图的能力。微软自己的应用程序无法在自己的操作系统上运行这一事实看起来并不好,但这不是第一次。去年,一个错误破坏了同一个应用程序,该公司后来匆忙修复了一些问题。正如您可能知道的那样,Snip&Sketch工具允许用户在Windows上捕获屏幕截图,它具有多
 如何在 macOS Monterey 中对屏幕进行视频捕获Apr 20, 2023 pm 05:01 PM
无论是用于YouTube视频,还是仅向家庭成员展示可点击的按钮,macOSMonterey都包含录制Mac屏幕的方法。如果工作只是以对其他人有用的方式捕获您的屏幕,那么您可以通过消息与他们共享您的屏幕。但如果一个家庭成员想知道,你可以打赌其他人也想知道。而且您不必这样做来帮助他人,您可以进行屏幕录制来帮助自己。具体来说,是为了帮助你未来的自己。如果你一年只在Mac上做几次特定的工作,你可以屏幕录制第一个,然后获得关于如何做第二个的最全面的教程。自macOSMojave以来,出现了一种新

Hot AI Tools

Undresser.AI Undress
AI-powered app for creating realistic nude photos

AI Clothes Remover
Online AI tool for removing clothes from photos.

Undress AI Tool
Undress images for free

Clothoff.io
AI clothes remover

AI Hentai Generator
Generate AI Hentai for free.

Hot Article

Hot Tools

SublimeText3 Mac version
God-level code editing software (SublimeText3)

PhpStorm Mac version
The latest (2018.2.1) professional PHP integrated development tool

Atom editor mac version download
The most popular open source editor

mPDF
mPDF is a PHP library that can generate PDF files from UTF-8 encoded HTML. The original author, Ian Back, wrote mPDF to output PDF files "on the fly" from his website and handle different languages. It is slower than original scripts like HTML2FPDF and produces larger files when using Unicode fonts, but supports CSS styles etc. and has a lot of enhancements. Supports almost all languages, including RTL (Arabic and Hebrew) and CJK (Chinese, Japanese and Korean). Supports nested block-level elements (such as P, DIV),

Dreamweaver Mac version
Visual web development tools


