Blue Screen of Death or Blue Screen of Death are scary Windows errors that can cause serious problems with your PC and prevent you from fully booting into Windows 11. BSOD can occur for a variety of reasons, and a stop code will usually be displayed to help you identify the problem.
According to recent user reports, “Inaccessible Boot Device” is one such stop code that is responsible for a large number of blue screen of death on Windows 11. Windows updates, driver updates, or even third-party programs can be the cause of this issue. If you're in the same boat, here's everything you need to know.
Why do I get an "Inaccessible boot device" stop code on Windows 11 and what is it?
"Inaccessible boot device" is a stop code that Windows issues when it cannot recognize and boot from your boot drive. This can happen for a number of reasons, the most common ones are listed below.
- Drive failure
- Faulty driver
- Power (test) failure
- Bad sectors
- Boot drive Drive letter change
- Corrupted boot structure
- Faulty SATA/NVMe port
- Loose cable
- Loose connection
- Physical Damage
- Corrupted Programs
- Malware
- Corrupted BIOS
And more! All these reasons can lead to an unreadable boot drive, leading to this blue screen on your PC.
Windows 11 Inaccessible Boot Device: 17 Fixes and 5 Checks Explained!
Here's how to fix an inaccessible Boot Device BSOD on your system. We first recommend doing some checks on your system to narrow down the cause of the problem. You can then fix this BSOD on your Windows 11 system using the appropriate fixes mentioned below. let's start.
Windows 11 can’t access the boot device: 5 things to check
Let’s first check if your boot drive shows up in the BIOS menu. If so, then you may be looking at a problem with your Windows installation. However, if your boot drive does not show up in the BIOS menu, it may indicate a faulty drive. let's start.
#1: Check your boot drive in BIOS
Restart your PC and access your BIOS menu using one of the BIOS keys depending on your OEM. If you don’t know your PC’s BIOS key, then you can use this comprehensive article of ours. Once in the BIOS menu, switch to Advanced Settings and look for Boot Sequence or a similarly named option. This will allow you to select the boot device from which you wish to boot into your desired operating system.
We do not need to change this option, but check for available drives. If your startup drive shows up as an option to select boot order, there is an issue with your Windows 11 installation. However, if your drive is missing, then you may see drive failure. We recommend you to select the following fixes and check to verify the same.
- Check for corruption
- Check your SATA/NVMe ports
- Try using the drive on another PC
According to your To diagnose, follow any of the relevant sections below to proceed to fix the inaccessible boot device BSOD on your Windows 11 PC.
#2: Check your drive for physical damageIf you feel comfortable, we recommend that you open your PC and check your drive for physical damage. This may be relevant if you've recently experienced a power failure, taken your PC on a business trip, or moved your PC under stress. Open your PC or laptop and remove the drive in question from the connected port. We now recommend that you check the drive's connector pins for any damage. This may appear as dents, scratches, or even black smudges that may be evidence of electrical sparks. If you have an SSD with a heatsink, we recommend checking the thermal pad and then checking the heatsink for any signs of damage. If you're using an HDD, then you can shake it to diagnose any damaged or misaligned parts. Once completed, if your drive shows any signs of damage, you should take it to a certified technician as soon as possible. This will maximize your chances of recovering data before parts and sectors on the drive become unreadable. #3: Check if you can access Recovery ModeWindows Recovery Mode provides a built-in set of advanced features designed to diagnose and fix problems when booting the operating system. You can automatically trigger recovery mode by restarting your PC 3 times midway through the boot process. You can also enter the same by pressingF11 on your keyboard during startup. If you have access to recovery mode, you may be experiencing a small issue with your Windows 11 installation. However, if you can't access recovery mode, it could be a sign of a more serious problem with your PC. We recommend you follow the relevant fixes below based on your diagnosis.
Some PCs may also come bundled with custom recovery modes that are stored in a hidden partition on the boot drive. This is usually the case with pre-built PCs and laptops, where you can get a custom recovery mode from the OEM that provides additional recovery options. If you are able to access this mode, then you can try using these options to restore your PC and fix the Inaccessible Boot Device BSOD.
#4: Check for loose cables
If you have recently had your PC repaired or upgraded, then we recommend that you check all cables and verify all necessary connections. You may have missed a wire, or the connector may not have been installed correctly. Reseating all relevant connections and ports can help resolve the issue, especially if your BIOS cannot access the boot drive. If you have an M.2 SSD and multiple ports on your motherboard, you can even try switching ports. You may face issues with M.2 port malfunctioning or malfunctioning. Changing the port can help diagnose and repair the same port at the same time until you can take your PC to a certified technician.
Windows 11 Inaccessible Boot Device: 17 Fixes Explained
Now that you have verified and checked your PC to further diagnose your issue, you can use any of the relevant sections below Come start repairing your PC. let's start.
Part 1: If You Can Access the Boot Drive: 13 Fixes
If you are able to access and view your boot drive in BIOS, then you can start with the fixes mentioned below. We recommend that you start with the first fix and work your way through the list until you are able to boot into Windows 11.
Fix 1: Uninstall a recently installed program
A recently installed program or application may be preventing you from starting Windows. You can use CMD to uninstall recent programs and applications, access them using recovery mode or using Windows installation media. To boot into recovery mode, restart your PC 3 times during the startup process. If you are using Windows boot media, insert the media and click Next.

Click now Repair your computer.

After booting into the Windows Recovery Environment, click Troubleshoot.

Click Advanced Options.

Now click on Command Prompt.

You can now use the following command to uninstall recently installed programs and applications that you suspect are causing an inaccessible Boot Device BSOD on your PC. Enter the following and press Enter to get started.
#dir

You will now see the drive and volume where Windows is installed. Make a note of its drive letter and execute the following command. Replace LTR with the drive letter you noted earlier.
Dism /Image:<strong>LTR</strong>:\ /Get-Packages

Now make sure you want to download it from the PC Delete the program and note its name. Use the following command to uninstall it from your PC. Replace NAME with the name of the program you noted down earlier. Likewise, replace LTR with the drive letter where Windows is installed.
exe /image:<strong>LTR</strong>:\/remove-package/packagename:<strong>NAME</strong>

The selected program will now be uninstalled from your PC. After uninstalling, close CMD using the following command.
exit

Now restart your PC and see if you are still facing inaccessible Boot Device stop code when encountering BSOD. If a recently installed program is causing the problem, you should fix it now.
Fix 2: Try switching SATA mode in the BIOS
We now recommend that you switch SATA mode in the BIOS, especially if you have an Intel system. Restart your PC and boot into the BIOS menu using F2. You can find the BIOS key relevant to your OEM at this link from us. Once in the BIOS, switch SATA mode to AHCI and vice versa. Depending on your PC, you may have the following options available to you.
- AHCI
- Intel RST
- Go to
- raid
and more. The idea is to switch to another mode and see which one works best for you. Switching and switching modes can sometimes help fix boot drive problems, especially if the BIOS encounters an error.
Fix 3: Cancel pending Windows updates
We now recommend that you cancel any pending Windows updates that may be trying to install during the boot process, thereby preventing Windows from accessing the boot drive. Use the following steps to help you through the process.
Use your preferred method to boot into recovery mode and launch CMD.

Type the following and press Enter.
reg load HKLM\temp c:\windows

Now execute the following command.
system32\config

Then, execute the following command.
#software

Now use the following command to remove the pending update registry keys.
reg delete "HKLM\temp\Microsoft\Windows\CurrentVersion\Component Based Servicing\SessionsPending"/v exclusive

Use The following command uninstalls the registry.
reg unload HKLM\temp

Now enter the following command to view the available updates on your PC. If applicable, replace c with the drive letter of your boot drive.
dism /image:c:\ /get-packages

##Use Install Pending Tags to find updates. Write down their names when you find them. When finished, enter the following and press Enter.
MKDIR C:\temp\packages

NAME with the name of the update package you noted earlier. Additionally, if applicable, replace c: with the drive letter of your boot drive.
dism /image:c:\ /remove-package /packagename:NAME<strong> /scratchdir:c:\temp\packages</strong>

exit

Fix 4: Run Chkdsk
Use the desired method to boot into Recovery Mode on your PC and launch Command Prompt.

Now run Chkdsk using the following command. Replace c: with the drive letter of your boot drive (if applicable).
chkdsk /f /r c:

When finished, use the following command to close CMD.
exit

# Restart your PC if bad sectors on your boot drive are causing the Inaccessible Boot Device issue, then you should fix it now.
Fix 5: Start Windows in Safe Mode
We now recommend that you try starting Windows in Safe Mode. If you are able to start Windows in Safe Mode, it is possible that a third-party program or service is causing problems with your system and causing an inaccessible Boot Device BSOD. Please follow the steps below to help you through the process.
Use your preferred method to reboot your PC into Recovery Mode. Click Troubleshooting.

Now click on Advanced Options.

Click Start Settings.

Click Restart.

Your PC will now restart and display relevant boot options. Press F4 or 4 on your keyboard to boot Windows into Safe Mode.

If your PC manages to boot Windows in Safe Mode, then you can diagnose and remove recently installed third-party programs to resolve your issue. However, if you are unable to boot into Windows, you can proceed with the other fixes mentioned below.
Fix 6: Update your storage controller’s driver
Outdated or faulty storage controller drivers may also prevent your PC from accessing your boot drive. A recent BIOS update may cause incompatibility, or a recent driver update may face undiagnosed errors. Use the following steps to help you remove the faulty driver and install a known working driver for your storage controller.
NOTE: Before continuing with this tutorial, you will need to download or obtain the appropriate drivers for your storage controller and transfer them to your PC's USB connection.
Use your preferred method in recovery mode Restart your PC and launch Command Prompt.

Now use the following command to get the list of all drivers installed on your PC.
pnputil -e > C:\drivers.txt

Use the following command to view a list of all drivers installed on your PC .
type C:\drivers.txt

Now identify your storage controller driver from the list on the screen and Make a note of its published name. Use the following command to remove the driver. Replace NAME with the name you noted earlier.
pnputil.exe -d <strong>NAME</strong>.inf

After deletion, use the following command to install the appropriate driver from USB program. Replace LTR with the USB drive letter and NAME with the name of the driver in USB.
pnputil.exe -a <strong>LTR</strong>:\<strong>NAME</strong>.INF

Now close CMD using the following command.
exit

Restart your PC and try to boot into Windows normally. If a faulty storage controller driver is the cause of your problem, now is the time to fix it on your PC.
Fix 7: Fix boot menu issues
You can use the bootrec.exe command to try to fix Windows boot menu issues. Use the following steps to help you through the process.
In Recovery Mode Restart your PC and launch Command Prompt.

Type the following command and press Enter.
bootrec.exe /rebuildbcd

Next, execute the following command.
bootrec.exe /fixmbr

Finally, execute the following command to fix your boot order.
bootrec.exe /fixboot

Use the following command to close CMD.
exit

Restart your PC and try to boot Windows 11 as usual. If you have a boot menu issue that's preventing you from booting, it's time to fix it on your system.
Fix 8: Run Startup Repair
Startup Repair is a built-in utility in recovery mode that helps you fix startup issues on Windows 11. Please follow the steps below to help you through the process.
Reboot your PC into Recovery Mode and click Troubleshoot.

Now click on Advanced Options.

Click Start Repair.

Log in to your user account to confirm your identity. Windows will now attempt to automatically fix system startup issues. Once completed, restart your PC and if Startup Repair fixed your issue, you should now be able to boot into Windows.
Fix 9: Use System Restore
When everything is working as expected, System Restore can help you restore your PC to a previous restore point. During this process, all recently installed programs, services, and drivers after the restore point will be removed. Please follow the steps below to help you through the process.
Use your preferred method to reboot your PC into Recovery Mode and click Troubleshoot.

Click Advanced Options.

Now click on System Restore.

Click and select the desired user account and verify your identity by entering your password. System Restore will now start on your PC. Click Next.

If prompted, click Choose a different restore point now. When everything is working as expected on your PC, click and select the desired restore point.
Tip: You can click Scan for affected programs to see a list of programs that will be removed from your PC during the process.

Click Next.

Now click Finish.

Your PC will now be restored to the selected restore point. You should no longer face an inaccessible Boot DeviceBSOD on your system.
Fix 10: Run SFC and DISM Scan
Reboot your PC into recovery mode and launch Command Prompt.

Now run the SFC scan using the following command.
sfc /scannow

Once completed, use the following command to restore the Windows 11 installation image.
DISM /Cleanup-Image /RestoreHealth

Once completed, use the following command to close CMD.
exit

Restart your PC and try booting into Windows 11 as usual. If corrupted system files are causing your system to experience BSOD, now is the time to fix the problem.
Fix 11: Reflashing the System BIOS
We now recommend that you try reflashing the BIOS. You may encounter issues with an outdated or corrupted BIOS that may cause errors with your current hardware components. Reflashing the BIOS can help resolve the same issue. Flashing the BIOS can be a different process for each PC, depending on its OEM.
If a BIOS issue resulted in an inaccessible Boot DeviceBSOD on your system, now is the time to fix the problem.
Fix 12: Check and reassign your boot drive letter if it has changed
Sometimes the drive letter of your boot drive may change based on changes you have made to your PC. The same can prevent you from starting Windows and cause a Blue Screen of Death with the stop code Inaccessible Boot Device. Use the following steps to check and correct the same on your PC. let's start.
Use your preferred method to reboot your PC into Recovery Mode and launch Command Prompt.

Now start diskpart using the following command.
diskpart

Type the following and press Enter.
list vol

Use the Information column to find and identify your boot drive from the list on the screen. Check the letters next to it. If it is different from your initial boot drive letter (C:), use the following command to correct it.

First select the boot volume using the following command. Replace VOLUMENUMBER with the relevant volume number of the boot volume.
sel vol <strong>VOLUMENUMBER</strong>

Now type the following command to specify C: as the default for the boot volume drive letter.
assign letter=C

Use the following command to close diskpart.
exit

Now use the following command to close CMD.
exit

# Restart your PC and you should now be able to boot into Windows 11 as usual.
Fix 13: Manually install the Intel RST driver (Intel users only)
If you have a Rapid Storage compatible drive and CPU, you may have issues with the RST driver . RST drivers are notorious for causing problems when trying to boot Windows in certain situations, and reinstalling the same driver can help solve many problems. Use the following steps to help you reinstall or install the Intel RST driver, depending on your PC.
NOTE: We strongly recommend that you download and use the drivers released by your OEM that are relevant to your PC. If your OEM does not provide any Intel RST driver, then we recommend you to verify your compatibility and download the relevant driver from this link.
First download the relevant RST drivers for your PC, then use a second device to transfer them to USB. Connect USB to your PC. Now reboot your PC into Recovery Mode and launch Command Prompt.

Use the following command to export a list of all installed drivers.
pnputil -e > C:\drivers.txt

Use the following command to view the list of drivers installed on your PC.
type C:\drivers.txt

Find and identify any RST drivers installed on your PC. If you find any, please note Published name. Now use the following command to remove the driver. Replace NAME with the name you noted earlier.
pnputil.exe -d <strong>NAME</strong>.inf

Repeat the above steps to delete any Other RST drivers. In some cases, your PC may have multiple versions of the driver. Once completed, use the following command to install the downloaded driver from USB. Replace LTR with the letter assigned to the USB drive and NAME with the name of the driver .INF file.
pnputil.exe -a <strong>LTR</strong>:\<strong>NAME</strong>.INF

The selected drivers will now be installed for your Windows 11 installation. Use the following command to close CMD.
exit

Restart your PC and try to boot Windows 11 again as usual. If a faulty or incompatible RST driver is causing issues in your system, then the same should be fixed now.
last resort
If at this point you are still facing an inaccessible Boot DeviceBSOD on your system, then it’s time to take some drastic measures. We now recommend that you format your boot drive and reinstall Windows 11 from scratch. This can help resolve major issues with your Windows 11 installation.
We will first backup all your important data using Ubuntu ISO. We can then format and reinstall Windows 11 without the risk of losing data.
However, if starting from scratch doesn't solve your problem, you may be looking at a hardware failure. In this case, we recommend that you contact a certified technician at the earliest opportunity.
Things you need
- A second computer
- A USB flash drive (preferably two)
- For backing up data External Drive
- Windows 11 ISO | Download Link
- Ubuntu ISO | Download Link
- Rufus| Download Link
Format and Reinstall Windows 11
Here’s how to format and reinstall Windows 11 on your PC. Use the following steps to help you through the process.
Step 1: Back up your data using Ubuntu
Start by downloading the Ubuntu ISO linked above. Again, use the link above to download a portable copy of Rufus. Now launch Rufus on your PC. Click the drop-down menu at the top and select your USB if it's not already selected.

Click to select .

Navigate to the Ubuntu ISO you downloaded and double-click it to select it.

These values will be automatically filled in for your Ubuntu ISO. Click Start when finished.

If you are asked about image mode, use the default option Write in ISO Image mode (Recommended).

Click OK.

#You will now be shown a warning that all data on the USB will be deleted. Click OK to confirm your choice.

Rufus will now format and create a bootable Ubuntu USB. This may take some time depending on your PC and USB. You can track its progress at the bottom of Rufus.

Once completed, plug in the USB and restart your PC. As soon as your PC restarts, press Esc on your keyboard. You can now select a boot device. Use the arrow keys to select your USB drive and press Enter to select. You can also use the BIOS to set USB as the preferred boot device. Now choose from the Grub menu to try or install Ubuntu.

#Your PC will now boot from your USB drive and boot Ubuntu. Click and select your preferred language from the left sidebar.

Click now to Try Ubuntu.

The live desktop environment will now launch and launch on your PC. When finished, double-click the home folder on your desktop.

#Click Other locations on the left. All available disks on your PC will now be displayed. This also includes failed Windows drives. Double click on the same and backup all important files to external drive.

#Once completed, simply restart your PC and follow the next steps to format and reinstall Windows 11 on the drive.

Step 2: Format and Reinstall Windows 11
Similar to booting Ubuntu, you will need to create Windows 11 installation media using the downloaded ISO. Once completed, you can boot from USB, format the relevant drive, and reinstall Windows 11. Keep in mind that formatting the boot drive will delete all data on the same drive, including hidden partitions. If you have a custom recovery partition, then we recommend you to back up the same before proceeding.
Part 2: If You Can't Access Your Drive at All (4 Fixes)
If you can't access your drive at all in the BIOS menu, it may indicate a failed drive, Or in the worst case, a hardware failure. We recommend that you try the following fixes to try to further diagnose your issue. let's start.
Fix 1: Try changing the SATA/NVMe ports
If you have multiple ports available on your motherboard, then you can try switching the same ports and see if that solves your issue. You may encounter a faulty SATA or NVMe port on your PC, which prevents your boot drive from appearing on your PC.
Ports can become damaged for a variety of reasons, including stress, shipping damage, power surges, charger failure, and more. All these issues can prevent your drive from being read, which can lead to Inaccessible Boot Device BSOD on your system.
If you feel comfortable, we recommend opening your PC or laptop and trying switching drive slots to see if this helps your drive appear on your PC. Most NVMe drives are held in place by a screw that pops out once the screw is removed. The driver is inserted and removed at an angle, then pressed down to create tension.
SATA drives and HDDs, on the other hand, use slot-based or cable connectors that can be pulled out and plugged in. These drives are also secured with screws, and removing the connector will help you remove them.
However, if you are using a laptop, your options may be limited. You may not have the extra ports on your system, which may force you to try your drive on a different PC or test bench. Use the next section to help you.
Fix 2: Try using your drive on another PC
We now recommend that you try using the drive in question on another PC. While you will encounter issues when trying to boot the Windows 11 installation, the idea is to check the BIOS and verify that the drive can be read. This can help you diagnose issues related to your PC that may be specific to your hardware components and prevent you from using the drive in question on your PC. If your drive appears on another PC, then we recommend that you contact a certified technician for further diagnosis and repair of the issue specific to this PC.
Fix 3: Replace the faulty drive
If your drive is unreadable and frozen, there's not much you can do at this point. If needed, you can pay a professional data recovery service to recover important data from the drive and then replace the drive to start over.
Fix 4: Reinstall Windows 11 on a new drive
You can try installing Windows 11 on a different drive to further diagnose and fix issues with your previous installation. However, you can only do this if you have another drive installed on your system. Since your boot drive is currently unreadable, you will not be able to create a new partition to install Windows 11 on. Use the following steps to help you through the process.
Step 1: Back up your data using Ubuntu
Since we will be installing Windows 11 on your spare drive, you can back up your data from that drive using the Ubuntu live environment. Please follow the steps below to help you through the process.
- Ubuntu | Download link
- Rufus| Download link
First download the link above Ubuntu ISO. Again, use the link above to download a portable copy of Rufus. Now launch Rufus on your PC. Click the drop-down menu at the top and select your USB if it's not already selected.

Click to select .

Navigate to the Ubuntu ISO you downloaded and double-click it to select it.

These values will be automatically filled in for your Ubuntu ISO. Click Start when finished.

Leave Image Mode to its default selection and click OK if prompted.

#You will now be shown a warning that all data on the USB will be deleted. Click Yes to confirm your choice.

Rufus will now format and create a bootable Ubuntu USB. This may take some time depending on your PC and USB. You can track its progress at the bottom of Rufus.

Once completed, plug in the USB and restart your PC. As soon as your PC restarts, press Esc on your keyboard. You can now select a boot device. Use the arrow keys to select your USB drive and press Enter to select. Your PC will now boot from your USB drive and boot Ubuntu. Select Try or Install Ubuntu from the Grub menu.

# Click and select your preferred language from the left sidebar.

Click now to Try Ubuntu.

The live desktop environment will now launch and launch on your PC. When finished, double-click the home folder on your desktop.

#Click Other locations on the left.

#All available disks on your PC will now be displayed. This also includes failed Windows drives. Double click on the same and backup all important files to external drive.
Once completed, simply restart your PC and follow the next steps to format and reinstall Windows 11 on the drive.

Step 2: Install Windows 11
We now recommend that you format the drive and install Windows 11 on it. After installing Windows 11, you can set up your PC however you want and try using a data recovery tool to read your original drive. You may be looking at a bricked drive that may need additional repairs to get it working again. If the drive does not appear at all, we recommend that you contact a certified technician for further assistance in diagnosing and repairing your PC.
The above is the detailed content of Stop Code 'Inaccessible Boot Device” on Windows 11: 17 Fixes and 5 Checks. For more information, please follow other related articles on the PHP Chinese website!
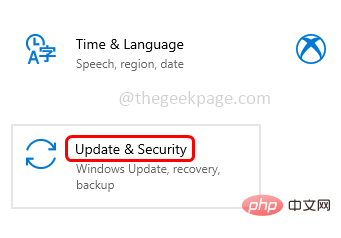 Windows 10/11 上的病毒和威胁防护引擎不可用问题Apr 13, 2023 pm 02:01 PM
Windows Defender是一种保护系统免受病毒攻击的功能。尝试安装最新的安全更新时,一些用户收到一条错误消息,指出“病毒和威胁防护引擎不可用”。此错误主要是由于系统文件损坏,系统上的更新过时或Windows更新中的某些问题等。可以通过安装最新更新、重置 Windows 安全中心应用程序、调整注册表编辑器项等来解决。在本文中,我们提供了一些解决方案,可帮助您在Windows计算机上解决此问题。方法 1 – 运行 Windows 更新疑难解答步骤 1 –一起使用Windows + I键打开窗
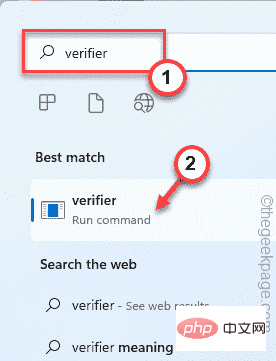 修复:Windows 11、10 中的错误 CLOCK WATCHDOG TIMEOUTApr 13, 2023 pm 03:07 PM
蓝屏死机问题在 Windows 中并不是什么新鲜事。其中一个问题是“ CLOCK_WATCHDOG_TIMEOUT ”错误代码,它可能会突然使系统崩溃并重新启动系统。尽管此问题背后的实际原因可能因用户而异,但通常这是处理器的问题。核心线程之间响应的不规则性是这个问题的根本原因。但别担心。只需按照这些简单的修复即可快速找到解决方案。修复 1 – 使用驱动程序验证程序如果您的系统上安装了未知驱动程序,则必须使用验证程序。第1步1. 按Windows 键并在搜索框中输入“ verifier ”。2.
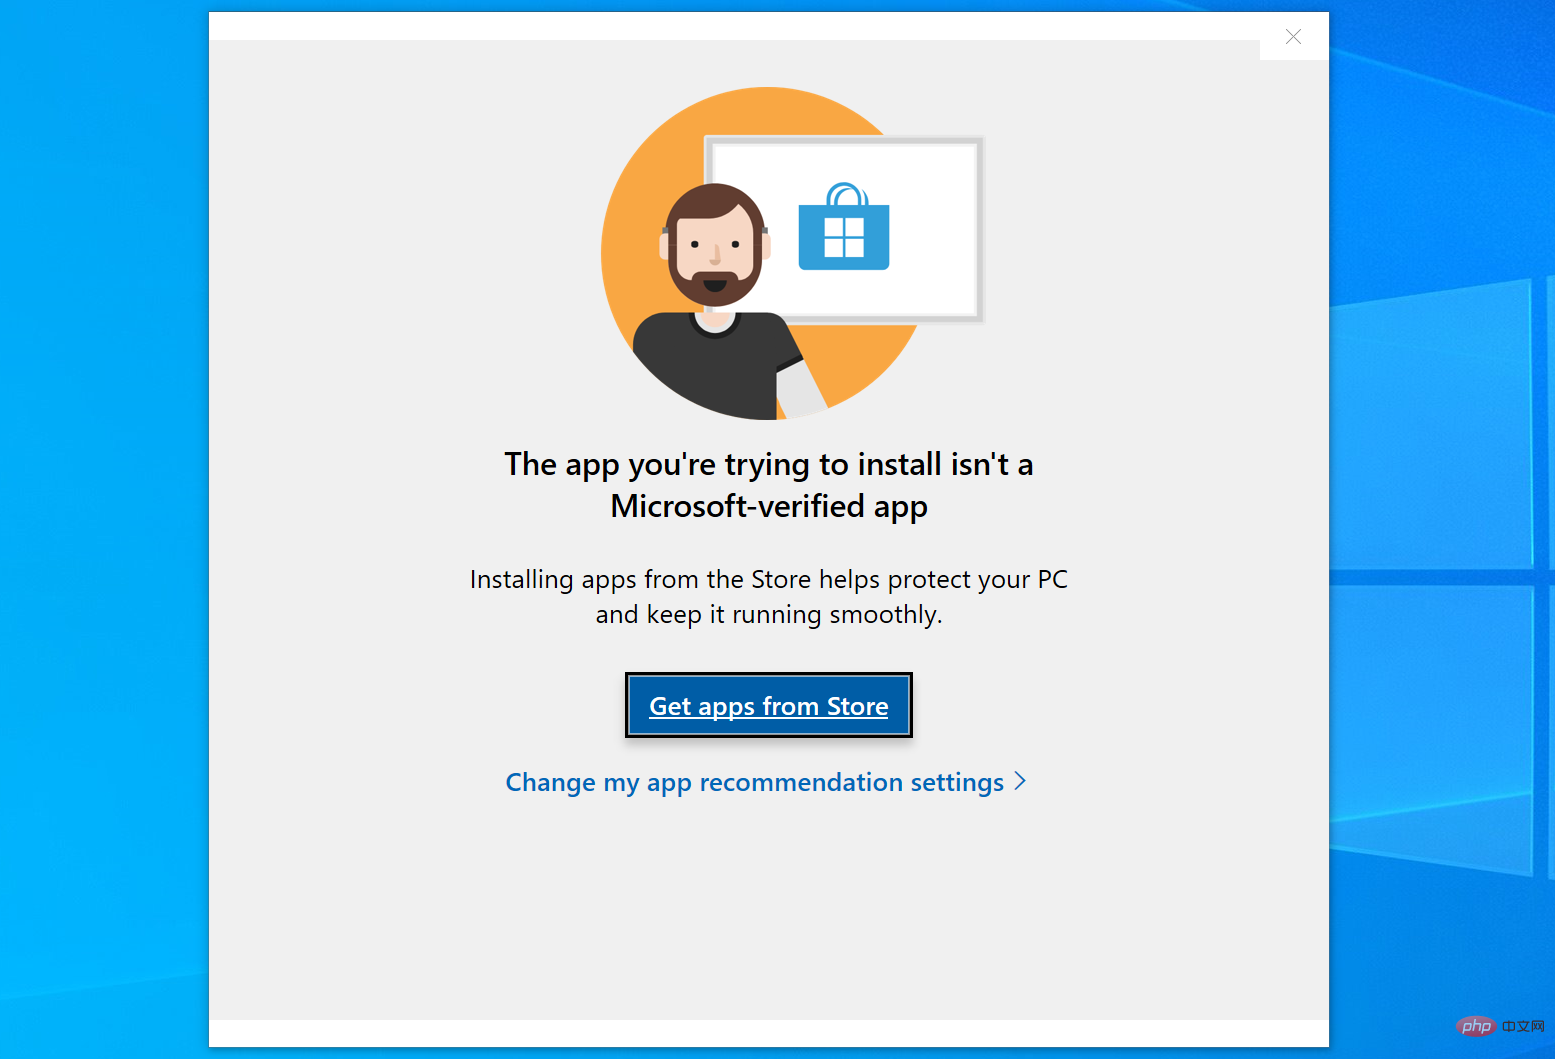 如何修复您尝试安装的应用不是 Windows 上经过 Microsoft 验证的应用Apr 13, 2023 pm 05:52 PM
Microsoft Windows 10 和 11 可能配置为仅允许在设备上安装某些类型的应用程序。该限制可能是有意的,例如,当限制可以安装在设备上的内容的策略到位时,但有时也是无意的。以下指南提供了易于遵循的分步说明,以解决意外出现的错误消息。尝试安装某些类型的应用程序的 Windows 用户可能会收到错误消息“您尝试安装的应用程序不是 Microsoft 验证的应用程序”。该对话框几乎没有提供有关安装被阻止原因的信息。它指出“从商店安装应用程序有助于保护您的 PC 并使其平稳运行”,并链接到
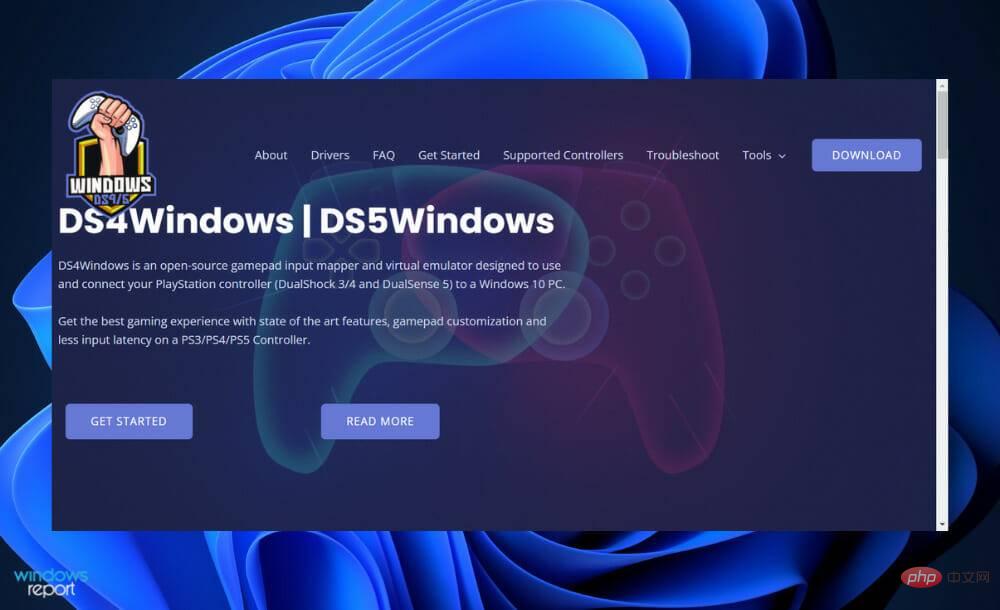 DS4Windows 11 不工作?立即应用这些修复Apr 13, 2023 pm 06:04 PM
<p>在某些情况下,将 DualShock 4 或 DualSense 5 控制器与 Windows PC 一起使用似乎会出现问题,控制器连接不正确或可能根本无法连接。</p><p>另一方面,PS4 和 PS5 都是针对各自的游戏机专门开发和优化的。现在,如果您是在 Windows 11 上遇到 DS4Windows 无法正常工作问题的不幸人士之一,您可以使用本教程来修复错误。</p>
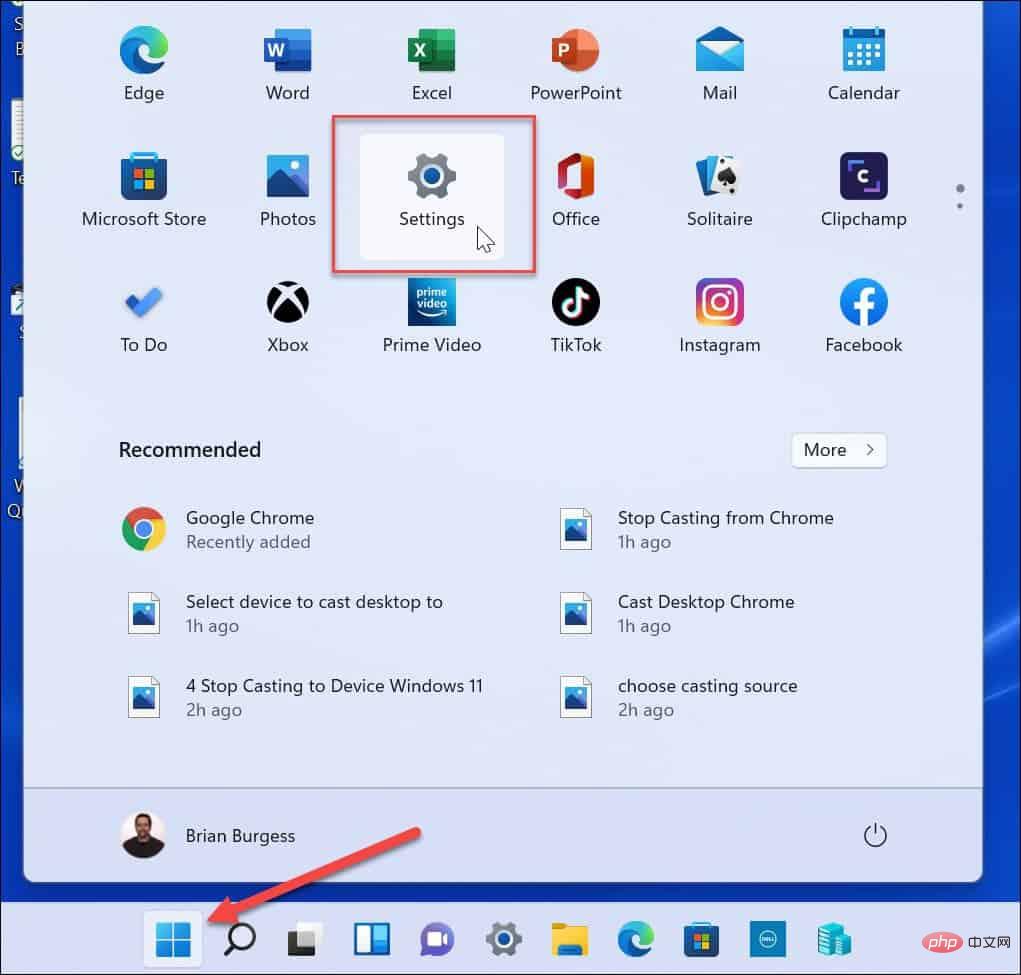 在 Windows 11 上停止自动更新的三种方法Apr 13, 2023 pm 05:40 PM
<h2>如何在 Windows 11 上停止自动更新</h2><p>在 Windows 11 上停止自动更新的一种方法是调整更新设置。使用此方法时,您可以在 Windows 11 家庭版或专业版上暂停更新长达五周。</p><p>要在 Windows 11 上暂停更新,请使用以下步骤:</p><ol>&a
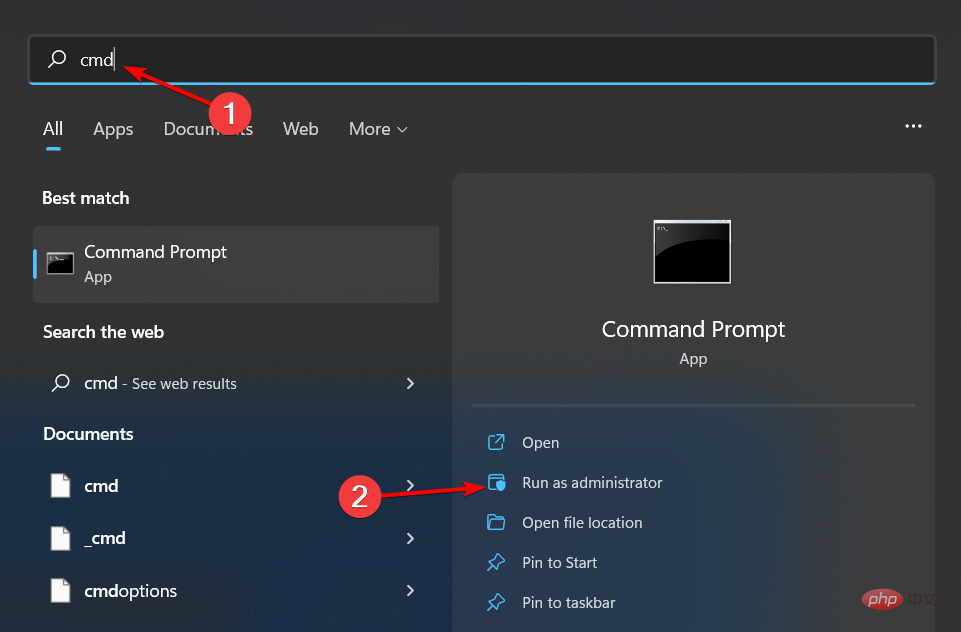 修复: Windows 无法初始化此硬件的设备驱动程序Apr 13, 2023 pm 01:19 PM
错误代码 37 表示 Windows 检测到设备驱动程序存在问题,无法启动硬件设备。这意味着您的系统上未正确安装软件设备驱动程序,或者您尝试使用的硬件与 Windows 不兼容。您已经知道驱动程序对于设备的平稳运行至关重要,因此如果您要使用硬件设备,则需要立即解决此错误。在本文中,我们将向您展示绕过此错误的各种方法。是什么原因导致 Windows 错误代码 37?当您得到 Windows 无法初始化此硬件的设备驱动程序时。(代码 37) 消息,它可能由几个问题引起,包括:兼容性问题 – 当您将硬
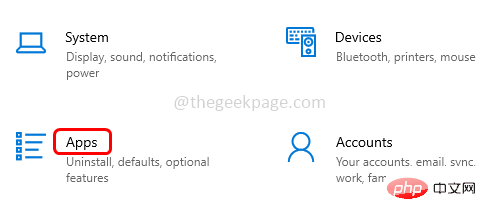 如何修复 Roblox 无法在 Windows 10 中安装或下载Apr 13, 2023 am 11:46 AM
Roblox 是一个帮助创建游戏的在线游戏平台;用户可以在世界任何地方玩它们。但是一些用户在安装 Roblox 时会遇到问题。无法成功安装游戏,它只是在安装过程中崩溃。原因可能是缓存损坏、DNS 设置、防火墙问题、系统可能需要安装最新更新等。在本文中,我们将讨论可以用来解决问题的不同方案和方法。让我们开始吧!方法 1:使用设置重置 Microsoft Store第 1 步:同时使用Windows + I键打开 Windows 设置。第 2 步:点击应用程序第 3 步:在右侧,找到应用和功能下的M
 在 Windows 11/10 中修复 0xC1900101 驱动程序错误的 10 个简单技巧Apr 13, 2023 pm 07:55 PM
当用户尝试升级其操作系统时,驱动程序错误经常发生。我们今天要解决的 0xc1900101 驱动程序错误也是如此。完整的错误消息显示安装更新时出现一些问题,但我们稍后再试。如果您一直看到此内容并想搜索 Web 或联系支持人员以获取信息,这可能会有所帮助:(0xc1900101)。这些错误是由各种与驱动程序相关的 因素触发的:用户尚未在其计算机上安装最新的驱动程序更新,某些驱动程序与最新的 Windows 11 版本不兼容等等。许多尝试升级到 Windows 11的用户报告由于一系列 0xC1900

Hot AI Tools

Undresser.AI Undress
AI-powered app for creating realistic nude photos

AI Clothes Remover
Online AI tool for removing clothes from photos.

Undress AI Tool
Undress images for free

Clothoff.io
AI clothes remover

AI Hentai Generator
Generate AI Hentai for free.

Hot Article

Hot Tools

mPDF
mPDF is a PHP library that can generate PDF files from UTF-8 encoded HTML. The original author, Ian Back, wrote mPDF to output PDF files "on the fly" from his website and handle different languages. It is slower than original scripts like HTML2FPDF and produces larger files when using Unicode fonts, but supports CSS styles etc. and has a lot of enhancements. Supports almost all languages, including RTL (Arabic and Hebrew) and CJK (Chinese, Japanese and Korean). Supports nested block-level elements (such as P, DIV),

SublimeText3 Linux new version
SublimeText3 Linux latest version

Notepad++7.3.1
Easy-to-use and free code editor

PhpStorm Mac version
The latest (2018.2.1) professional PHP integrated development tool

Dreamweaver CS6
Visual web development tools


